


$995.00 On Sale $995.00
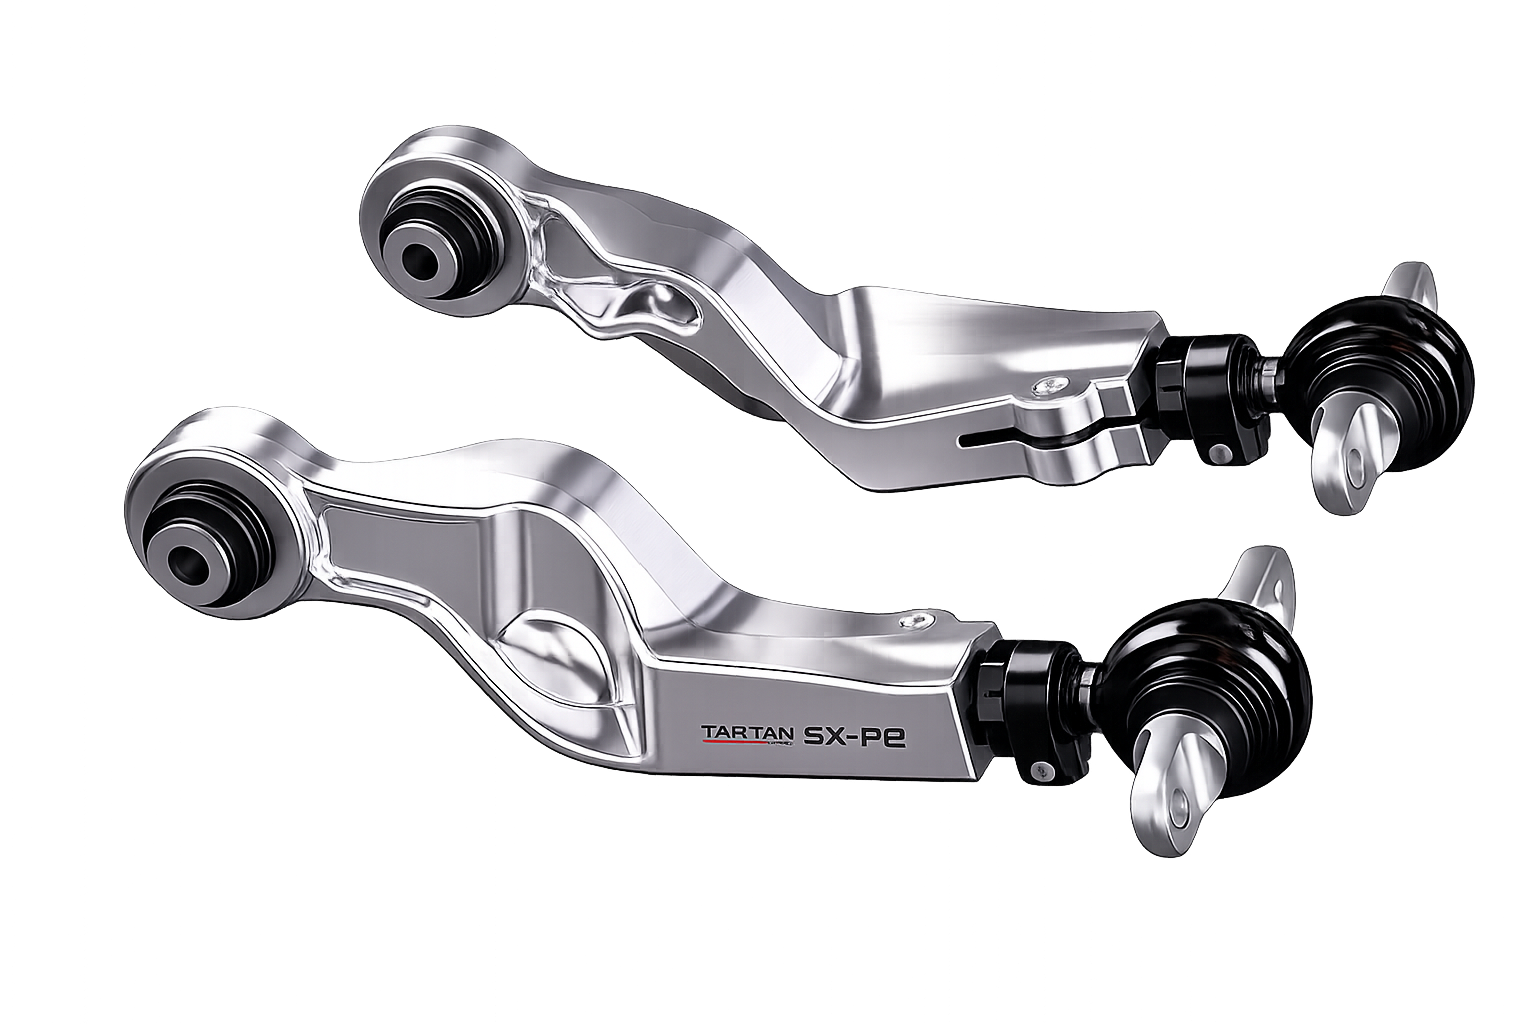
Correct Rear Camber. Extend Tire Life. Dial In Your Alignment. Tesla Model S and Model X owners know the story all too well—premature inner tire wear, expensive tire replacements, and limited factory alignment adjustment. T Sportline is pleased to offer the N2ITIVE Tartan SX-P2 Adjustable Rear Camber Arms, engineered to solve these issues by providing precise rear camber correction and expanded alignment adjustability for refreshed Model S and Model X vehicles.
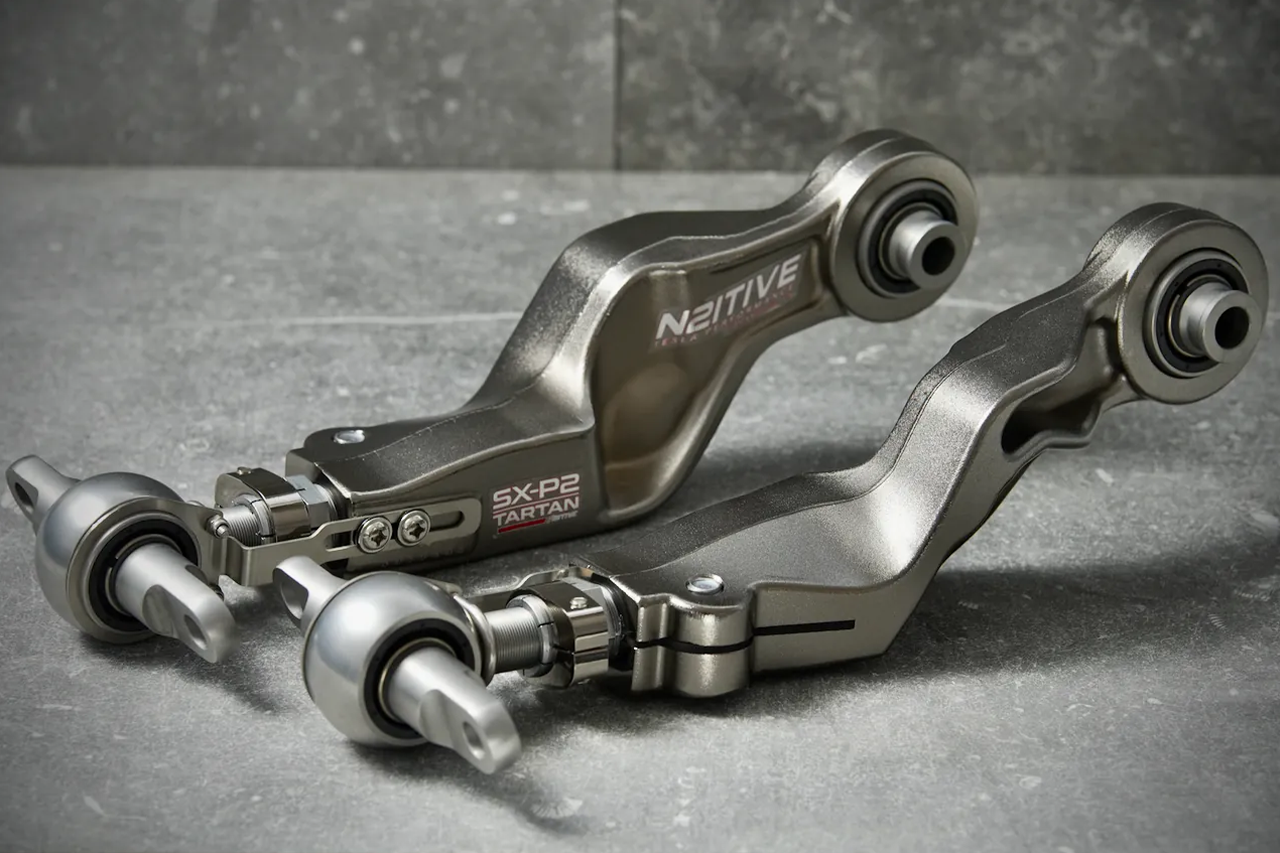
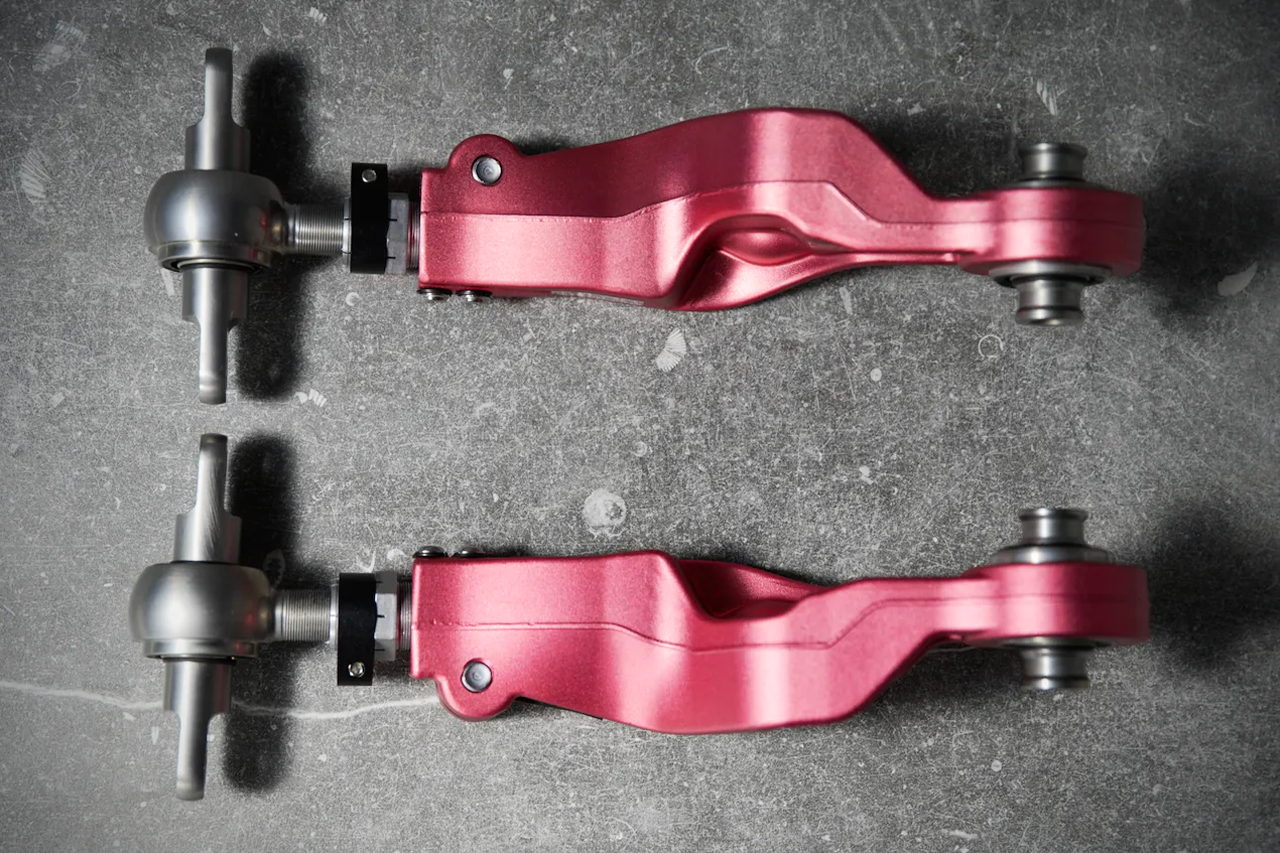
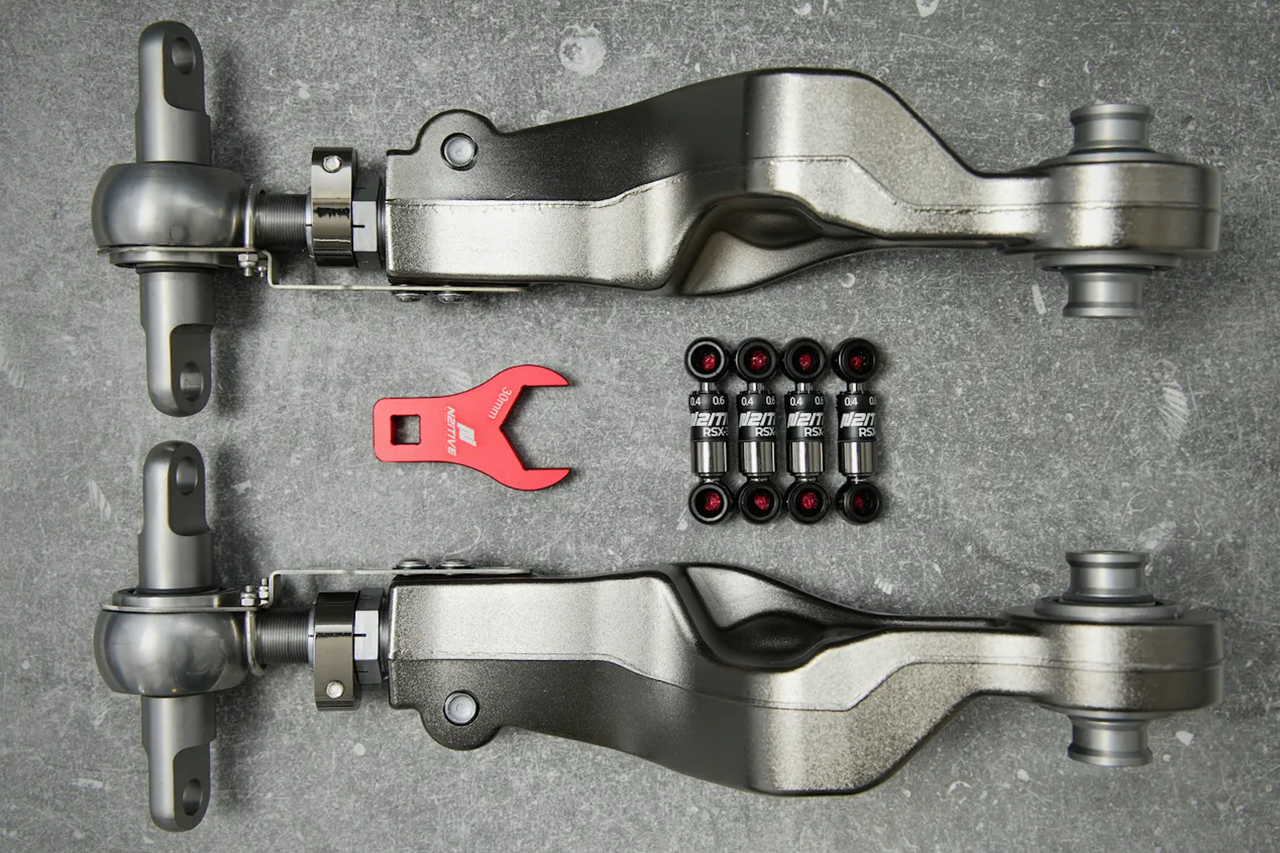
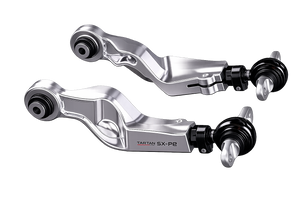
Designed specifically for high-performance Tesla applications, the SX-P2 features a lightweight drop-forged aluminum construction combined with premium motorsport-grade hardware to deliver exceptional strength, durability, and adjustability. Whether your vehicle is lowered, equipped with aftermarket wheels, or simply experiencing excessive inner tire wear, these adjustable camber arms allow alignment shops to achieve settings that are impossible with factory components.
Why Upgrade Your Rear Camber Arms?
Tesla's factory suspension geometry can result in excessive negative camber, causing the inside edges of the rear tires to wear significantly faster than the rest of the tread. N2ITIVE developed the SX-P2 to provide additional alignment range, helping owners maximize tire life while maintaining outstanding handling characteristics.
Fitment:
Kit Options:
Key Features
Benefits
Perfect For
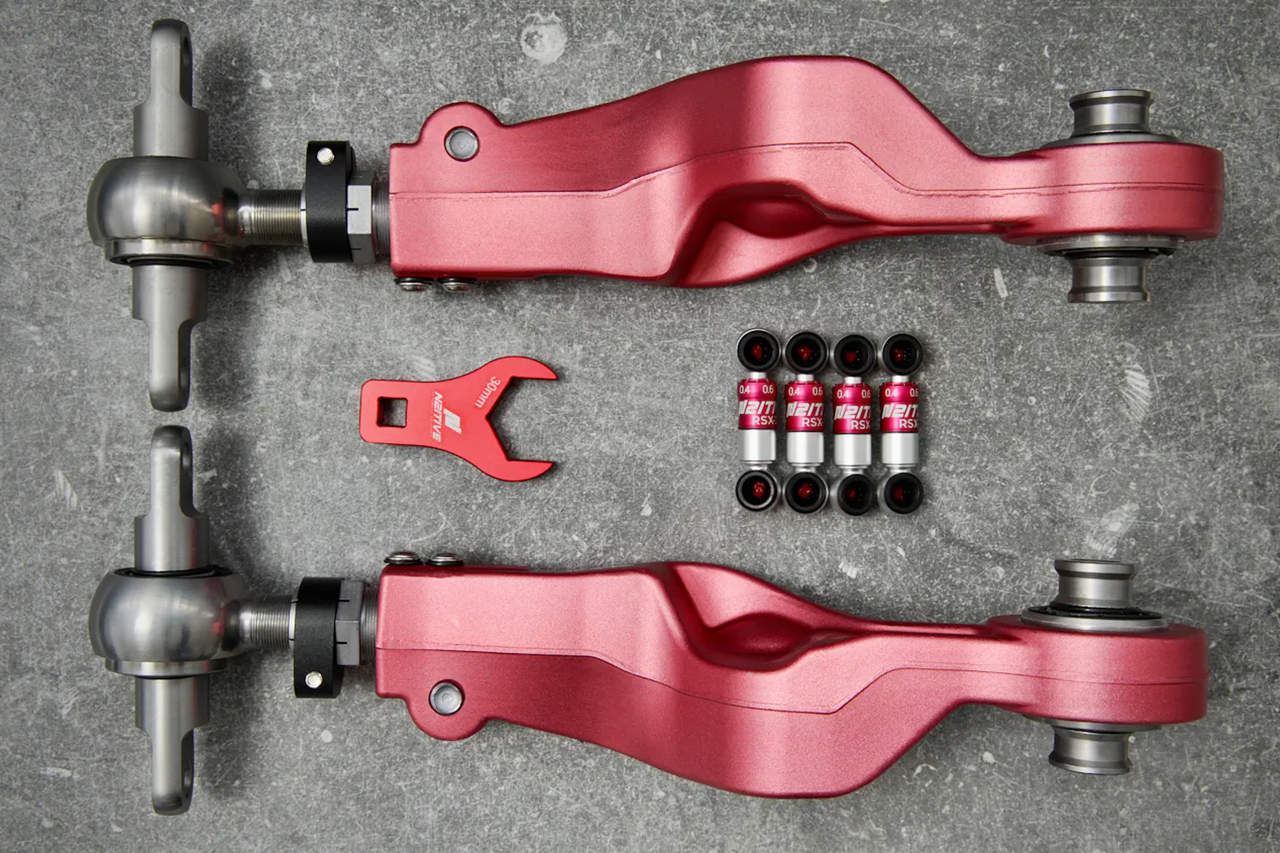
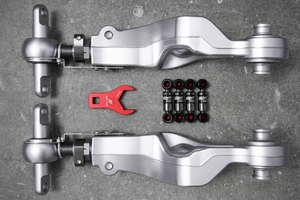
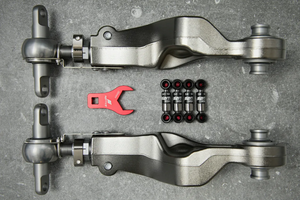
What's Included
Take Control of Your Alignment
Whether you're looking to protect your tire investment, optimize your suspension setup, or achieve the perfect alignment after lowering your Tesla, the N2ITIVE Tartan SX-P2 Adjustable Rear Camber Arms provide the precision and durability serious Tesla owners demand.
Estimated Labor: 1-2 hours