Fourth of July Sale is LIVE! Save 10% off - AND - up to $500 on Wheels & Tires

More Details

z

Search

    z
    z

    Tesla Model S / X (2/2021-2026) Adjustable Suspension Lowering Links, RSX-4 TARTAN N2ITIVE

    z
    z
    • Description

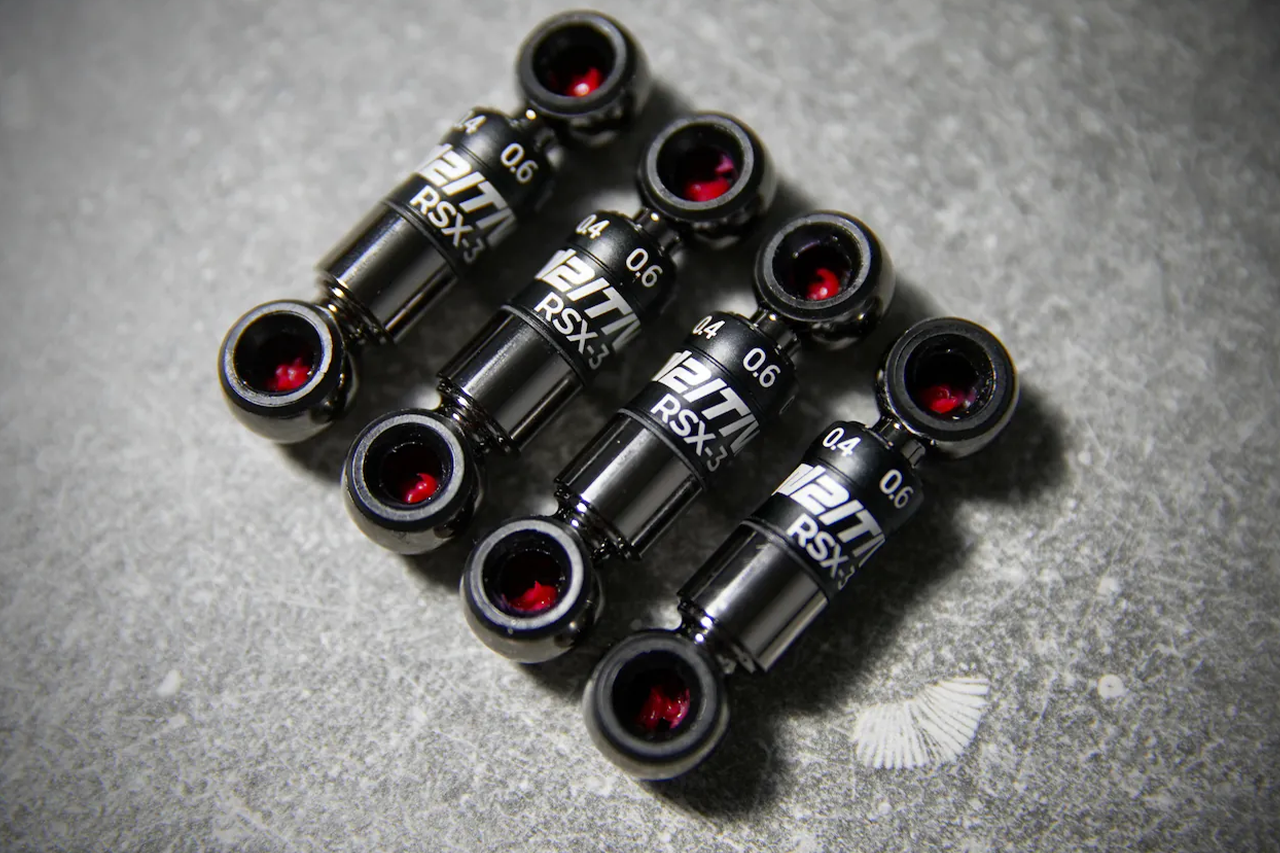
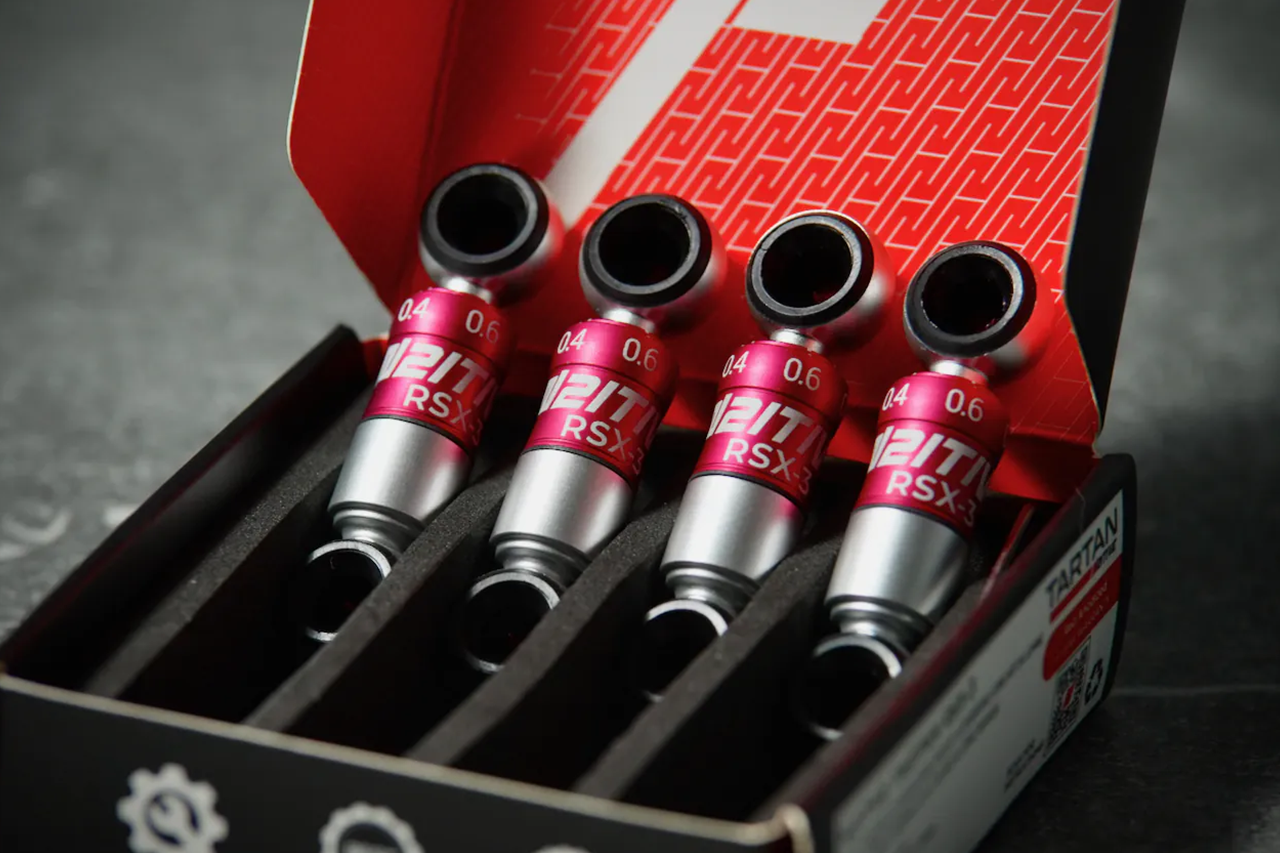
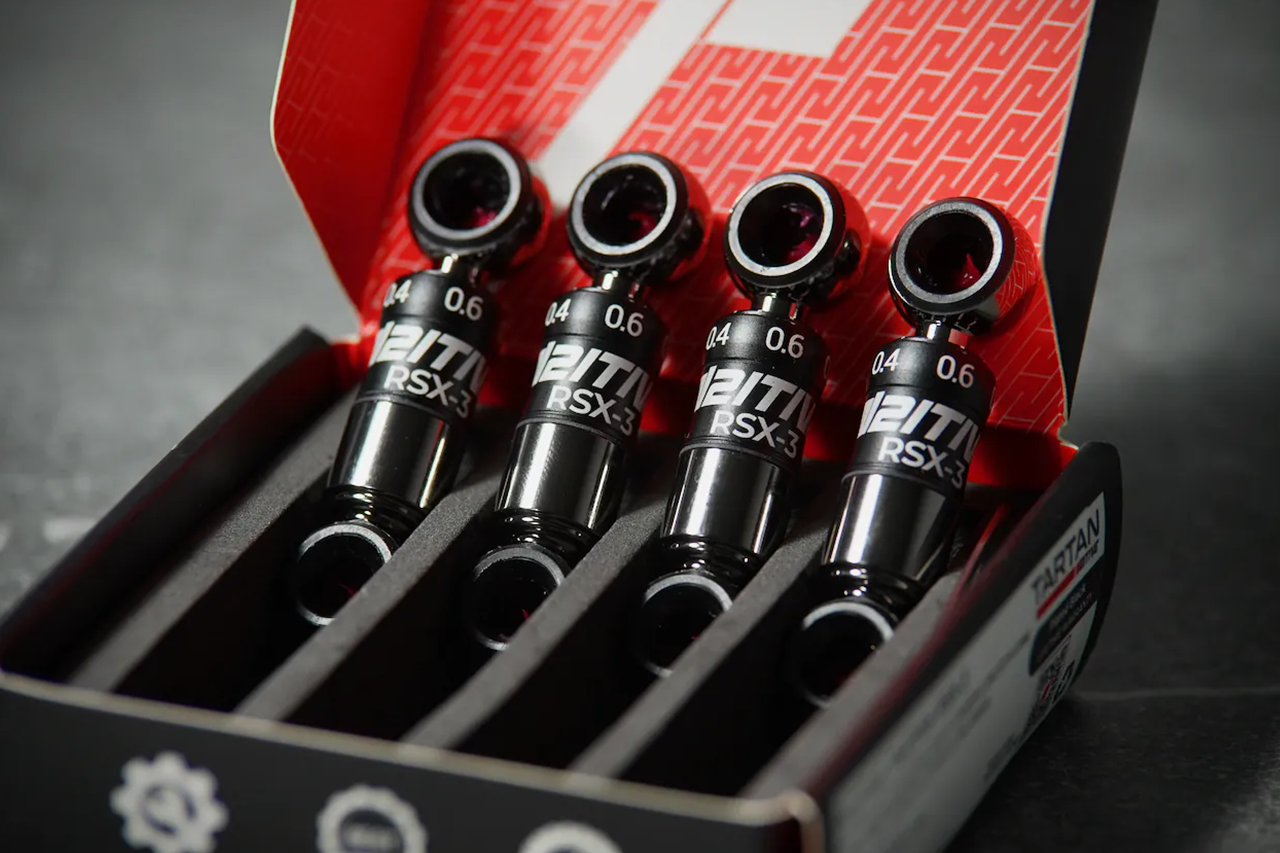
      N2itive RSX-4 Adjustable Lowering Links for Tesla Model S & Model X

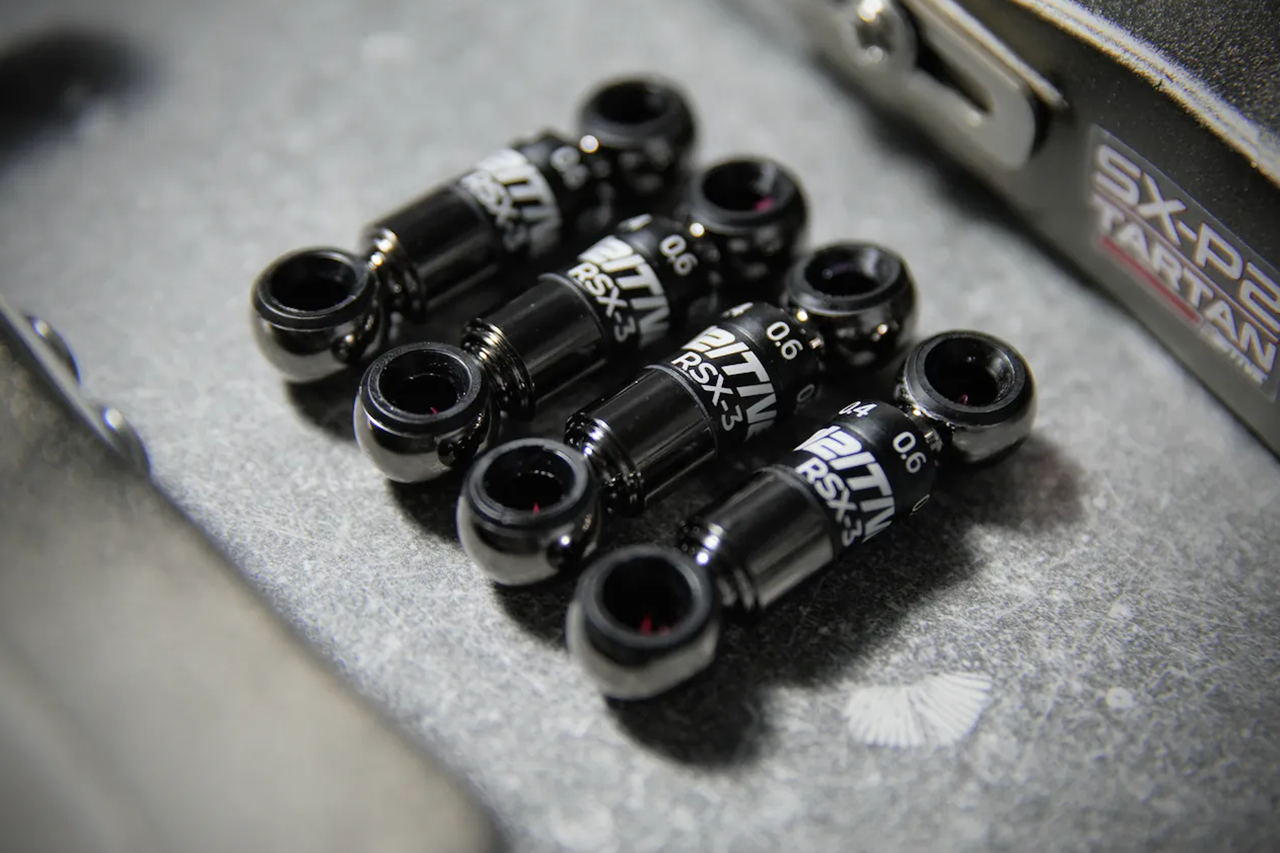
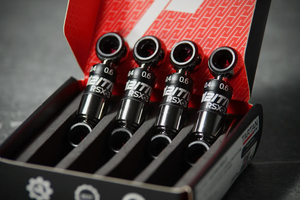
      N2itive RSX-4 Ride Height Adjustment Links are among the most precise and advanced lowering links available for the Tesla Model S and Model X. Designed specifically for vehicles equipped with factory air suspension, the RSX-4 system allows you to achieve your ideal ride height while fully retaining Tesla's active suspension damping and factory ride height adjustment through the touchscreen.


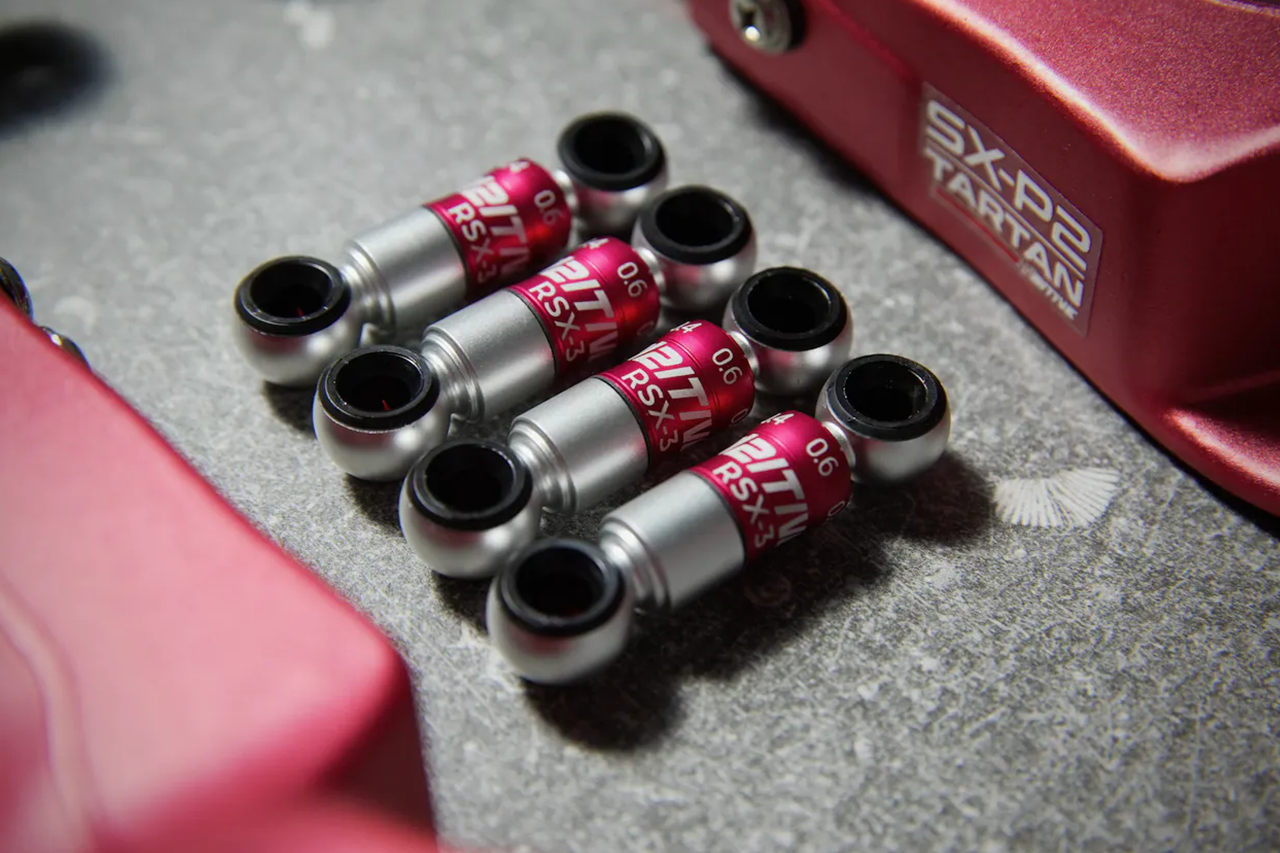
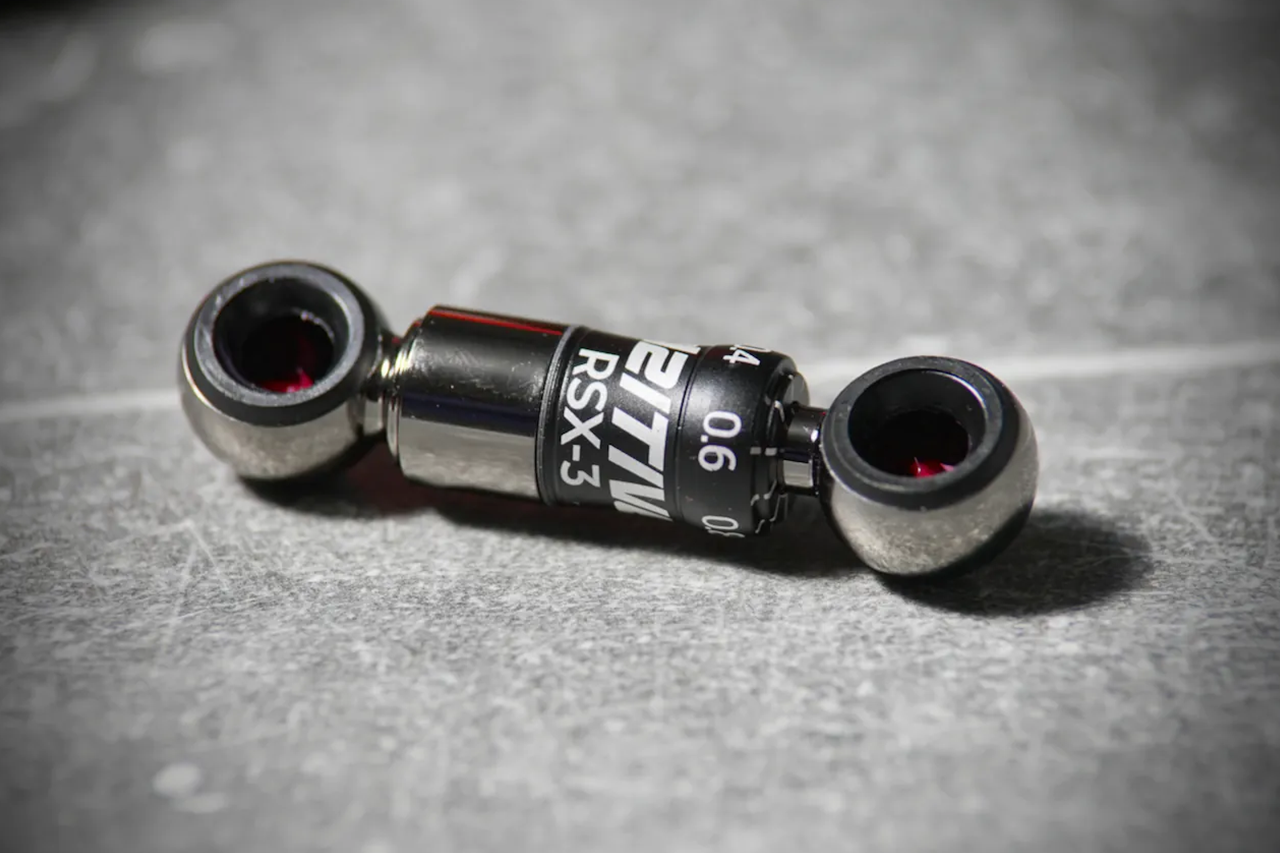
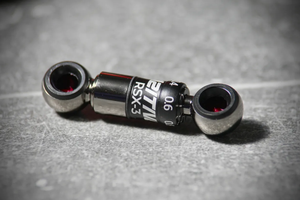
      Unlike conventional lowering links, the RSX-4 features an integrated Vernier adjustment scale, allowing for incredibly precise adjustments in increments as small as 0.1 mm. The built-in scale makes it easy to verify that each link is adjusted to the exact same length, eliminating the need for calipers or estimating adjustments by feel. Whether you're looking for a subtle reduction in wheel gap or an aggressively lowered stance, the RSX-4 delivers unmatched precision and repeatability.


      Features

      • Designed for Tesla Model S and Model X with factory air suspension
      • Retains full factory active suspension damping and ride height adjustment
      • Integrated Vernier scale for precise, repeatable adjustments
      • Fine adjustment capability down to 0.1 mm
      • Achieve anything from a mild drop to an aggressively lowered stance
      • Includes a complete set of four adjustable lowering links
      • Typical installation time of approximately 30 minutes using basic hand tools
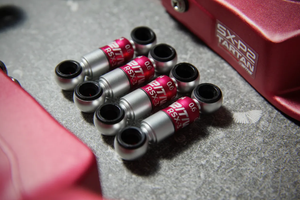
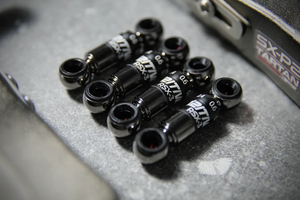
      • Available Finishes


      Complete Your Suspension Upgrade

      For the best performance and tire life, N2itive recommends pairing the RSX-4 Lowering Links with N2itive SX-P2 Adjustable Rear Control Arms. Lowering a Tesla increases negative rear camber, which can lead to accelerated inner tire wear and, in severe cases, premature tire failure. The SX-P2 control arms restore proper alignment while allowing you to maintain your desired ride height, reducing excessive camber, minimizing inner tire wear, and helping eliminate acceleration shudder.


      Important: After installing lowering links, proper wheel alignment is strongly recommended. Be sure to periodically inspect the inside shoulder of your rear tires, as excessive inner tire wear is often difficult to see during routine inspections.


      Fitment:

      • Feb 2021 - 2026 Tesla Model S (all versions, Long Range and Plaid)
      • Feb 2021 - 2026 Tesla Model X (all versions, Long Range and Plaid)


      Options:

      • Anodized Red & Clear Natural (3-Year Warranty)
      • Anodized Black & Nickel Plated (Lifetime Warranty)


      What's Included

      • 4 TARTAN RSX-4 Lowering Links
      • Allen Key


      Click for Installation Instructions

      Estimated Labor: 0.5-1 hour(s)
      Recommended Settings: -4 mm on each lowering link


      Parts and Tools Necessary:

      • 21mm wrench and socket
      • 1.5mm allen key (included)
      • Flat head screwdriver or other prying tool
      • Channellocks (preferably taped to prevent damage)
      • Torque Wrench


      BEFORE INSTALL:
      • If the vehicle is equipped with air suspension, activate “Jack Mode” through the touchscreen before lifting the vehicle. The air suspension will attempt to self-level otherwise, which may cause serious damage, bodily injury, or death.
      • Make yourself familiar with the proper way to jack and lift your Tesla before attempting installation.
      • For vehicles pre-2021: the shorter 50mm links are to be installed in the front of the car, and the 70mm links in the rear. Keep note of how the links currently sit on the car, as this will be important for reassembly.


      REAR REMOVAL/INSTALLATION:

      1. Jack the vehicle up from the appropriate lift areas, as shown below. Using lift pads between the jack and the vehicle’s frame is highly recommended in order to avoid damaging the vehicle.
      2. Loosen the lug nuts (21mm) and remove the rear wheel.
      * Before removal of the lowering links, take pictures of the links as reference for reassembly. Improper positioning of the links will lead to error codes when you finish the install.
      3. Pry off the sensor link from the ball attached to the camber arm. This can be done with a large flat head screwdriver or small pry bar, gently using the original camber arm as a fulcrum point. Always exercise caution when dealing with the links, as they have many points of failure.
      4. Once one side is free, you may peel the link back until it pops off of the green arm attached to the ride height sensor. Again, use caution as the plastic can be brittle on the sensor side.
      5. Using either your fingers or a channellock, press the N2itive lowering links back onto the studs. If using channellocks, it is advised to put a layer of cloth or tape between the link and the channellock to avoid damage on the finish.
      6. Remount the wheels back on the vehicle and torque down the lug nuts to 129 ft/lbs (175 Nm). Make sure to remove all jack stands and tools from under the vehicle before you let it down.


      FRONT REMOVAL/INSTALLATION:

      1. Raise the air suspension to the “Very High” setting and activate “Jack Mode” through the vehicle’s screen. Some refreshed models may find the process easier with the wheel off.
      2. Pry off the short sensor link from the ball attached to the camber arm. This can be done with a large flat head screwdriver or small pry bar, gently using the original camber arm as a fulcrum point. Use extreme caution in the front, as the arm and stud attachment are made of plastic.
      3. Once one side is free, you may peel the link back until it pops off of the green arm attached to the ride height sensor. Again, use caution as the plastic can be brittle on the sensor side.
      4. Some older models may require the fender liner to be trimmed. Test the range of motion that the green arm has, and if it seems to get stuck in the liner, trim accordingly to fit the longer links on the car. Please use caution to not cut the wiring behind the liner.
      4. Using either your fingers or a channellock, press the N2itive lowering links back onto the studs. If using channellocks, it is advised to put a layer of cloth or tape between the link and the channellock to avoid damage on the finish.


      ADJUSTMENT:
      • Adjustment of the RSX-4 is to be made using the 1.5mm allen key as provided alongside the links.
      • Loosen the allen screw one rotation to allow the neck to move freely. Tighten or rotate the link clockwise to lengthen the link, thus lowering the car. Loosening or rotating the link counter-clockwise will shorten the link and raise the car.
      • Once you are done adjusting, tighten the set screw until it is snug. Do not overtorque the set screw, as it may strip or damage the neck.
      • Adjustments can be made while the links are on or off the vehicle. We recommend you figure your preferred ride height before getting an alignment.