





1SC3201C
$644.00 On Sale $644.00
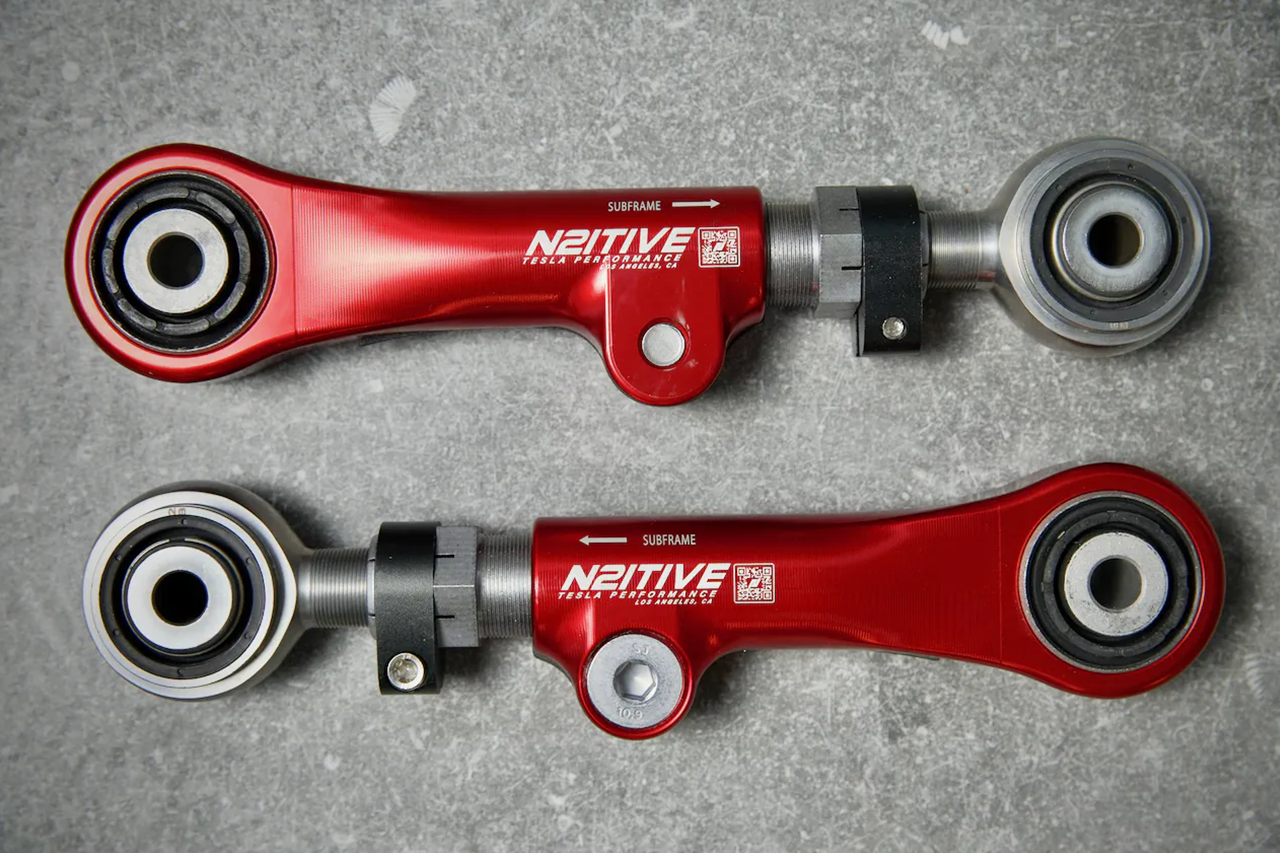
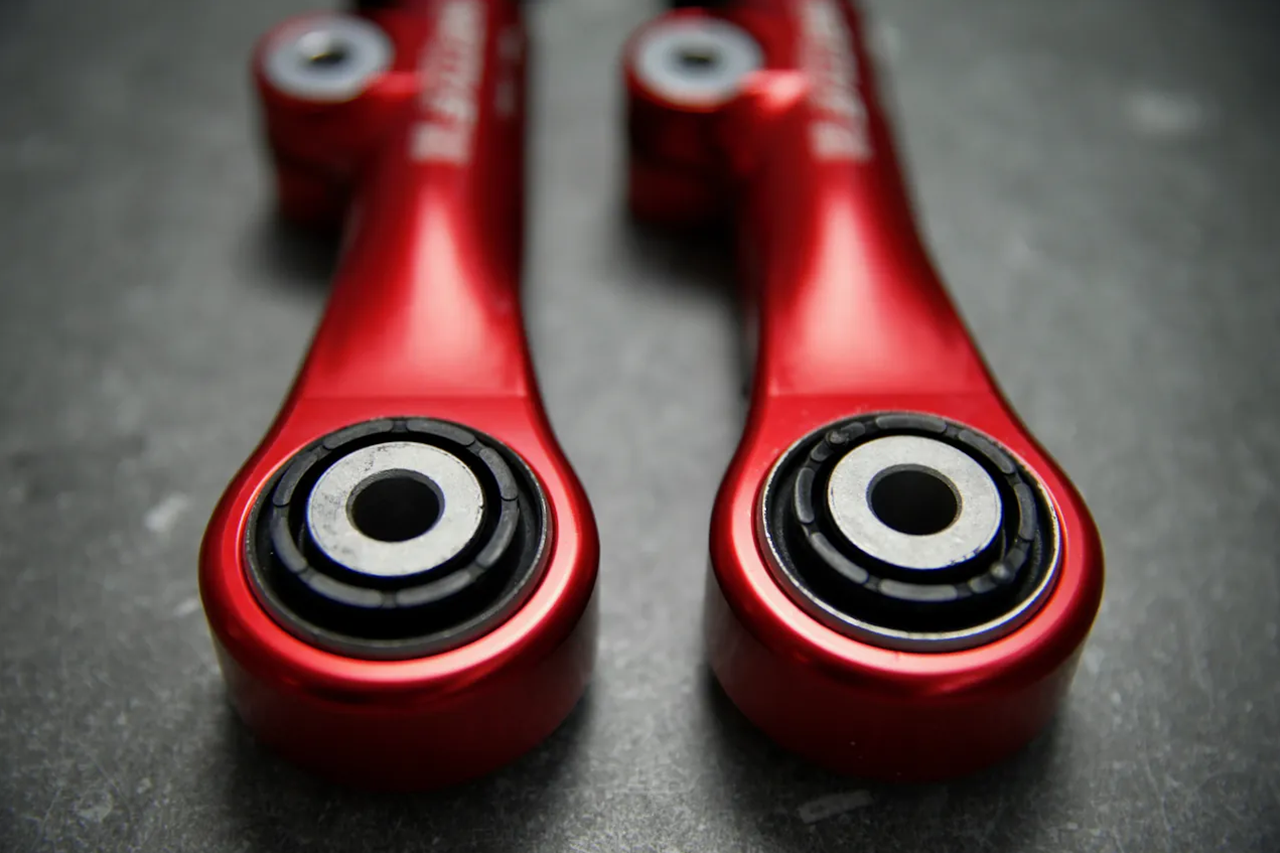
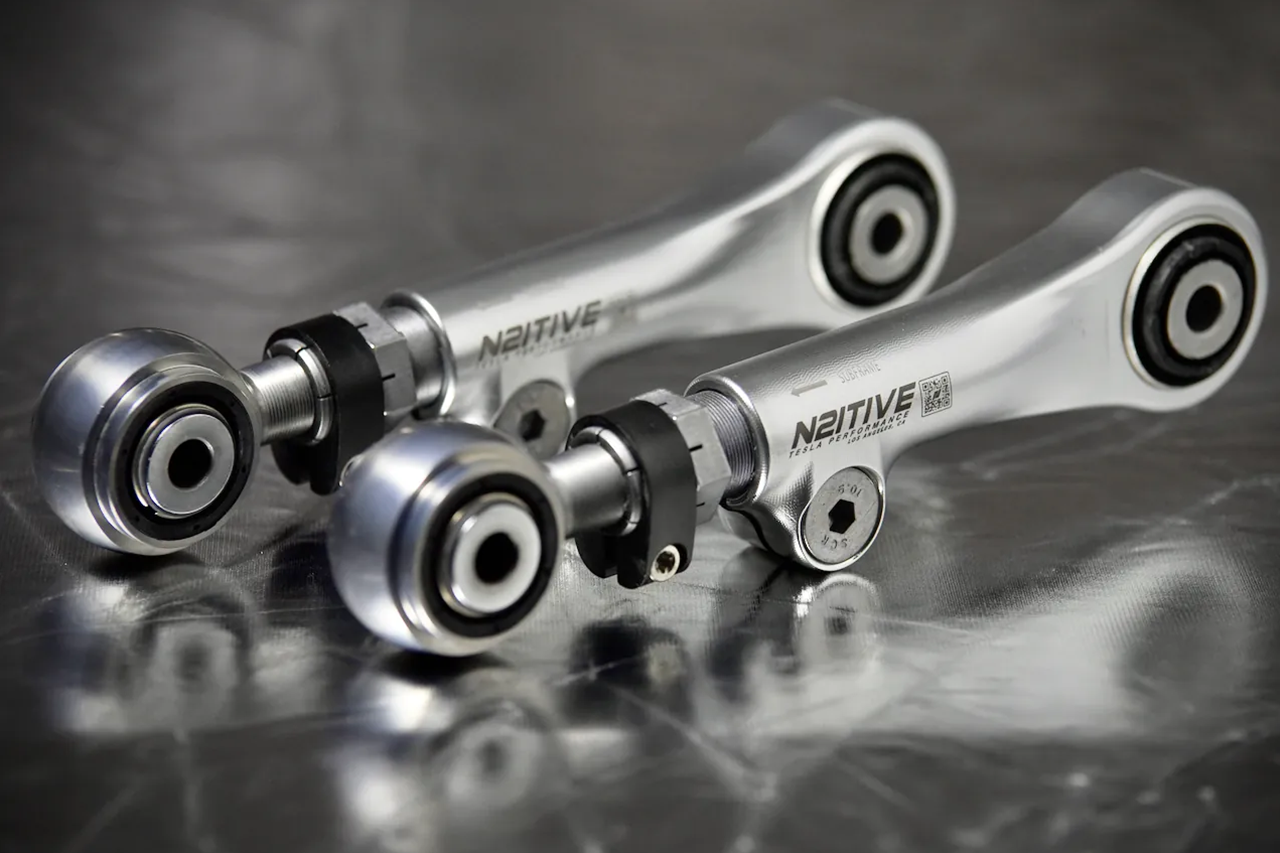
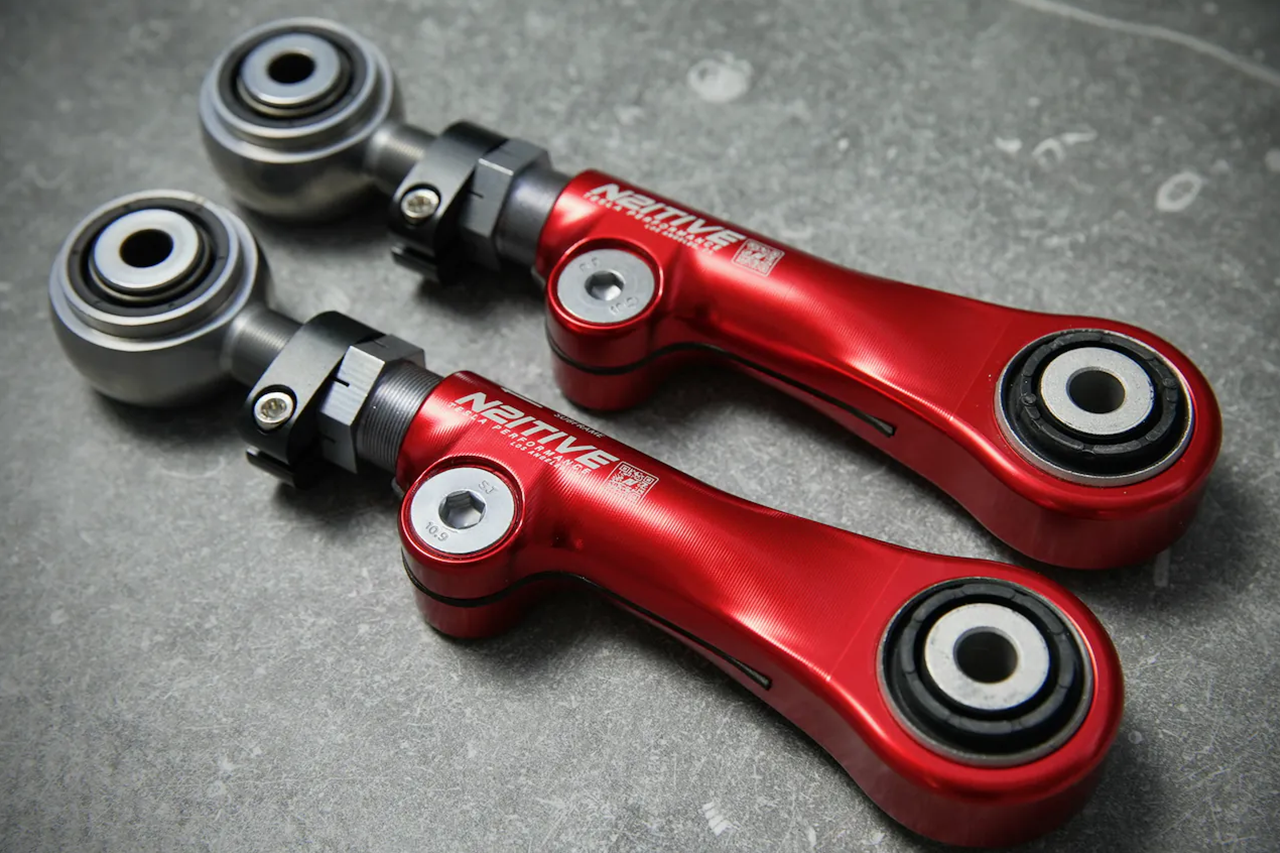
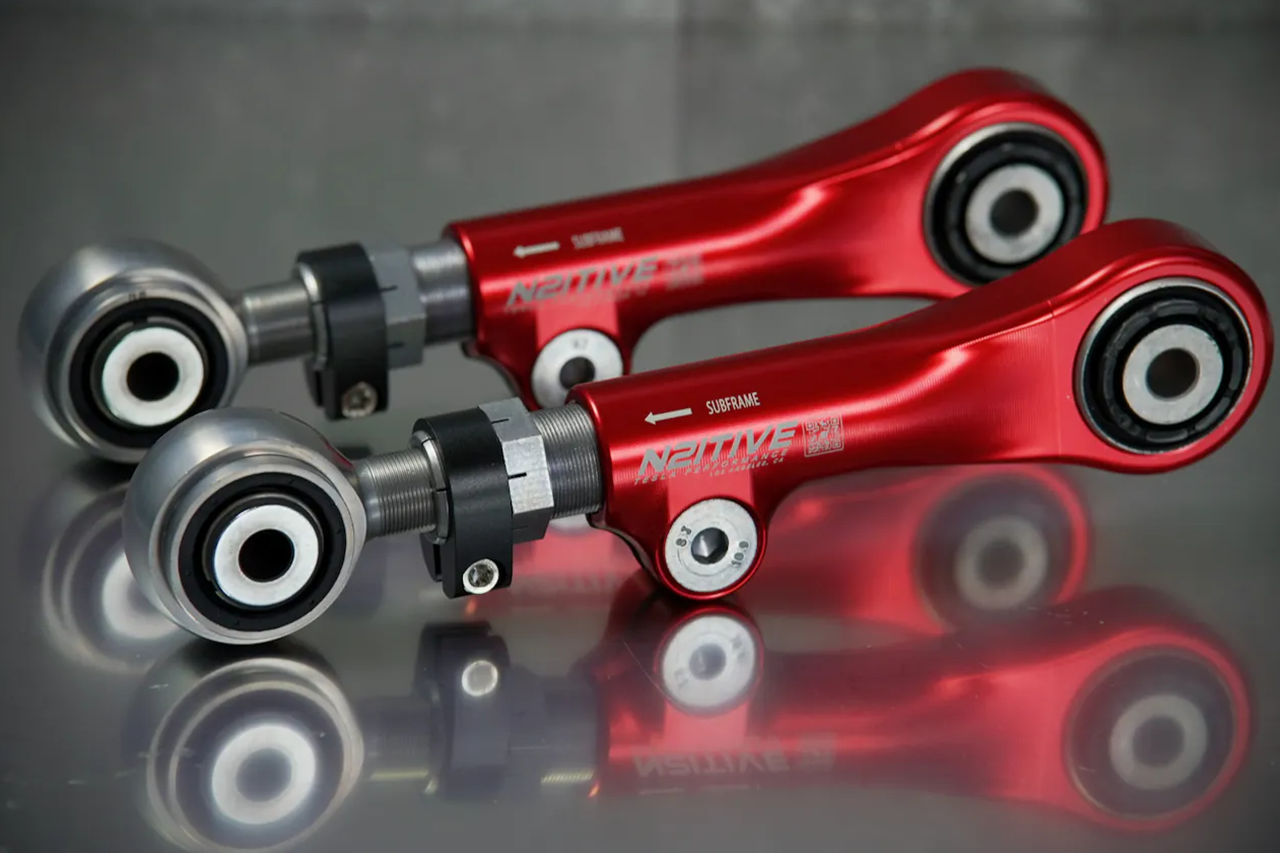
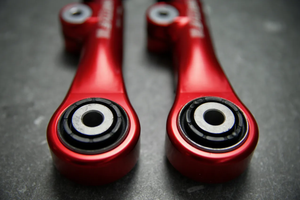
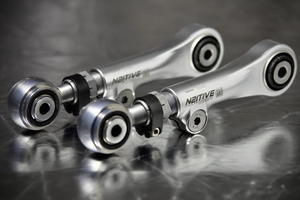
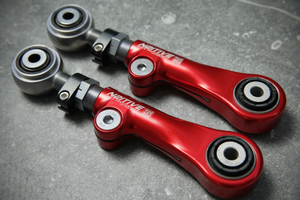
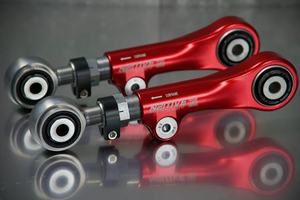
Achieve precise rear toe alignment with the N2itive TSX-2 Adjustable Rear Toe Arms, engineered specifically for the Tesla Model S and Model X. Designed as a direct replacement for the factory rear toe arms, the TSX-2 provides dramatically more adjustment range than the OEM components, making it the ideal solution for lowered vehicles, performance builds, or higher-mileage Teslas that have exceeded the factory alignment range.
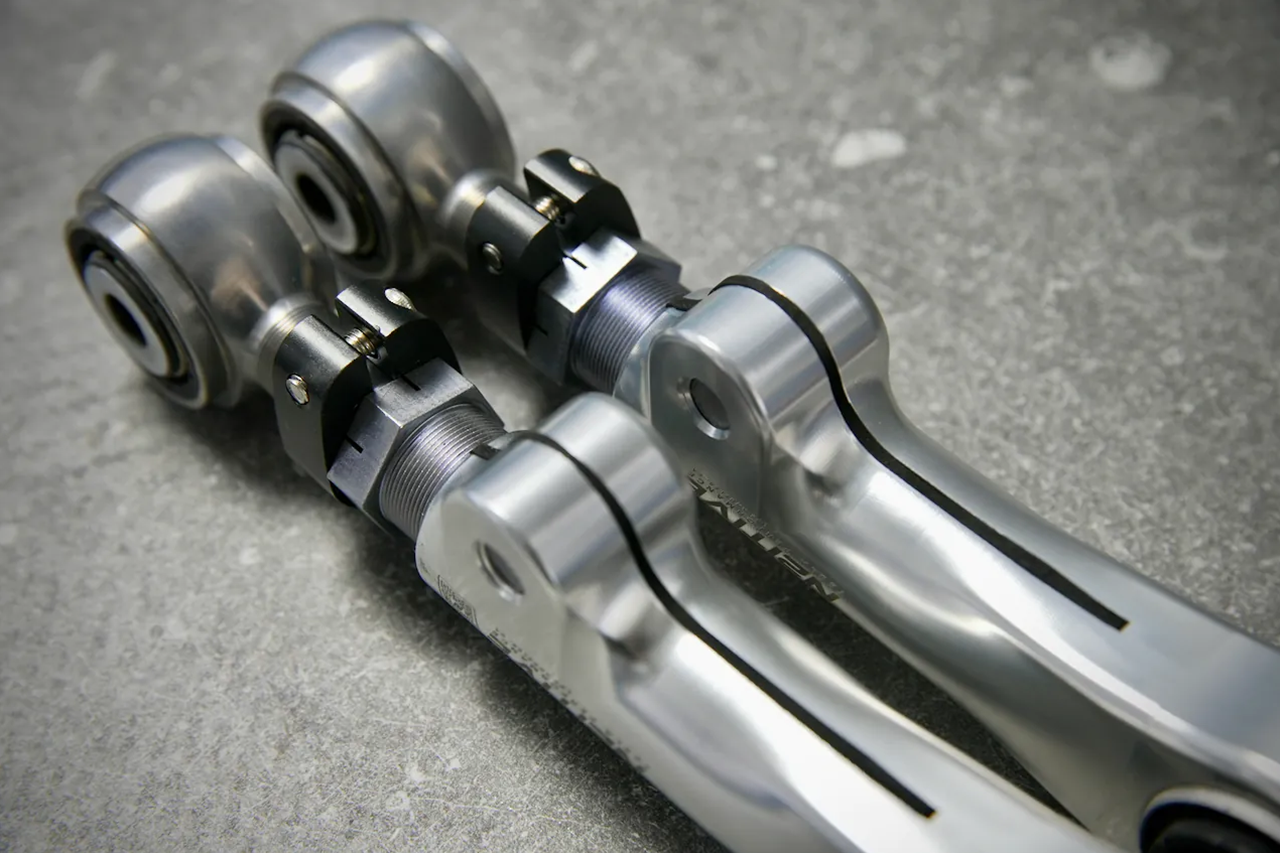
Factory rear toe adjustment is limited to approximately ±3.5 mm, which often isn't enough to bring lowered vehicles back into specification. The TSX-2 expands that range to up to ±15 mm, allowing alignment shops to accurately dial in rear toe for improved handling, tire life, and overall vehicle stability. Each set is preset to the factory arm length for straightforward installation and includes high-strength Class 10.9 mounting hardware, precision square spacer inserts to help maintain alignment settings, and sealing gaskets to keep dirt, moisture, and corrosive debris out of the adjustment mechanism. Manufactured from heat-treated automotive-grade aluminum, the TSX-2 is built for long-lasting durability in demanding conditions.
Maximum Alignment Capability - The TSX-2 is designed to work independently but delivers the best results when paired with N2itive SX-2 Adjustable Rear Camber Arms. Since camber and toe adjustments directly affect one another, installing both components provides the adjustment range needed to accurately return your suspension to factory specifications—or dial in a custom performance alignment. Whether you're correcting suspension geometry after lowering your Tesla or simply looking for greater alignment flexibility than the factory components allow, the N2itive TSX-2 Adjustable Rear Toe Arms provide the precision, durability, and adjustment range needed for a professional-quality alignment.
Note: T Sportline recommends having the vehicle aligned after installing arms. Not included with installation.
Fitment:
Kit Options:
Key Features
What's Included
Estimated Labor: 1-2 hours
Before Install
Removal
1. Jack the vehicle up from the appropriate lift areas, as shown below. Using lift pads between the jack and the vehicle’s frame is highly recommended in order to avoid damaging the vehicle.
2. Loosen the lug nuts (21mm) and remove the wheel.
3. Release the clip that holds the electronic parking brake harness to the toe arm.
4. Remove the bolt that connects the toe arm to the knuckle (18mm).
5. Remove the eccentric bolt that connects the toe arm to the subframe (18mm nut side, 19mm bolt side).
* Some models may not be able to remove the eccentric bolt on the subframe without dropping the subframe for clearance. If you are unable to remove the bolt by moving the toe arm upward with the washer removed, then proceed to the next step.
6. Rather than dropping the subframe, we recommend that you cut the end of the bolt instead. Use vise grips to prevent the bolt from rotating and carefully saw off the head on the other side. Use caution to not damage the adjacent brake line, and now you should be able to safely remove the arm from the vehicle.
Installation
1. Verify that the arm being installed is correct, as the TSX-2 is mirrored for the driver and passenger sides. The TSX-2 should be around the same length of your stock arm, which can be verified by passing a bolt through both bushings. The rod-end bushing is to be installed on the subframe side, and the adjustment allen bolt should be facing towards the rear of the vehicle.
2. Fit the rod-end bushing between the subframe clevis first and begin reassembly using the provided hardware. The square washers, bolts, and nuts will replace the factory eccentric setup. Make sure that the bolt is inserted from the front of the vehicle, opposing the subframe and the original setup.
2. After fitting the toe arm back into the knuckle side, realign and hand-tighten the nuts and bolts in their original positions. DO NOT torque the nuts or bolts at this stage.
3. Preload the suspension before torquing down the bolts. This can be done by jacking the knuckle up until the suspension is fully loaded. The car itself should feel like it is about to lift and the hub should be positioned as if the car was sitting on the floor. This step is critical in ensuring the bushings are correctly positioned when you drive the car.
4. Once preloaded, torque the bolts down to their appropriate settings. The bolt towards the subframe should be torqued to 59 ft/lbs (80 Nm), and the knuckle side should be torqued to 96 ft/lbs (130 Nm).
5. Reattach the electronic parking brake harness to the side of the TSX-2 using the provided zip tie. Attaching the harness to the top may result in harness damage if the air shock bottoms out.
6. Remount the wheels back on the vehicle and torque down the lug nuts to 129 ft/lbs (175 Nm). Make sure to remove all jack stands and tools from under the vehicle before you let it down.
Adjustment
-Adjustment of the TSX-2 is to be made using a 30mm or crescent wrench via the adjustor below the clamp.
-Loosen the T30 Torx bolt on the black collar as well as the 8mm allen bolt on the body of the arm. Both of these bolts must be loose for adjustment to be made.
-Tighten or rotate the adjuster clockwise in order to increase negative camber. Loosening or rotating the adjuster counter-clockwise will reduce negative camber.
-Once you are done adjusting, torque the 8mm and T30 bolts to spec. The 8mm allen should be tightened to 24 ft/lbs or 32.5 Nm, and the T30 Torx to 8 ft/lbs or 11 Nm. Make sure the collar with the T30 is aligned with the rod end to avoid damage while driving.
Note: T Sportline recommends having the vehicle aligned after installing arms. Not included with installation.