Fourth of July Sale is LIVE! Save 10% off - AND - up to $500 on Wheels & Tires

More Details

z

Search

    z
    z

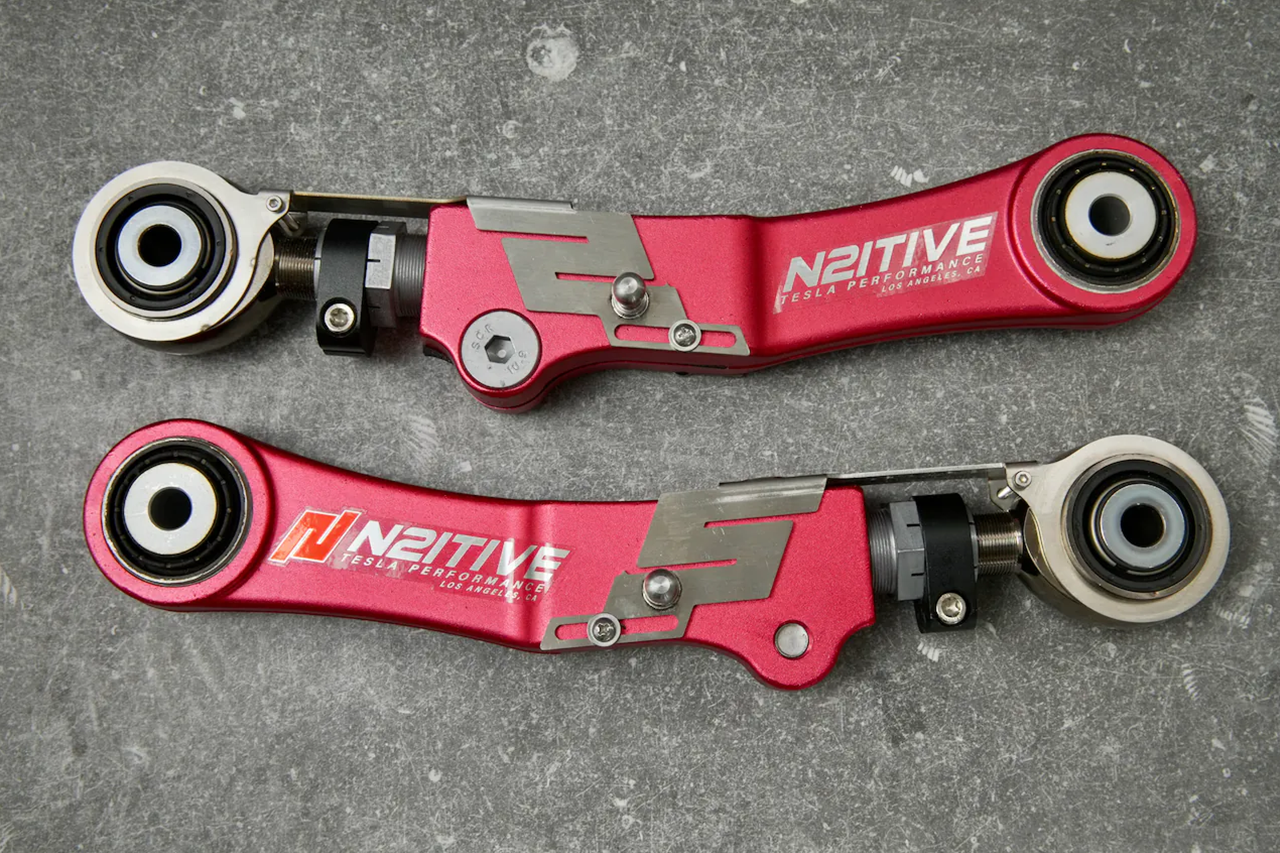
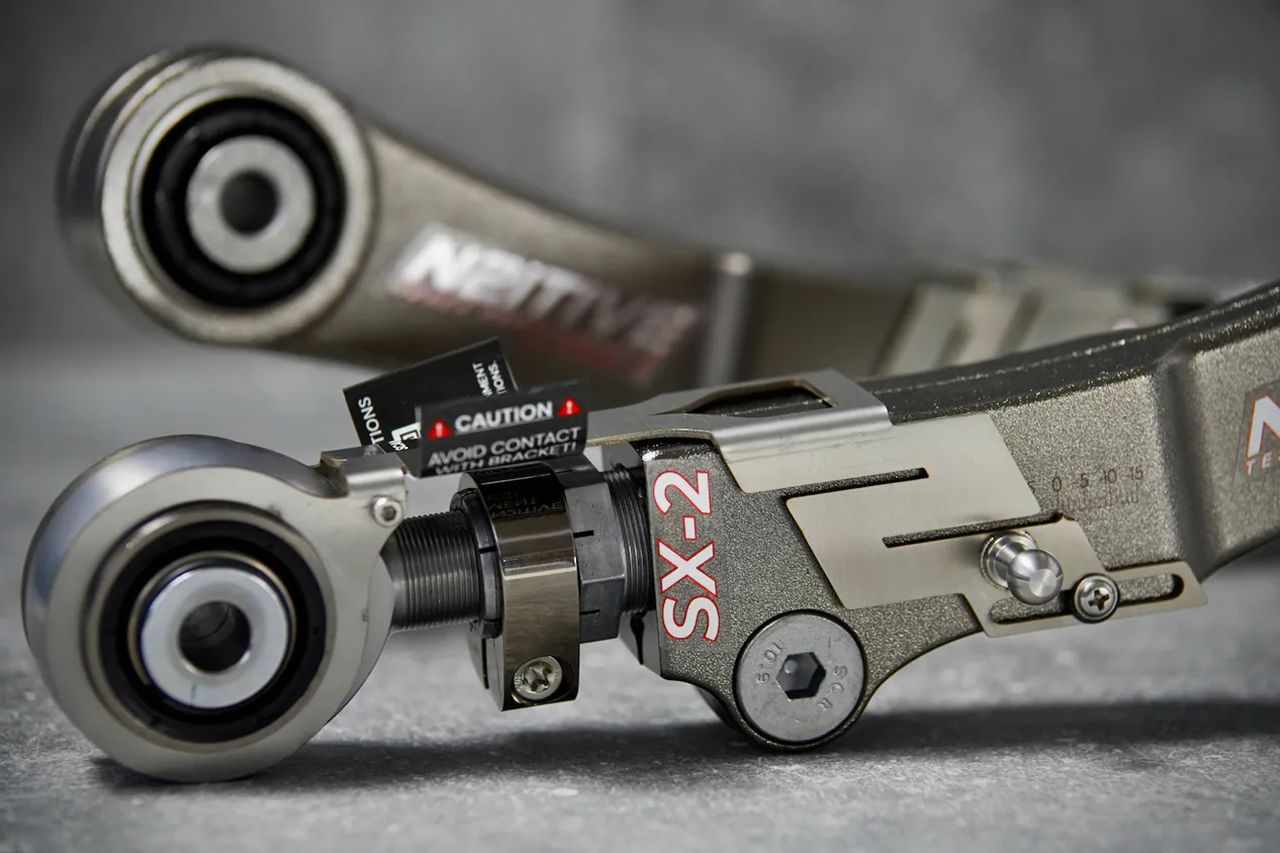
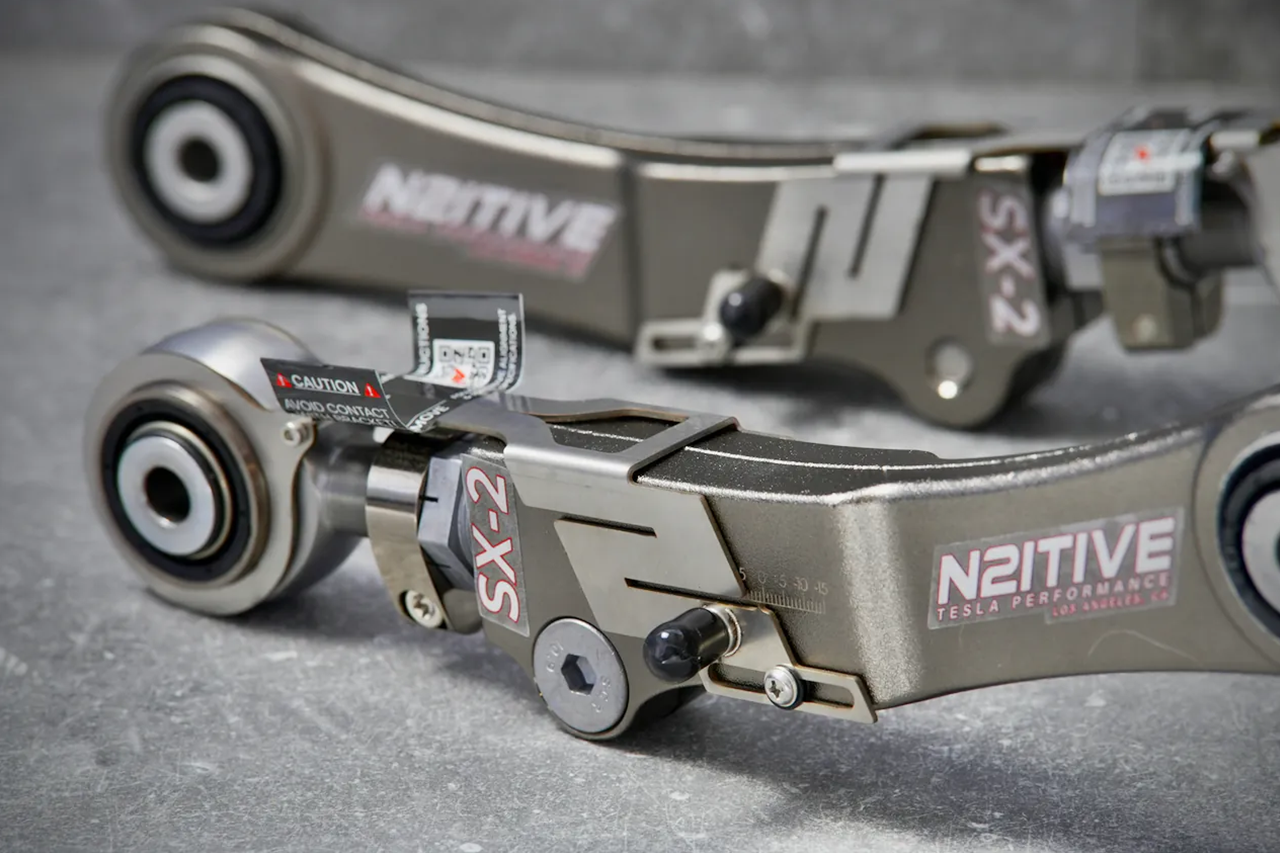
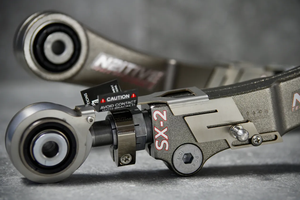
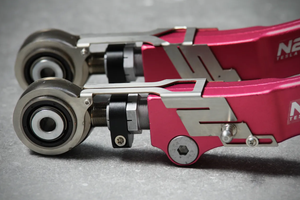
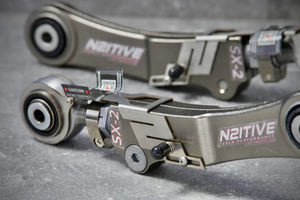
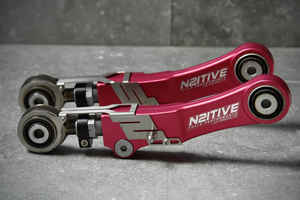
    Tesla Model S / X (2012- 01/2021) Rear Suspension Adjustable Camber Arms, SX-2 N2ITIVE

    Select Camber Arms Option
    Add Optional N2ITIVE TSX-2 Toe Arms
    z
    z
    • Description

      Tesla Model S & Model X 2012-2020


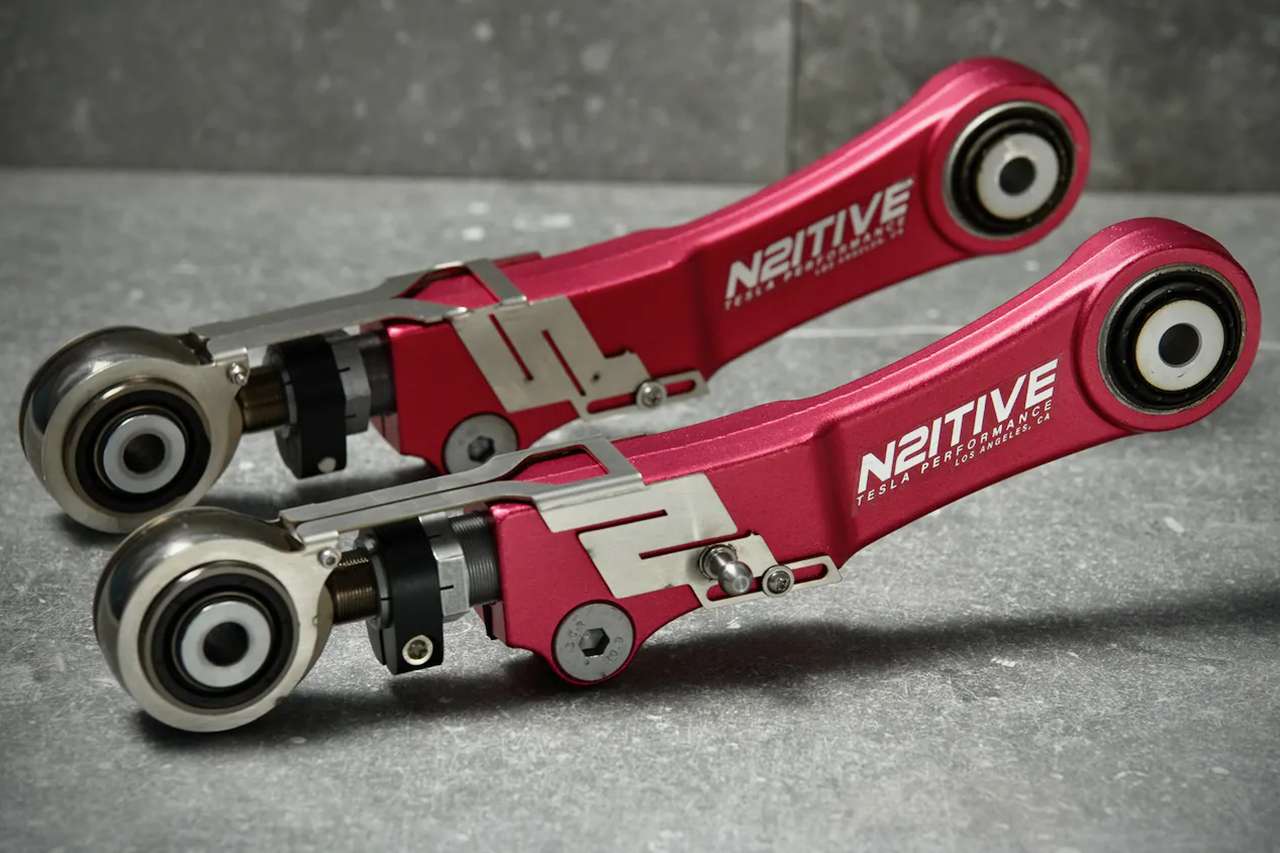
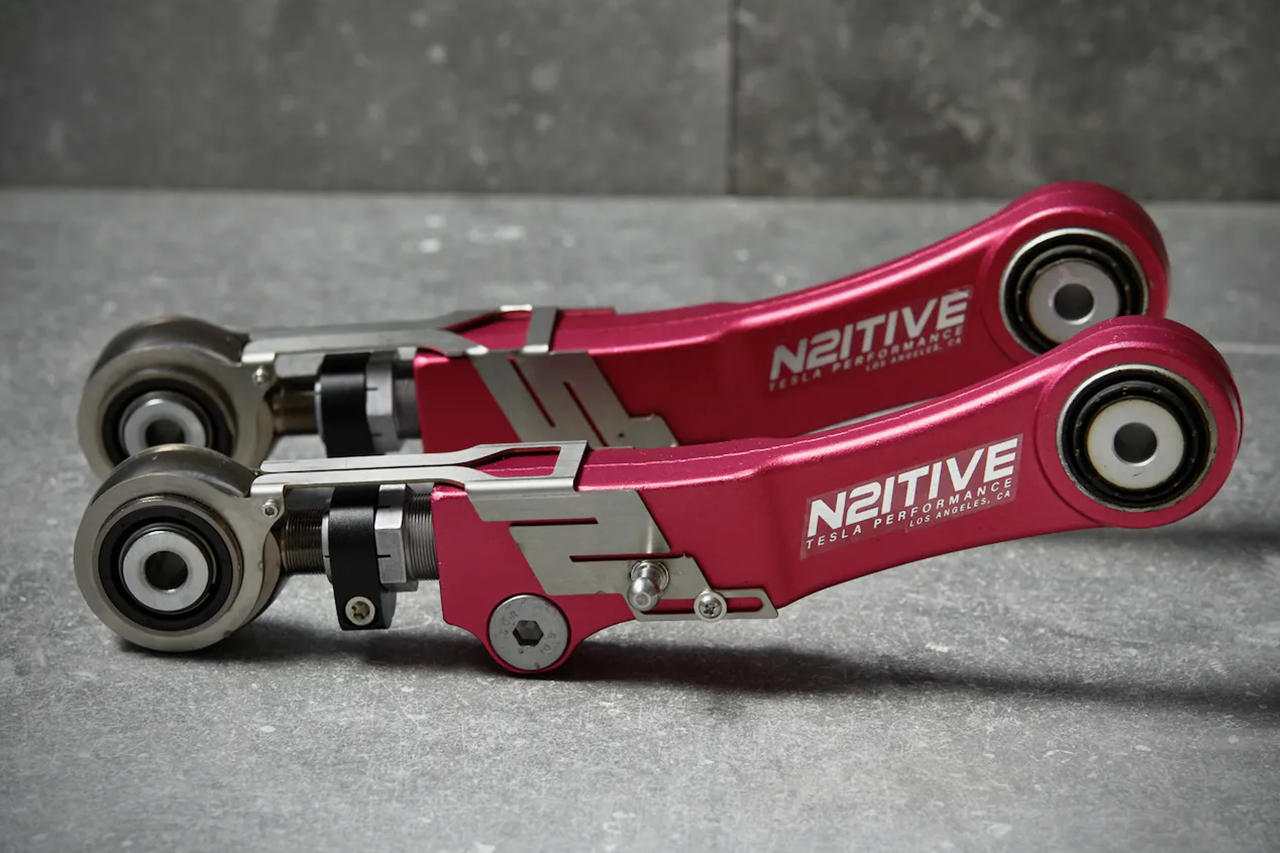
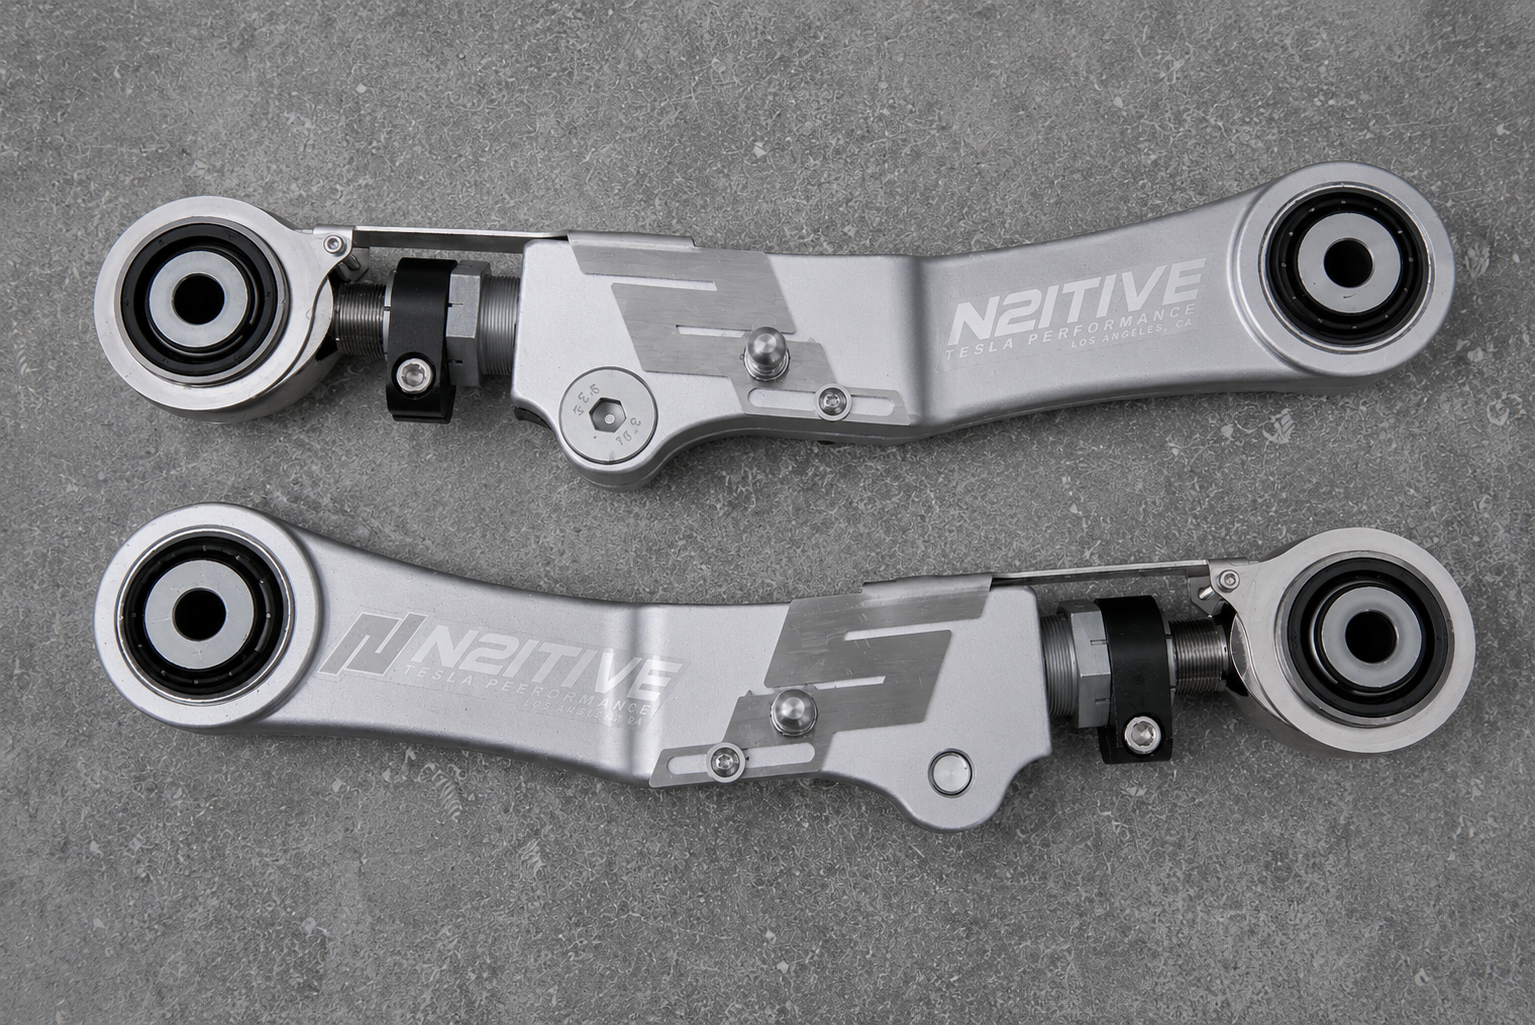
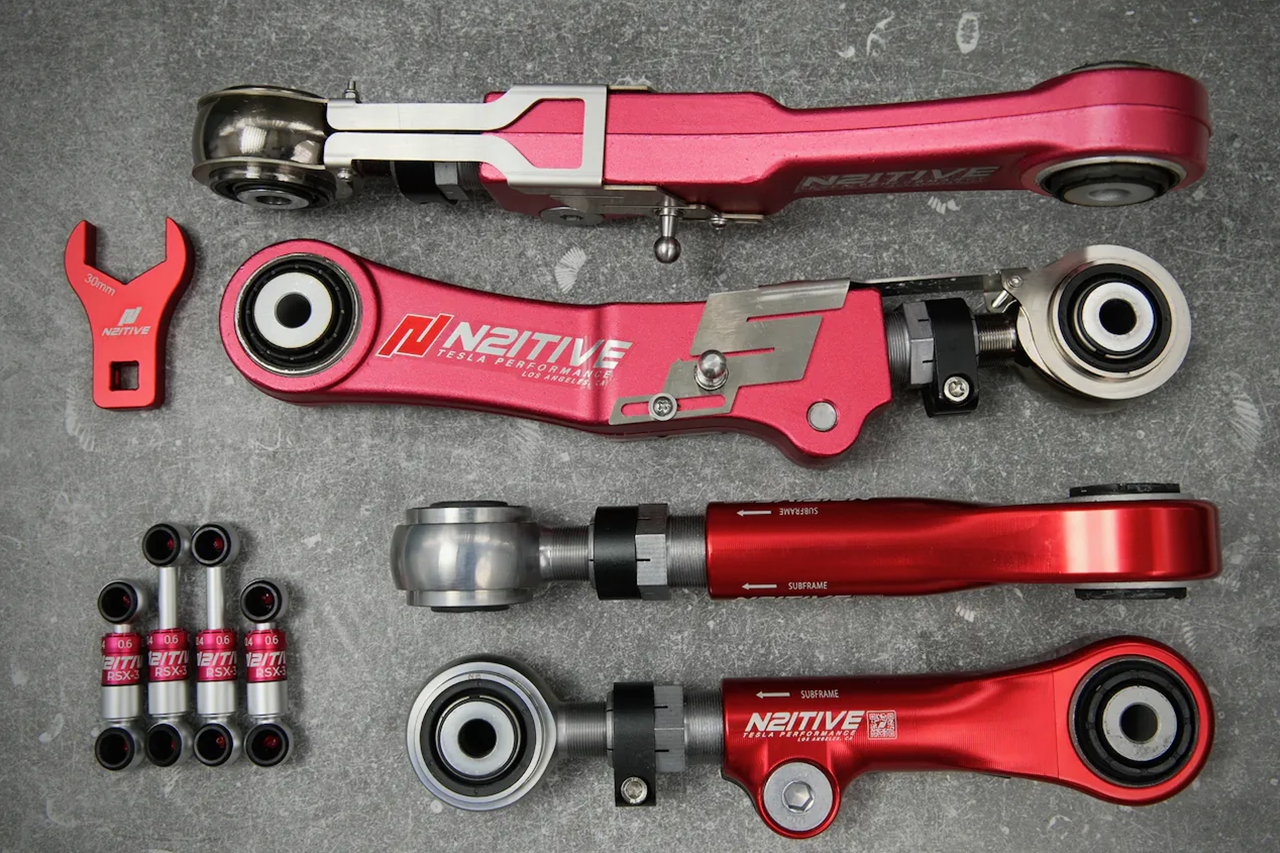
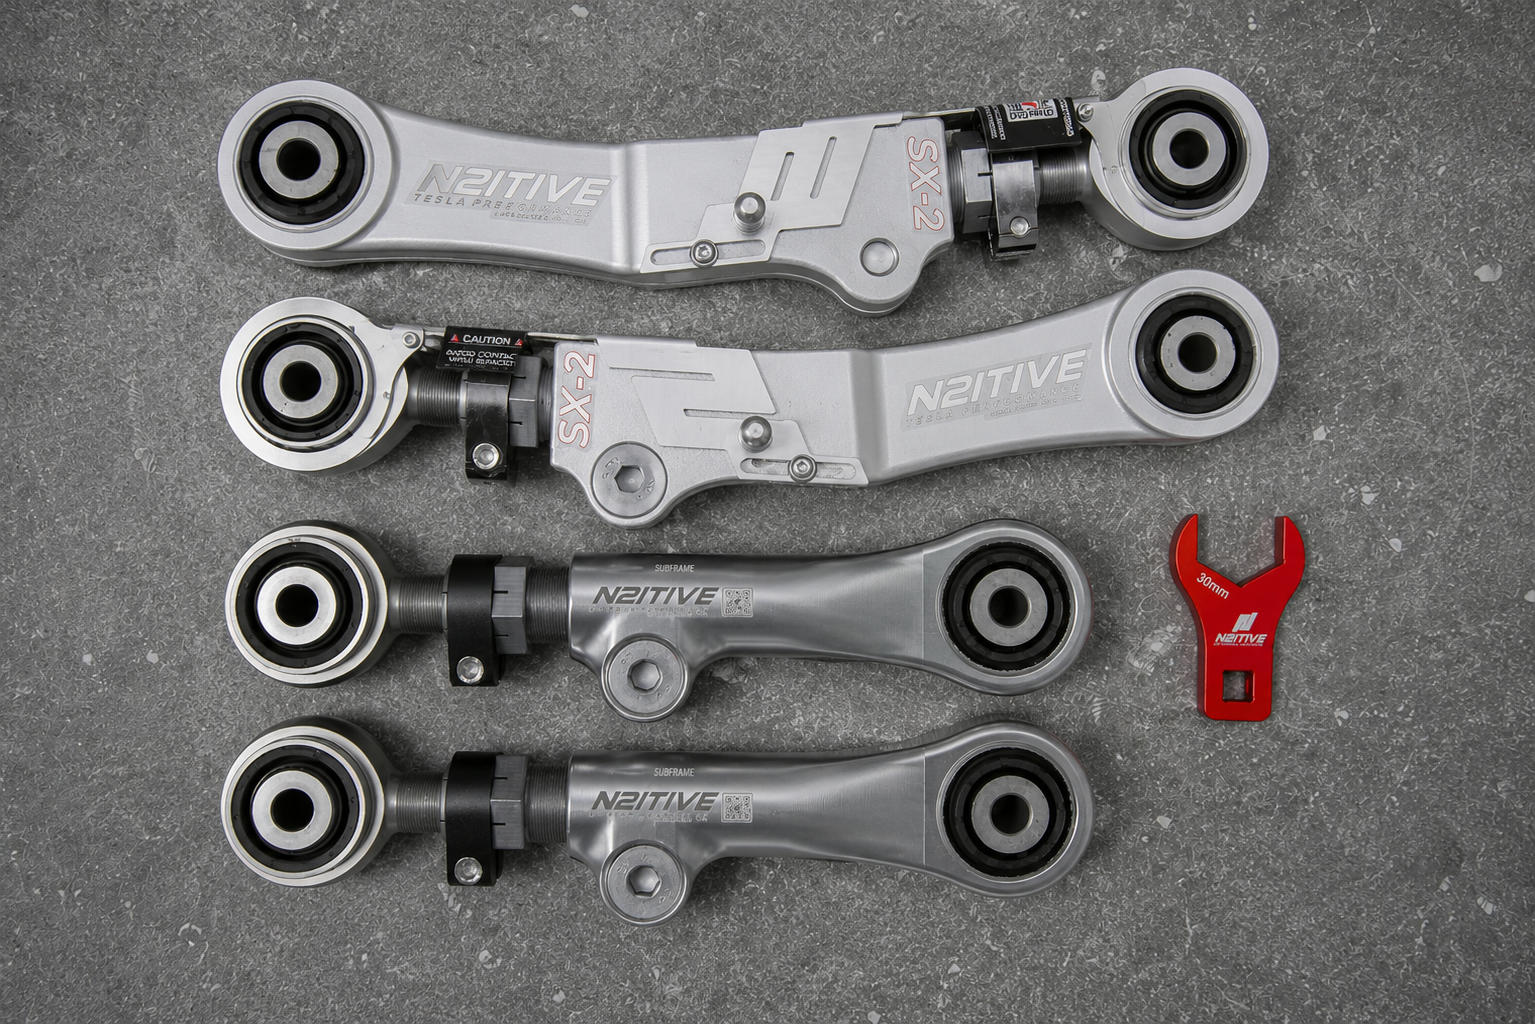
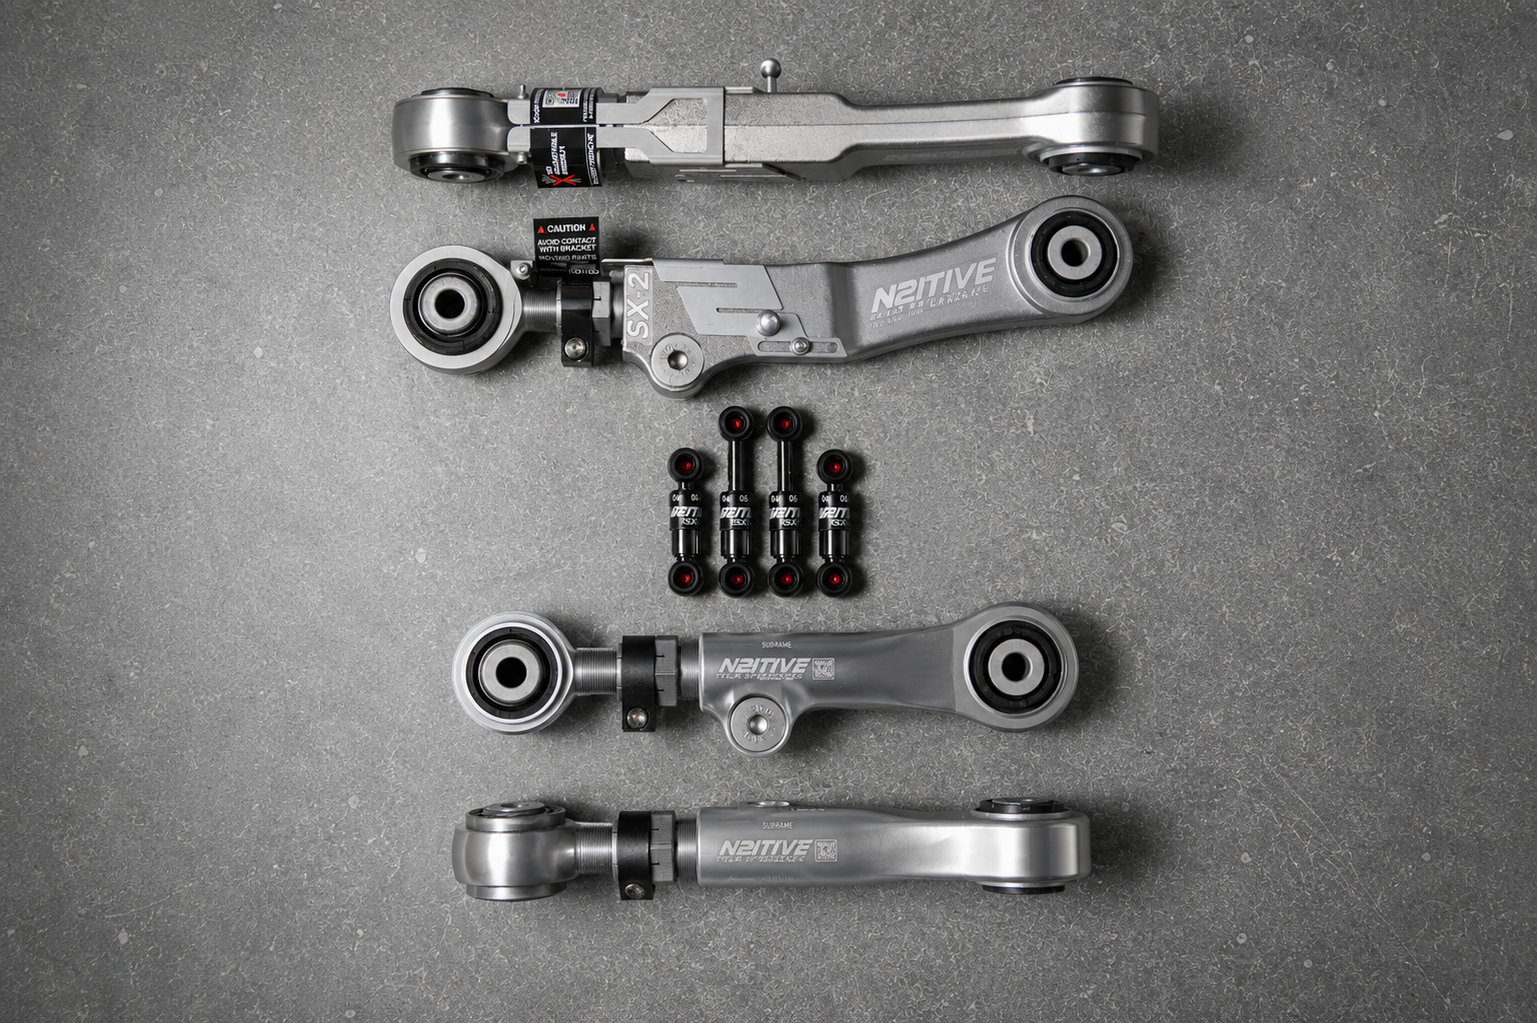
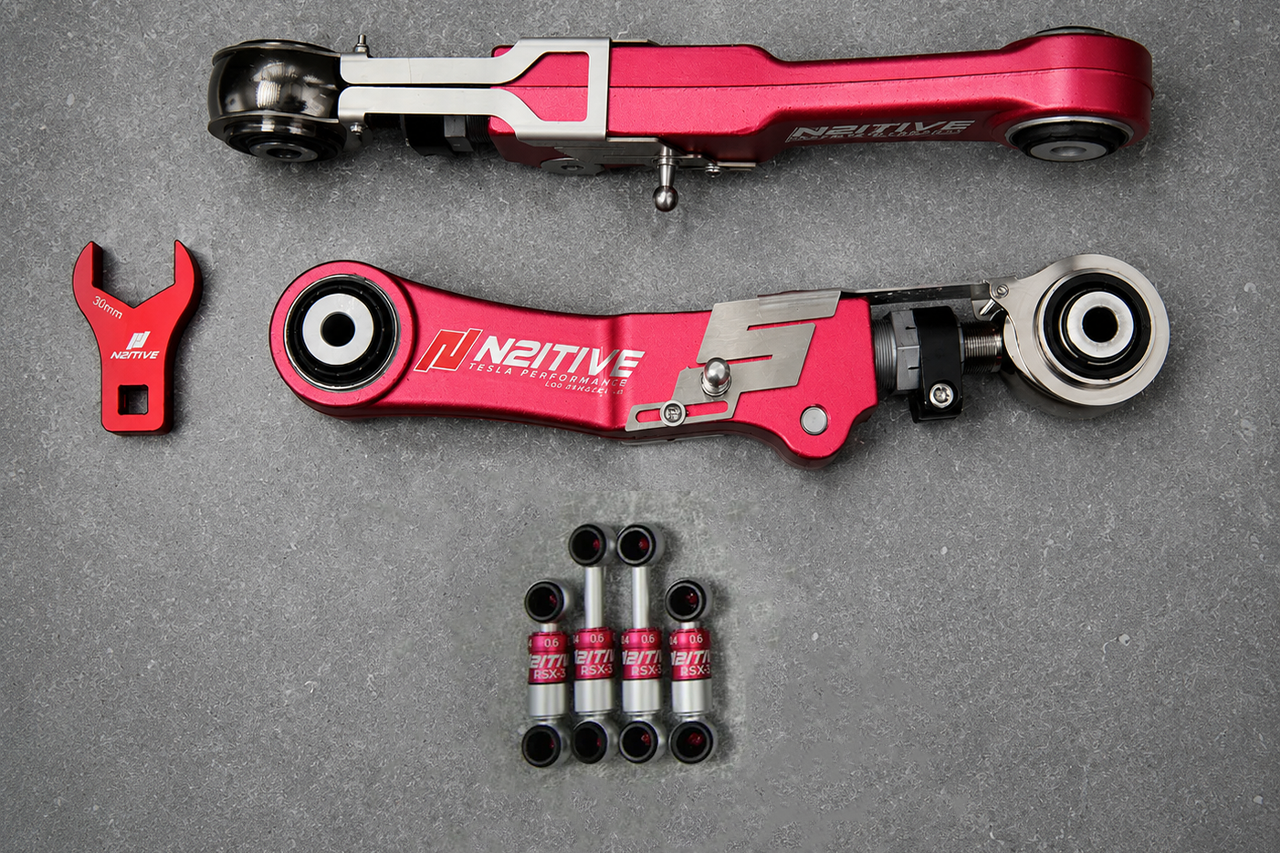
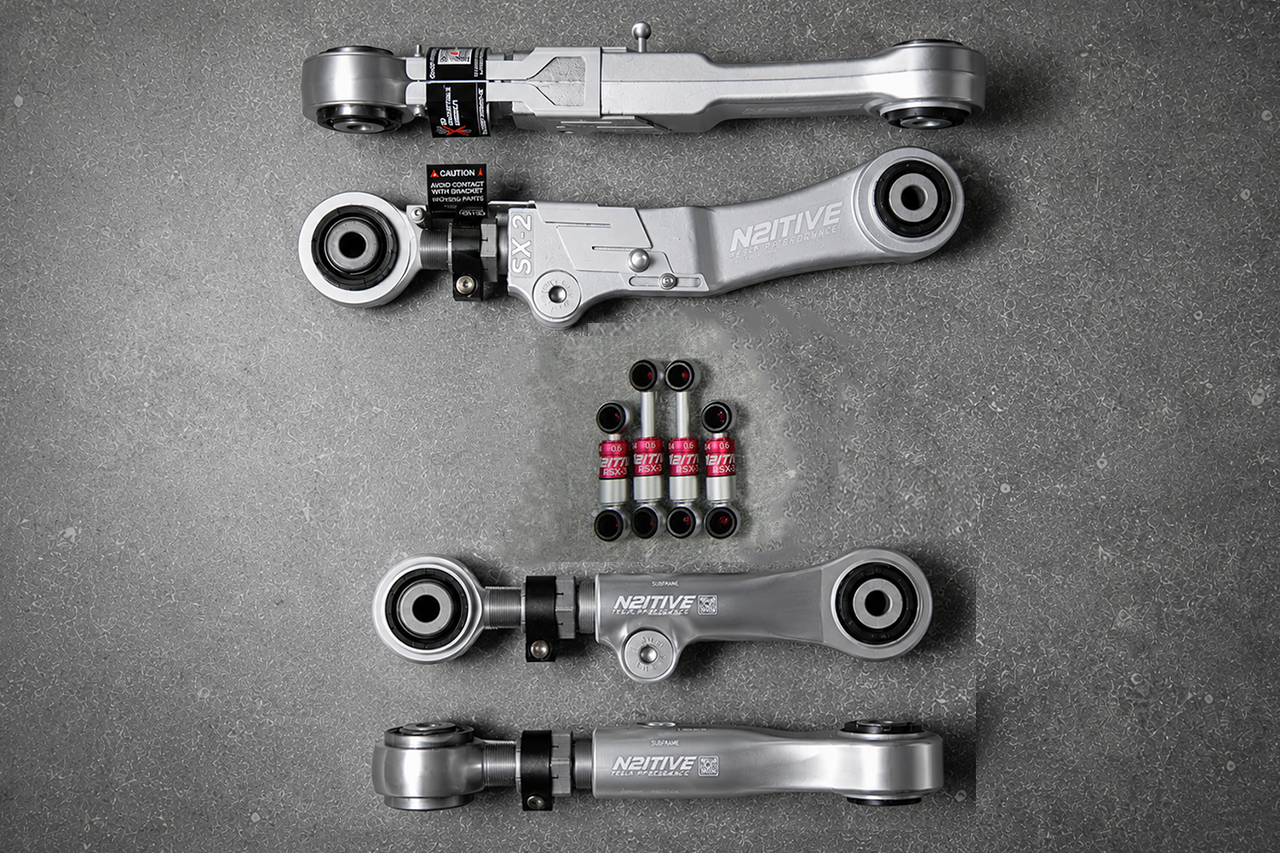
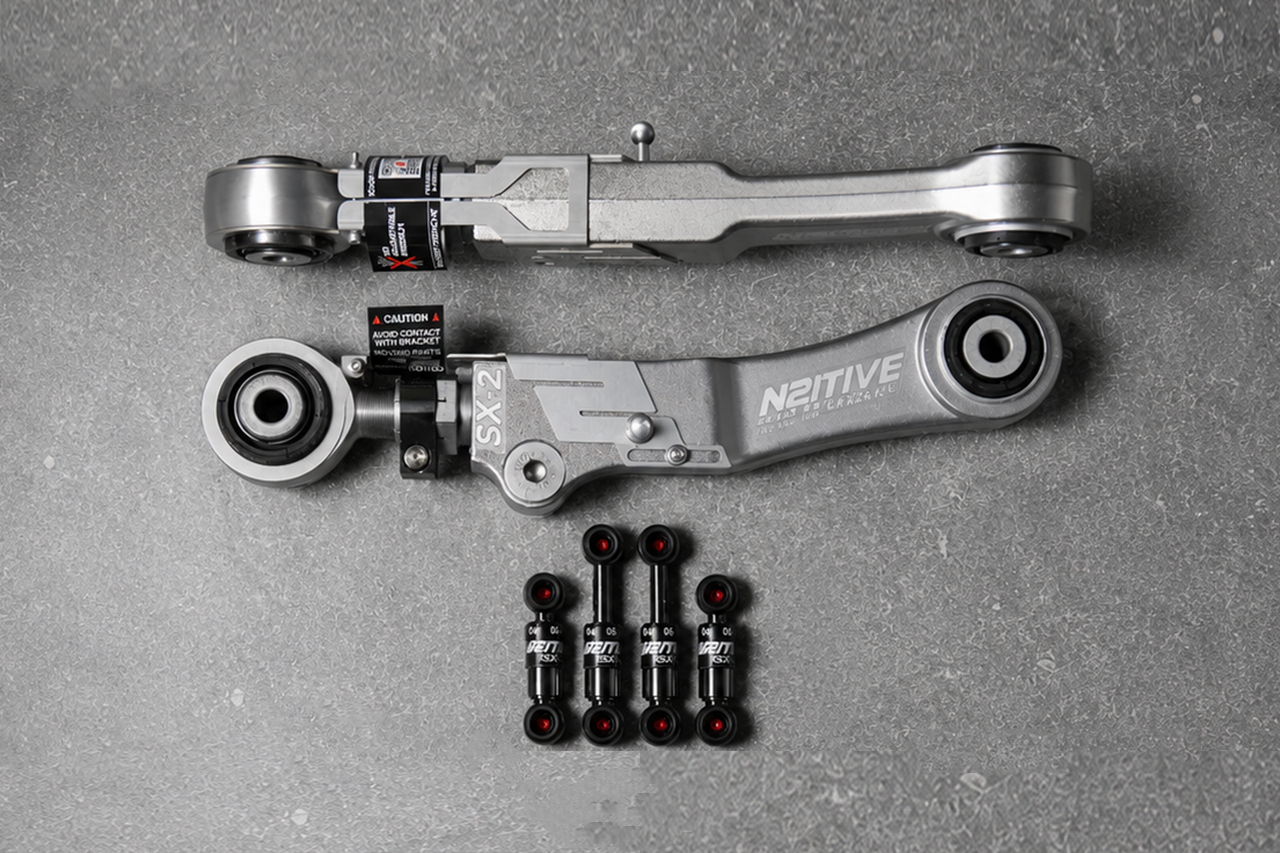
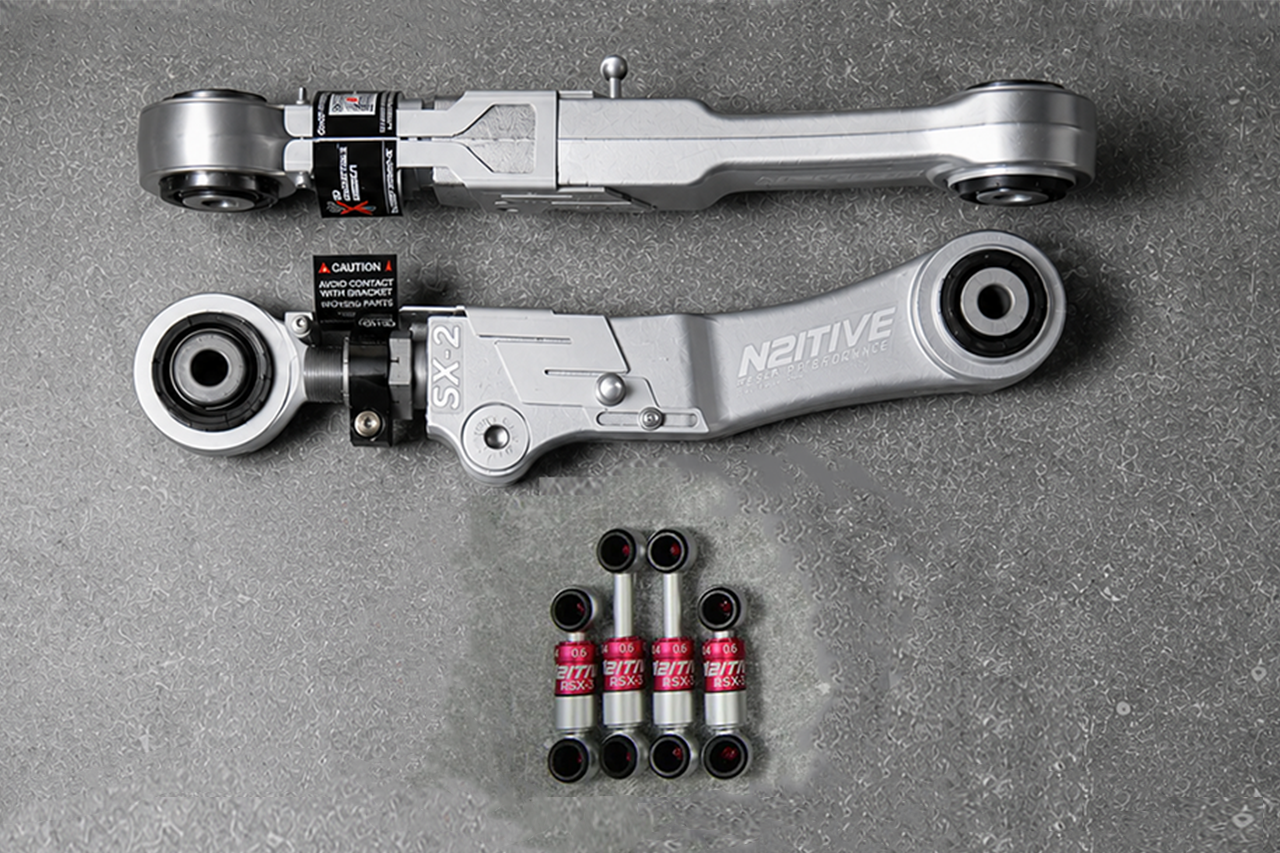
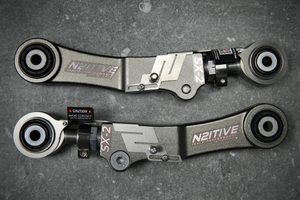
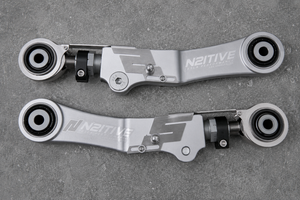
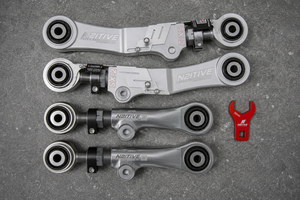
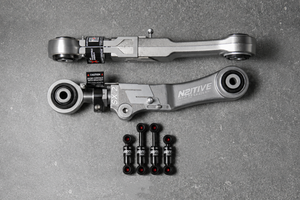
      Correct Rear Camber. Extend Tire Life. Dial In Your Alignment. Tesla Model S and Model X owners know the story all too well—premature inner tire wear, expensive tire replacements, and limited factory alignment adjustment. T Sportline is pleased to offer the N2ITIVE  SX-2 Adjustable Rear Camber Arms,  engineered to solve these issues by providing precise rear camber correction and expanded alignment adjustability for refreshed Model S and Model X vehicles.


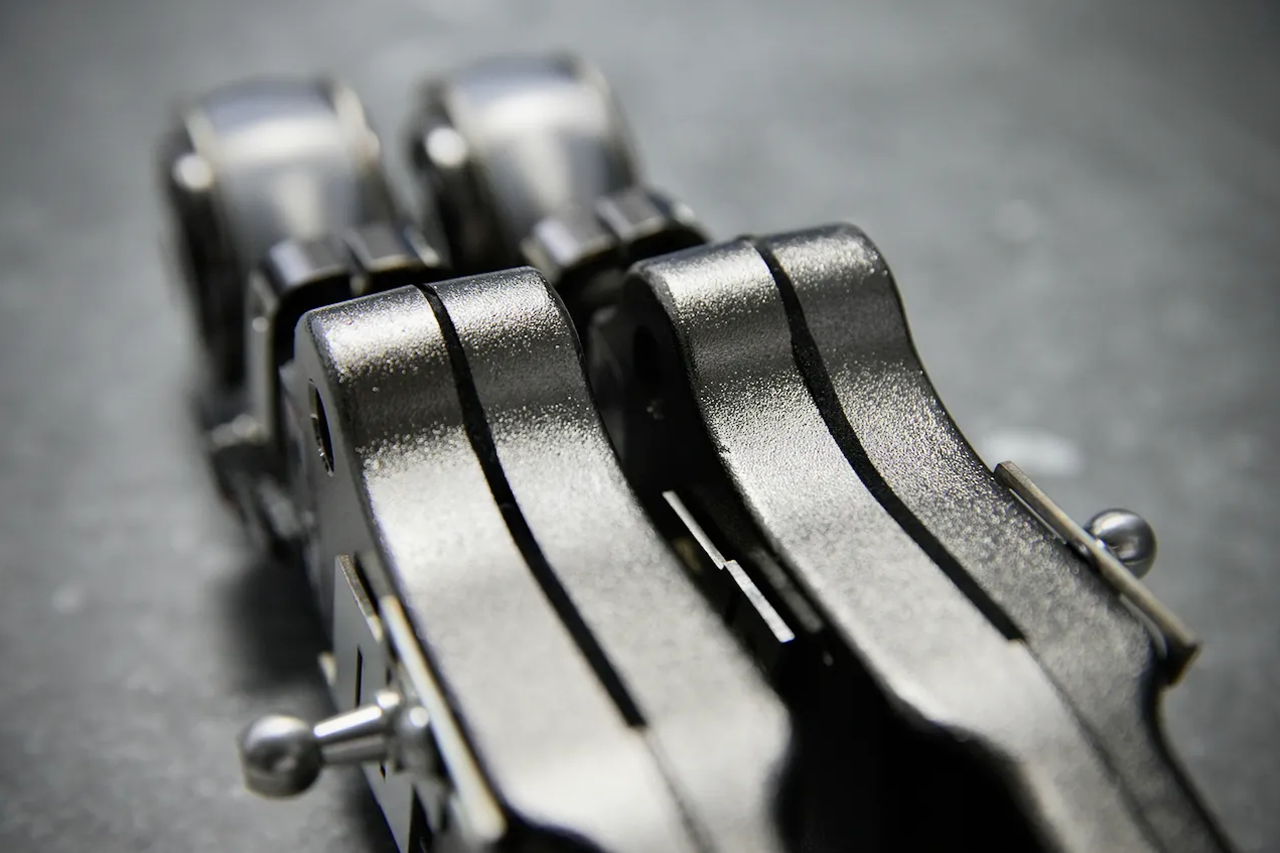
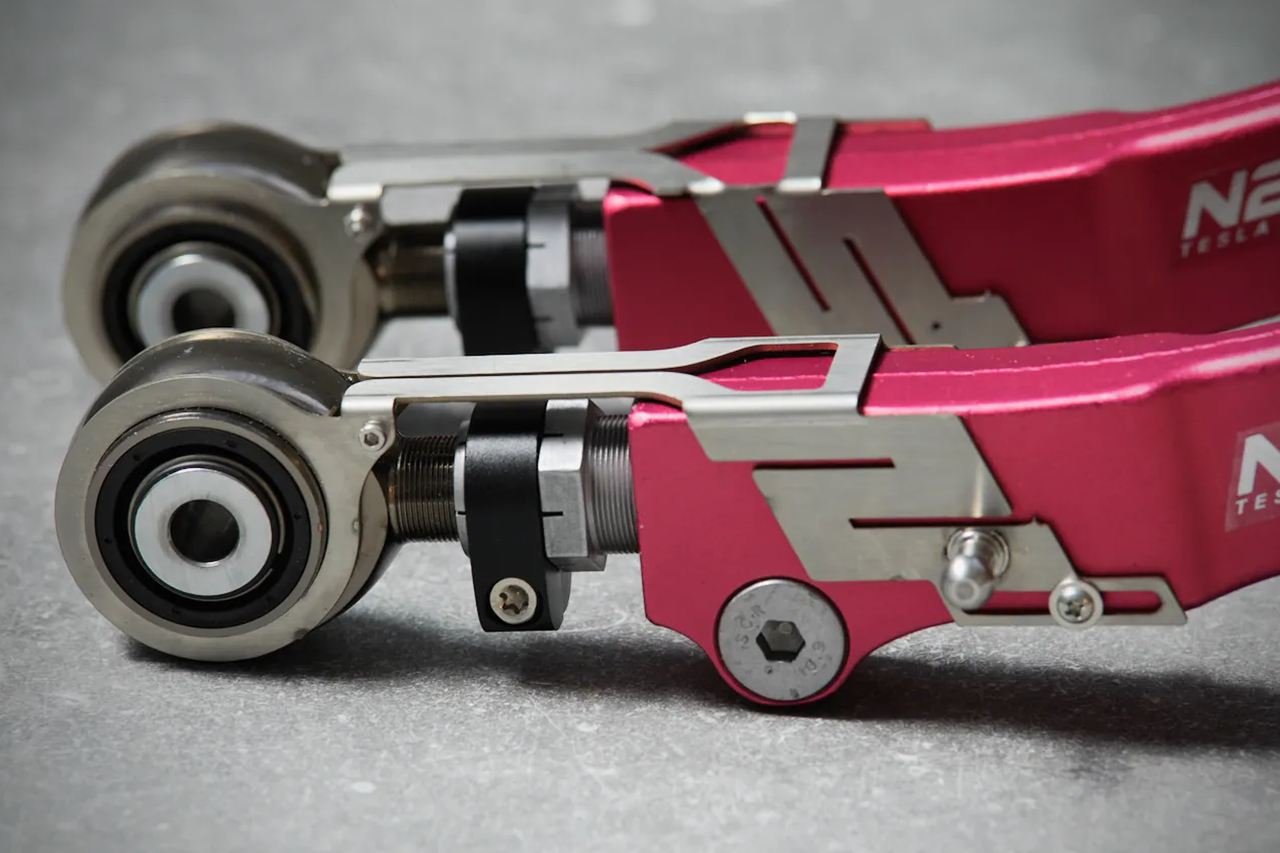
      Designed specifically for high-performance Tesla applications, the SX-2 features a lightweight drop-forged aluminum construction combined with premium motorsport-grade hardware to deliver exceptional strength, durability, and adjustability. Whether your vehicle is lowered, equipped with aftermarket wheels, or simply experiencing excessive inner tire wear, these adjustable camber arms allow alignment shops to achieve settings that are impossible with factory components.


      Why Upgrade Your Rear Camber Arms?

      Tesla's factory suspension geometry can result in excessive negative camber, causing the inside edges of the rear tires to wear significantly faster than the rest of the tread. N2ITIVE developed the SX-2 to provide additional alignment range, helping owners maximize tire life while maintaining outstanding handling characteristics.


      Fitment:

      • 2012 - Jan 2021 Tesla Model S
      • 2015 - Feb 2021 Tesla Model X


      Kit Options:

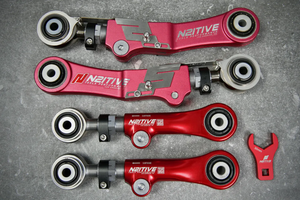
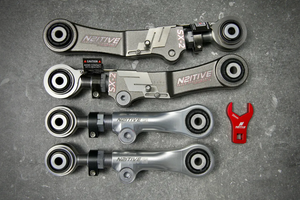
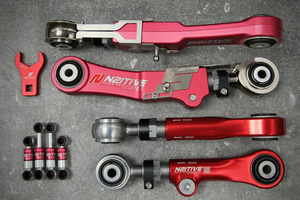
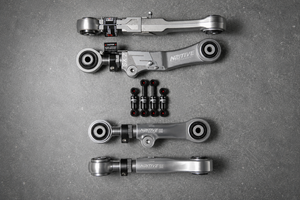
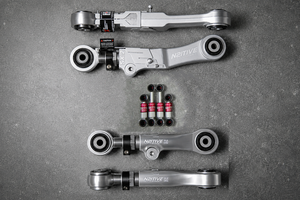
      • SX-2 Camber Arms Only
        • Anodized Clear Natural 
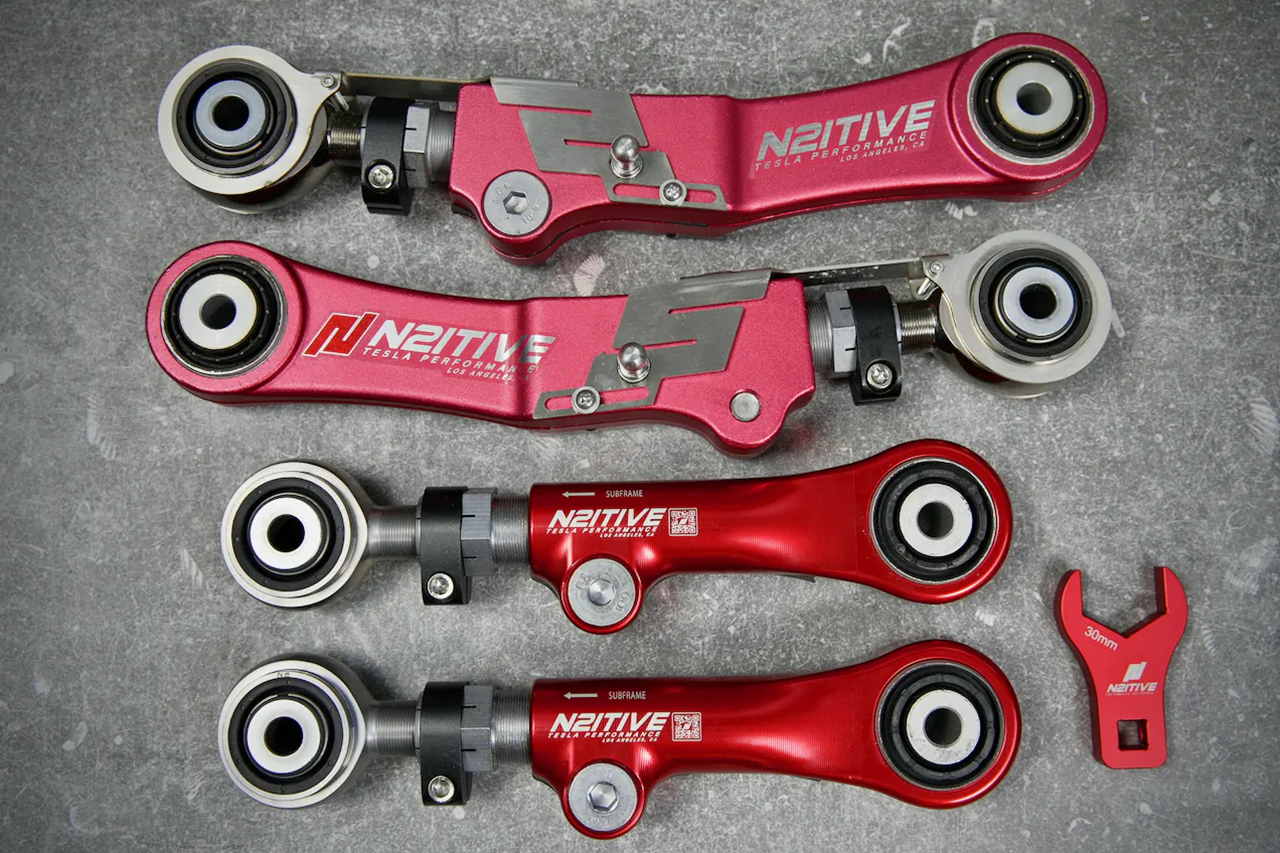
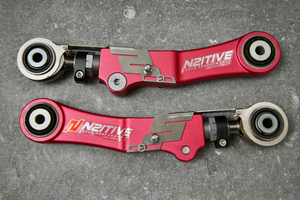
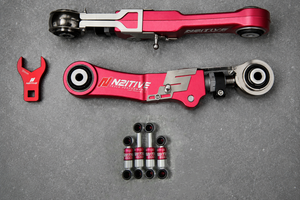
        • Anodized Red 
        • Anodized Black -- includes Multi-Alignment Kit Option & lifetime warranty
      • Optional  RSX-4 Lowering Links
      • Optional TSX-2 Toe Arms


      Key Features

      • Designed for Tesla Model S and Model X - (2012-2020 generations)
      • Precision-adjustable rear camber correction
      • Drop-forged aluminum construction for maximum strength and reduced weight
      • Motorsport-grade rod ends and hardware
      • Expanded alignment range beyond factory specifications
      • Helps reduce premature inner tire wear
      • Ideal for lowered vehicles and custom wheel/tire setups
      • Corrosion-resistant finish for long-term durability
      • Direct bolt-on installation


      Benefits

      • Extend Tire Life
        • Reduce excessive negative camber that contributes to accelerated inner tire wear and uneven tread patterns. Many Tesla owners install adjustable alignment components specifically to address premature tire wear concerns.
      • Improved Alignment Precision
        • Give your alignment technician the adjustment range needed to properly dial in rear suspension geometry for your specific ride height and wheel setup.
      • Optimized Handling
        • Fine-tune suspension settings to improve stability, cornering consistency, and overall driving confidence.
      • Built for High-Performance Teslas
        • Engineered to withstand the immense acceleration, weight, and cornering forces generated by Tesla's Plaid and Long Range platforms.


      Perfect For

      • Vehicles experiencing excessive rear tire wear
      • Lowered Model S and Model X applications
      • Performance-focused street builds
      • Custom wheel and tire setups
      • Owners seeking maximum alignment flexibility


      What's Included

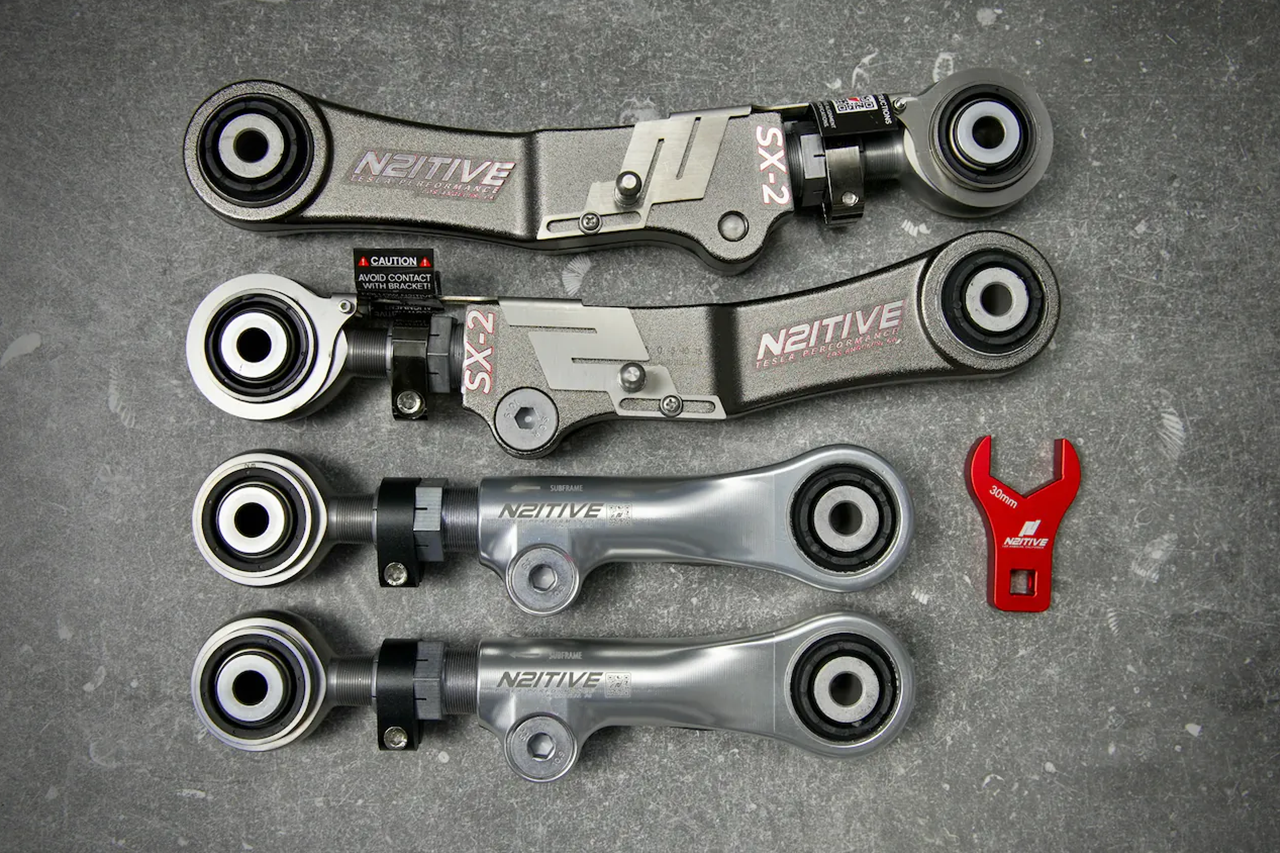
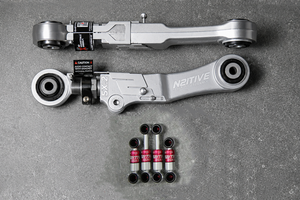
      • Left and right N2ITIVE SX-2 rear camber arms
      • Premium mounting hardware
      • 30mm crow's foot wrench
      • Installation instructions


      Take Control of Your Alignment

      Whether you're looking to protect your tire investment, optimize your suspension setup, or achieve the perfect alignment after lowering your Tesla, the N2ITIVE SX-2 Adjustable Rear Camber Arms provide the precision and durability serious Tesla owners demand.

      Click for Installation Instructions 


      INSTALLATION INSTRUCTIONS: SX-2

      Estimated Labor: 1-2 hours

      Parts and Tools Necessary

      • 15mm, 18mm, 21mm wrenches and sockets
      • T30 Torx bit
      • 8mm Allen key
      • Screwdriver or other small prying device
      • Torque Wrench
      • Nylon lock nut (Part #2007076, Tesla recommendation)


      Before Install

      • If the vehicle is equipped with air suspension, activate Jack Mode through the touchscreen before lifting the vehicle. The air suspension will attempt to self-level otherwise, which may cause serious damage, bodily injury, or death.
      • Make yourself familiar with the proper way to jack and lift your Tesla before attempting installation.


      Removal

      1. Jack the vehicle up from the appropriate lift areas, as shown below. Using lift pads between the jack and the vehicle’s frame is highly recommended in order to avoid damaging the vehicle.
      2. Loosen the lug nuts (21mm) and remove the wheel.
      * Take note of the position that the sensor link sits at. The link must be re-installed in the same position, as the vehicle may not read the ride height correctly otherwise.
      3. Pry off the short sensor link from the ball attached to the original camber arm. This can be done with a large flat head screwdriver or small pry bar, gently using the original camber arm as a fulcrum point. Always exercise caution when dealing with the links, as they have many points of failure.
      4. Remove the bolt that connects the camber arm to the knuckle (15mm).
      5. Remove the nut and bolt that connect the camber arm to the subframe (18mm).
      6. Remove the camber arm from the vehicle. If you are having trouble removing the camber arms, rocking the knuckle/hub may aid in loosening and removing the arm.


      Installation

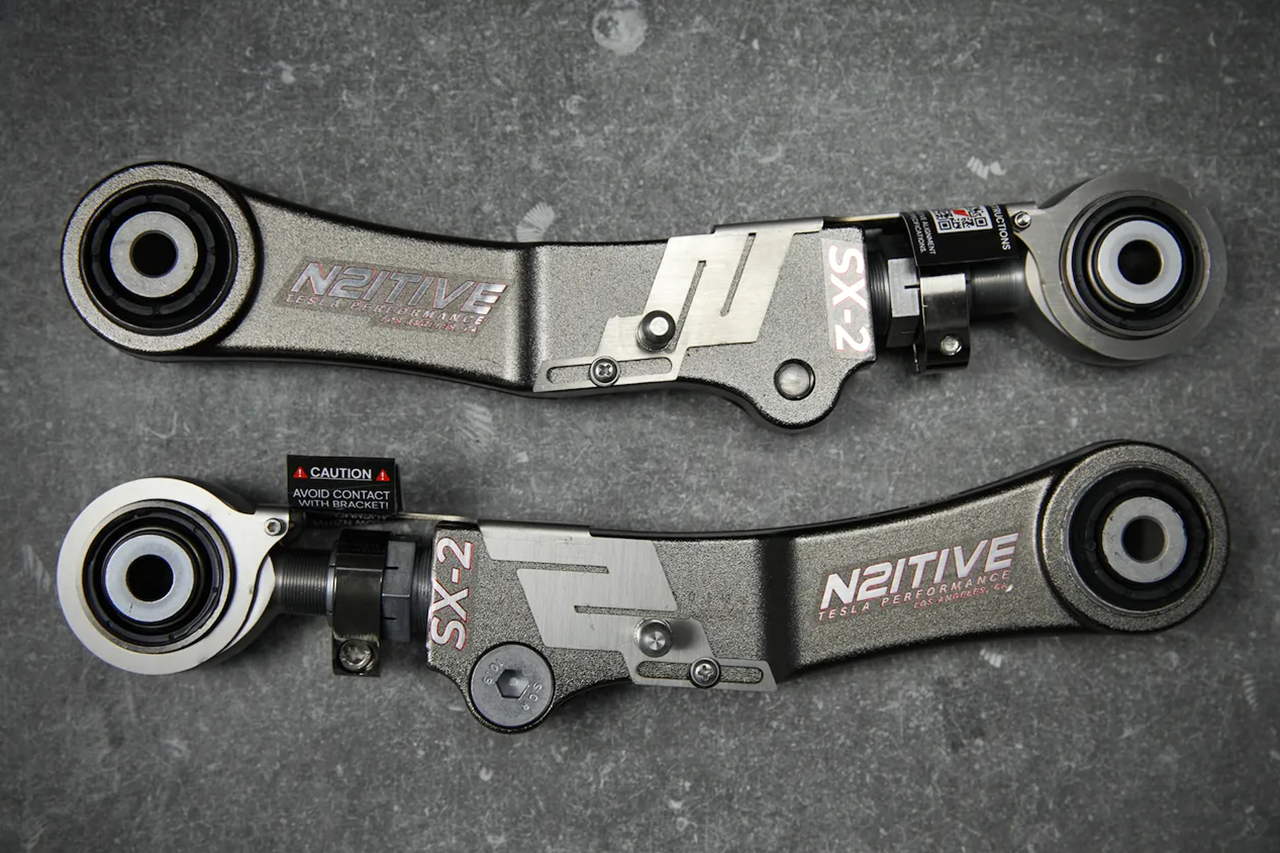
      1. Verify that the arm being installed is correct, as the SX-2 is mirrored for the driver and passenger sides. The SX-2 should be around the same length of your stock arm, which can be verified by passing a bolt through both bushings. The rod-end bushing is to be installed on the subframe side, and the ball stud for the sensor link should be facing forward.
        2. Realign and hand-tighten the nuts and bolts in their original positions. DO NOT torque the nuts or bolts at this stage. Note that aligning the hub side first will result in an easier install.
        3. Preload the suspension before torquing down the bolts. This can be done by jacking the knuckle up until the suspension is fully loaded. The car itself should feel like it is about to lift and the hub should be positioned as if the car was sitting on the floor. This step is critical in ensuring the bushings are correctly positioned when you drive the car.
        4. Once preloaded, torque the bolts down to their appropriate settings. The bolt towards the subframe should be torqued to 96 ft/lbs (130Nm), and the knuckle side to 103 ft/lbs (140Nm).
        5. If installing back original links, apply a small amount of white lithium or other appropriate automotive grease in the socket. Carefully press the link back onto the camber arm. 
        6. Remount the wheels back on the vehicle and torque down the lug nuts to 129 ft/lbs (175 Nm). Make sure to remove all jack stands and tools from under the vehicle before you let it down.


      Adustment

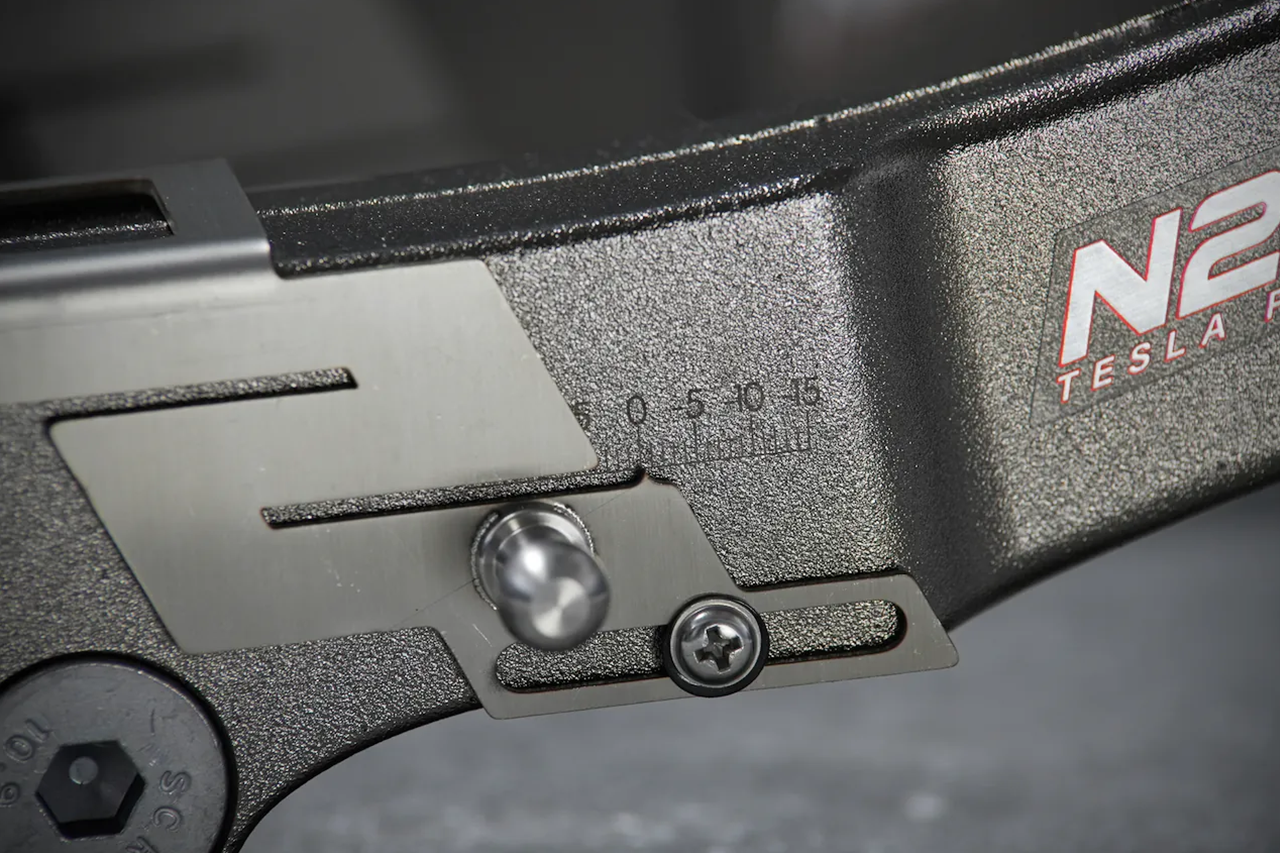
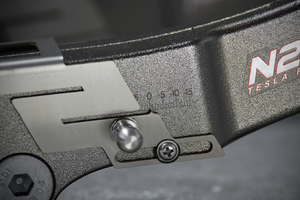
      -Adjustment of the SX-2 is to be made using the 30mm wrench provided along with the arms. Other wrenches will likely be too large and damage the bracket, which may result in an inaccurate reading on the engraved scale.
      -Loosen the T30 Torx bolt on the black collar as well as the 8mm allen bolt on the body of the arm. Both of these bolts must be loose for adjustment to be made.
      -Tighten or rotate the adjuster clockwise in order to increase negative camber. Loosening or rotating the adjuster counter-clockwise will reduce negative camber.
      -Once you are done adjusting, torque the 8mm and T30 bolts to spec. The 8mm allen should be tightened to 24 ft/lbs or 32.5 Nm, and the T30 Torx to 8 ft/lbs or 11 Nm. Make sure the collar with the T30 is aligned with the rod end to avoid damage while driving.