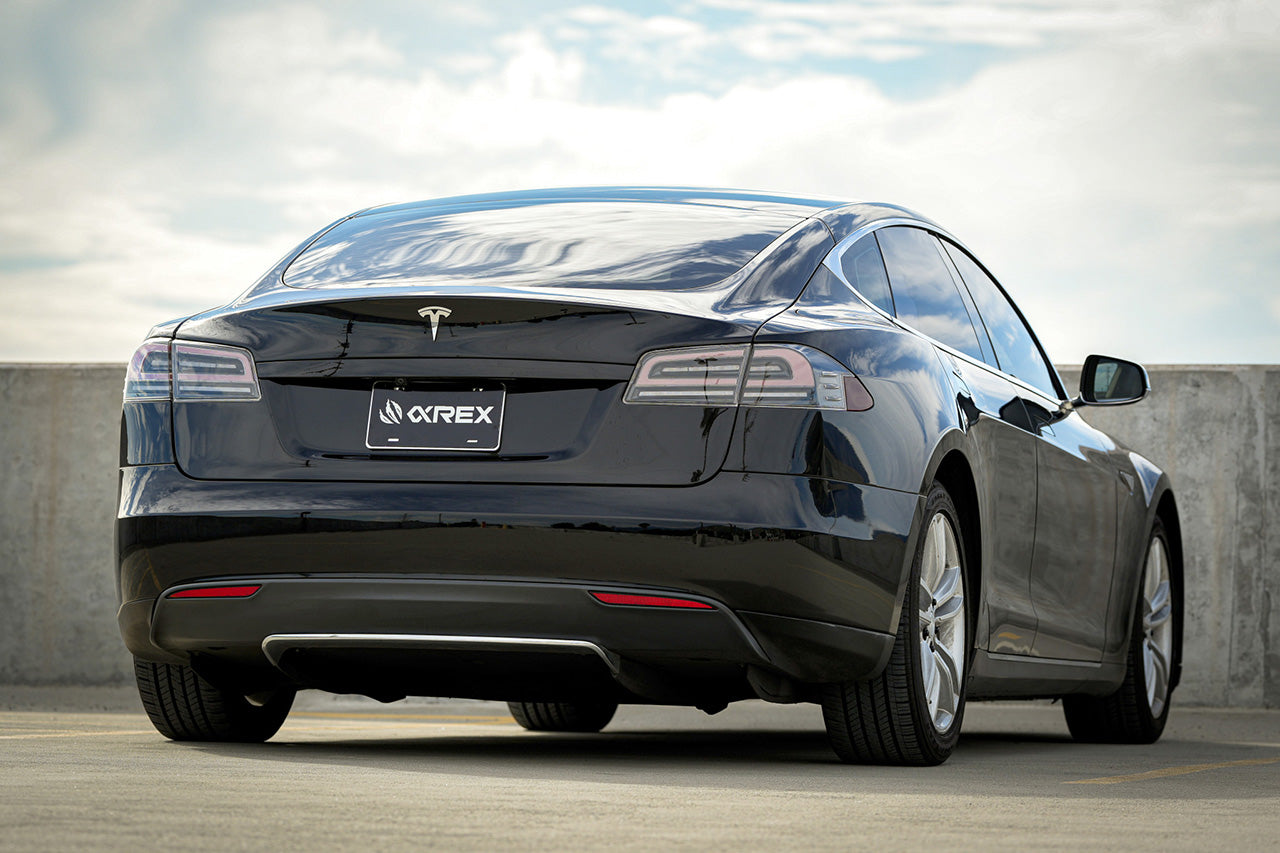

Installation Guide for 2012 - 2020 Tesla Model S Alpharex LUXX-Series LED Tesla Tail Lights
This installation guide takes you through the step-by-step process of installing your new ALPHAREX TAIL LIGHTS for your 2012-21 Tesla Model S. DO NOT USE DIELECTRIC GREASE!
Installation Tools
- Metal Panel Popper
- Plastic Panel Popper
- 1/4 Ratchet
- Power Tool
- NOTE: When using power tools, always ensure that you do not overtighten the screws.
- Metal Panel Popper
- 1/4 Extension
- 8mm Socket
- T20 Torx Socket
- T30 Torx Socker
Whenever working on your vehicle, always make sure your vehicle is OFF and parked.
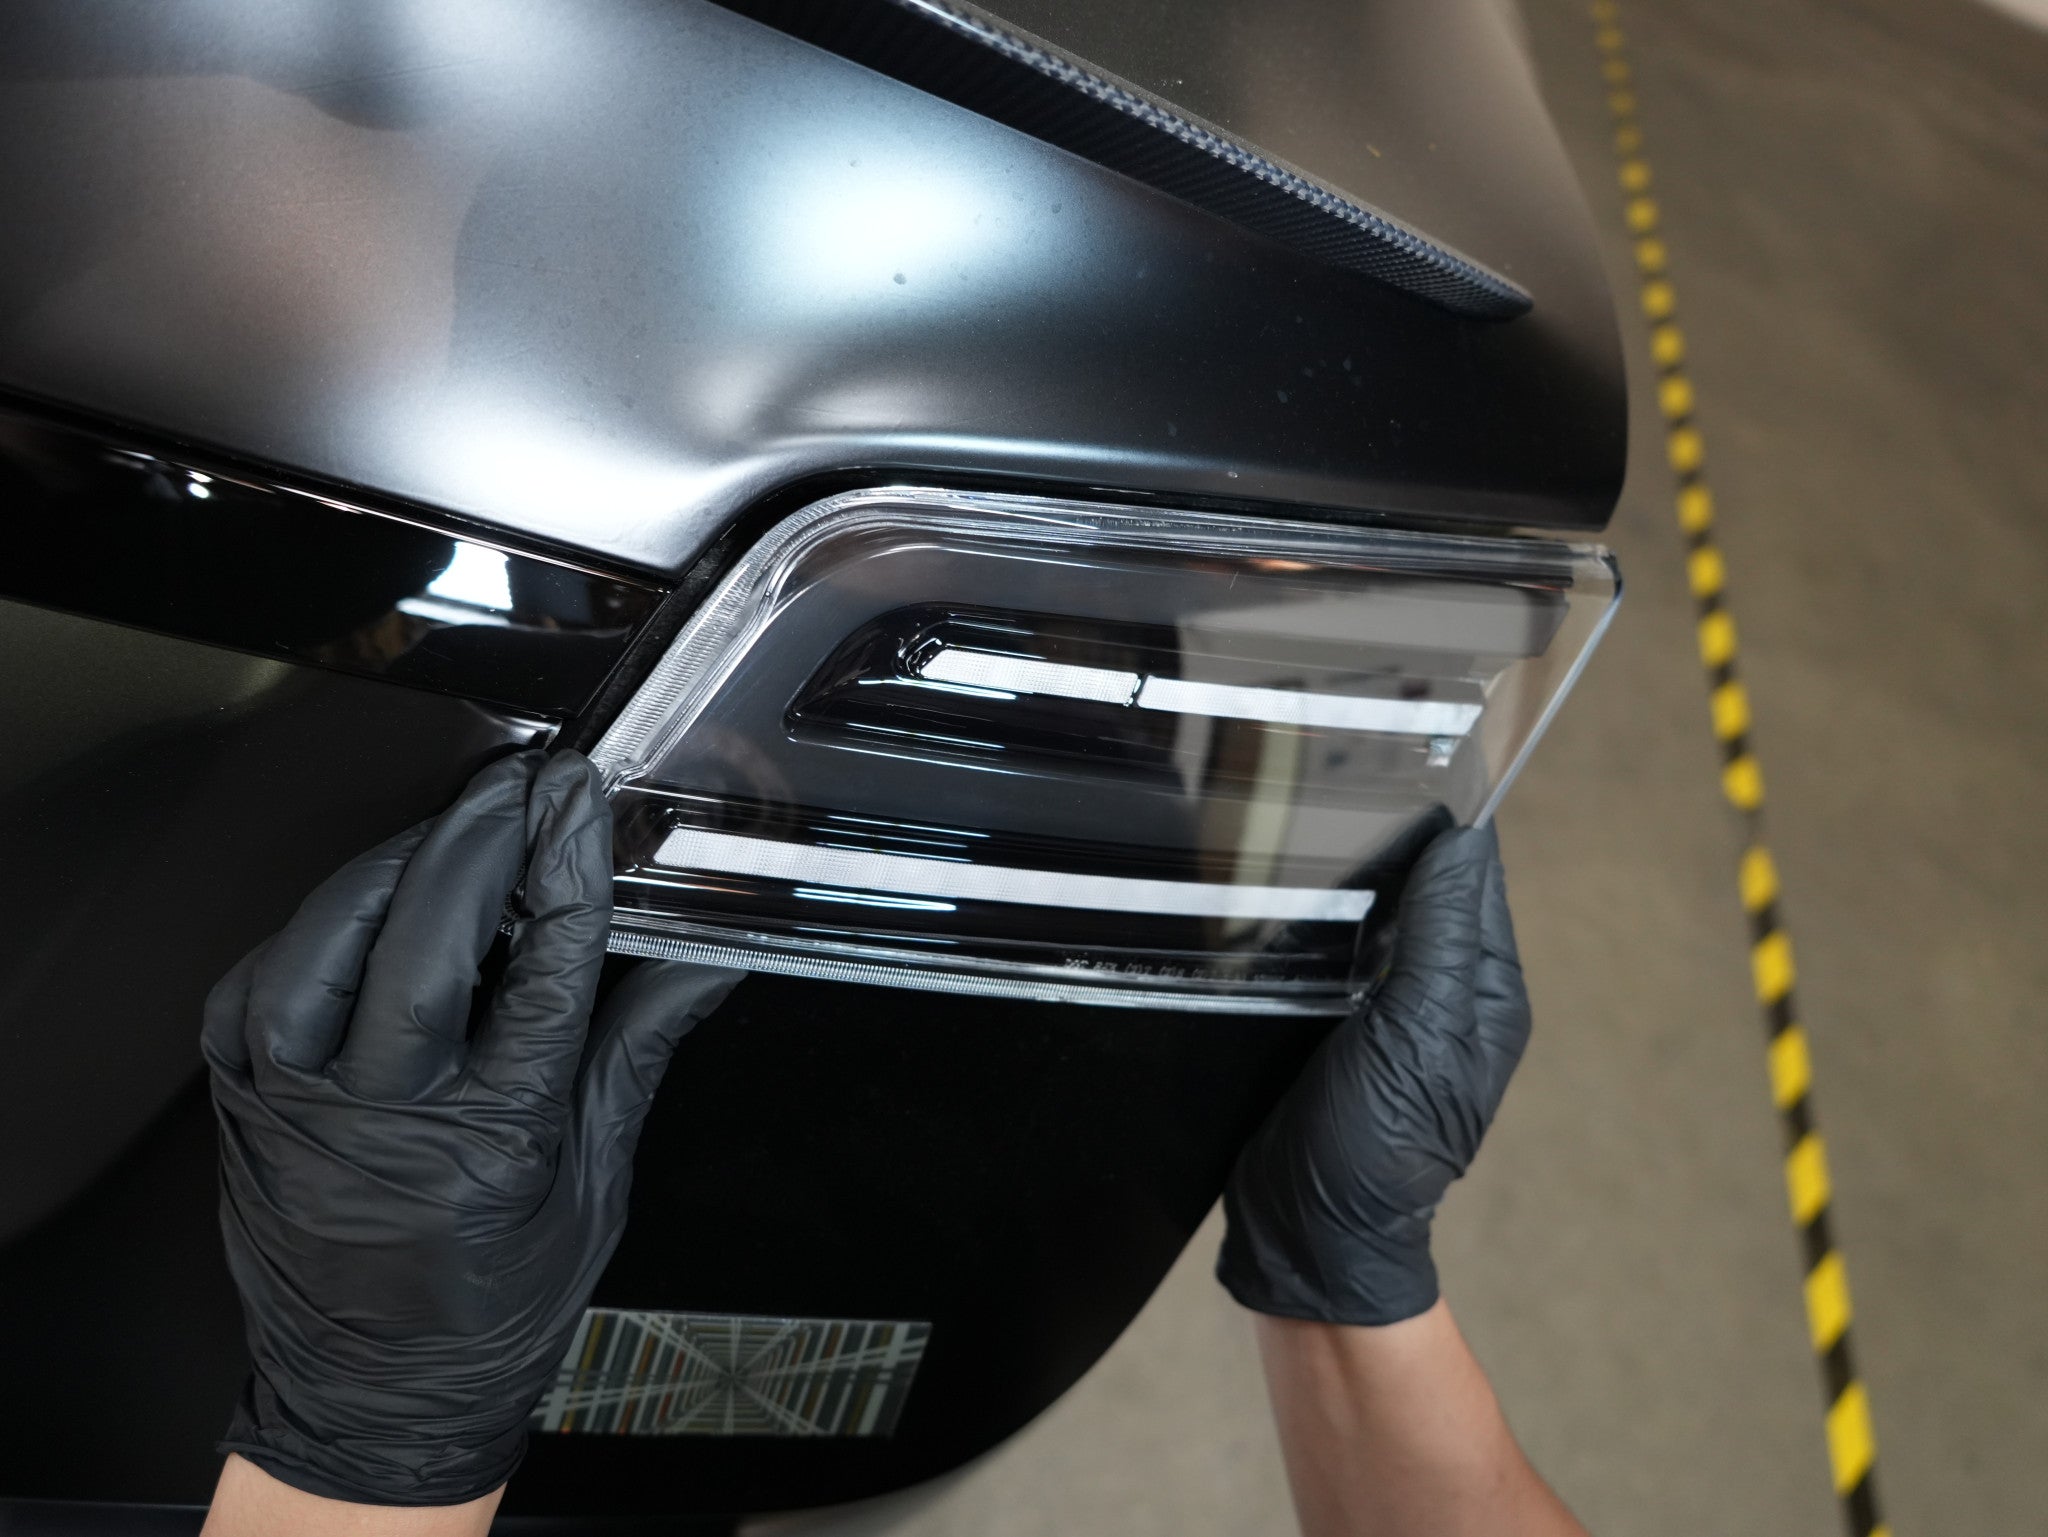
Remove the Inner Tail Lights
First, open the trunk and remove the trunk panels. Use plastic pliers to gently pull and detach the panels, which are secured by multiple plastic clips.


Set the panels aside for future re-installation.

Next, unplug the tail light connector. Remove the four 8mm nuts that secure the tail light assembly.


Follow the same steps for the other side of the inner tail light.


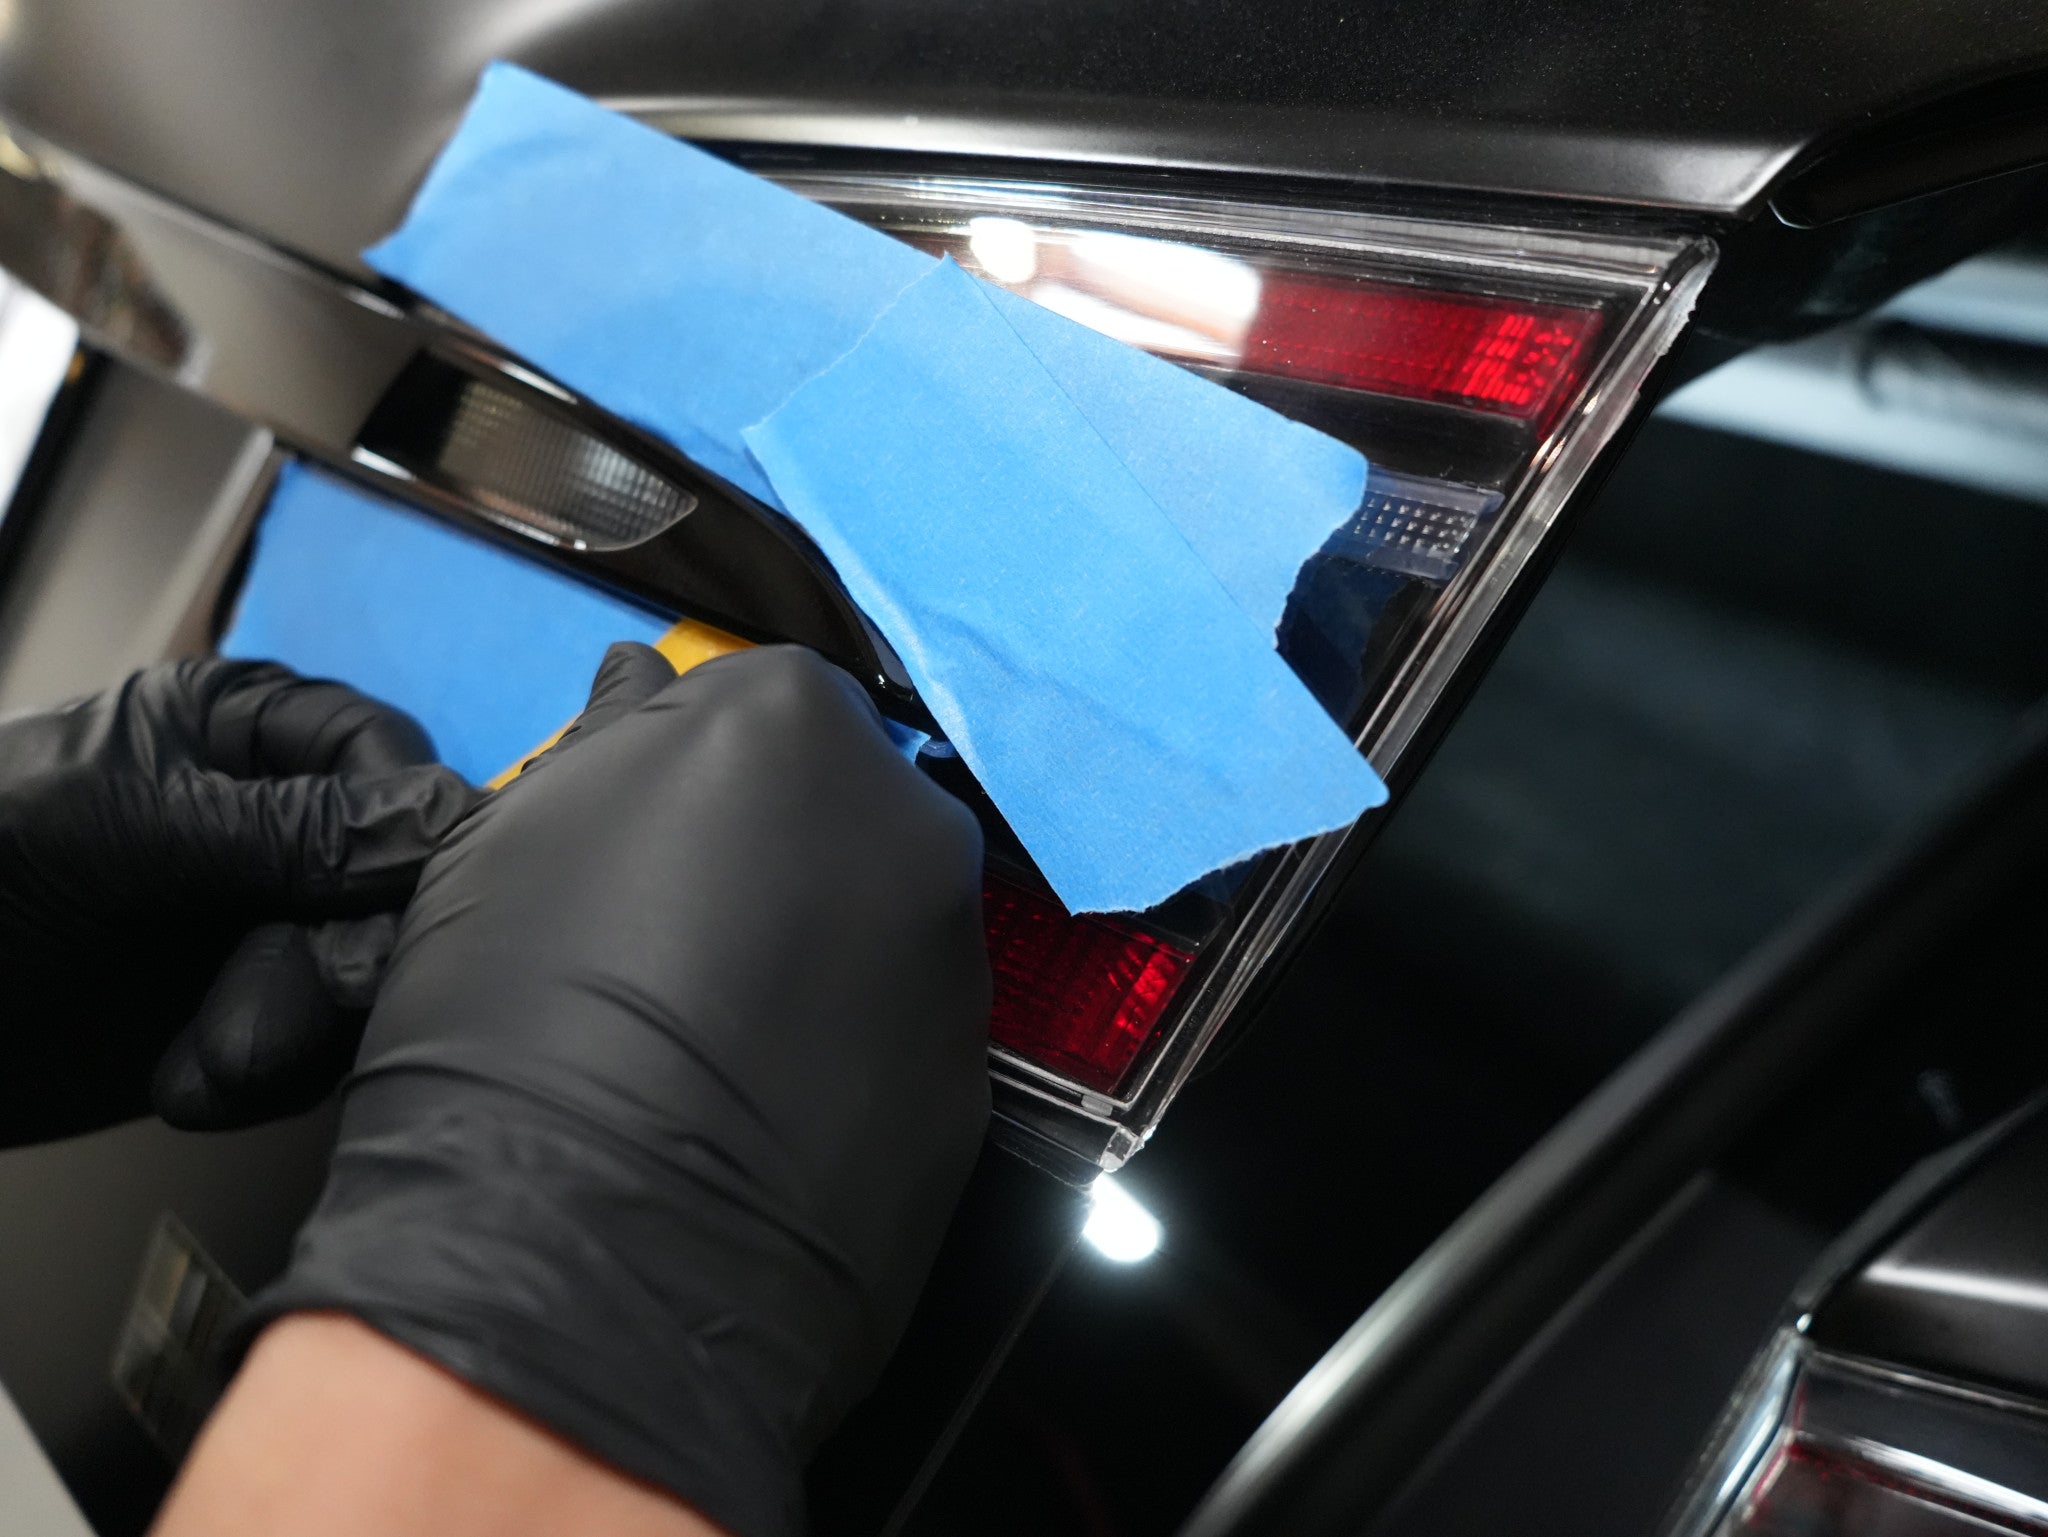
Use blue tape to cover the edges of the center piece trim to avoid scratches around the tail light assembly and prepare for the removal.


Using plastic pliers, delicately pull and detach the center piece. Since the center piece is secured with double-sided tape and by five plastic clips from behind, you may need to pull it slowly and carefully. If your vehicle is not wrapped, using a heat gun might help.


With help from a friend, have one person go behind the center piece and use pliers to release the plastic clips while the other person gently pulls the center piece outward to remove it.


Once the center piece trim is removed, you are free to remove the whole tail light assembly by pulling outward.


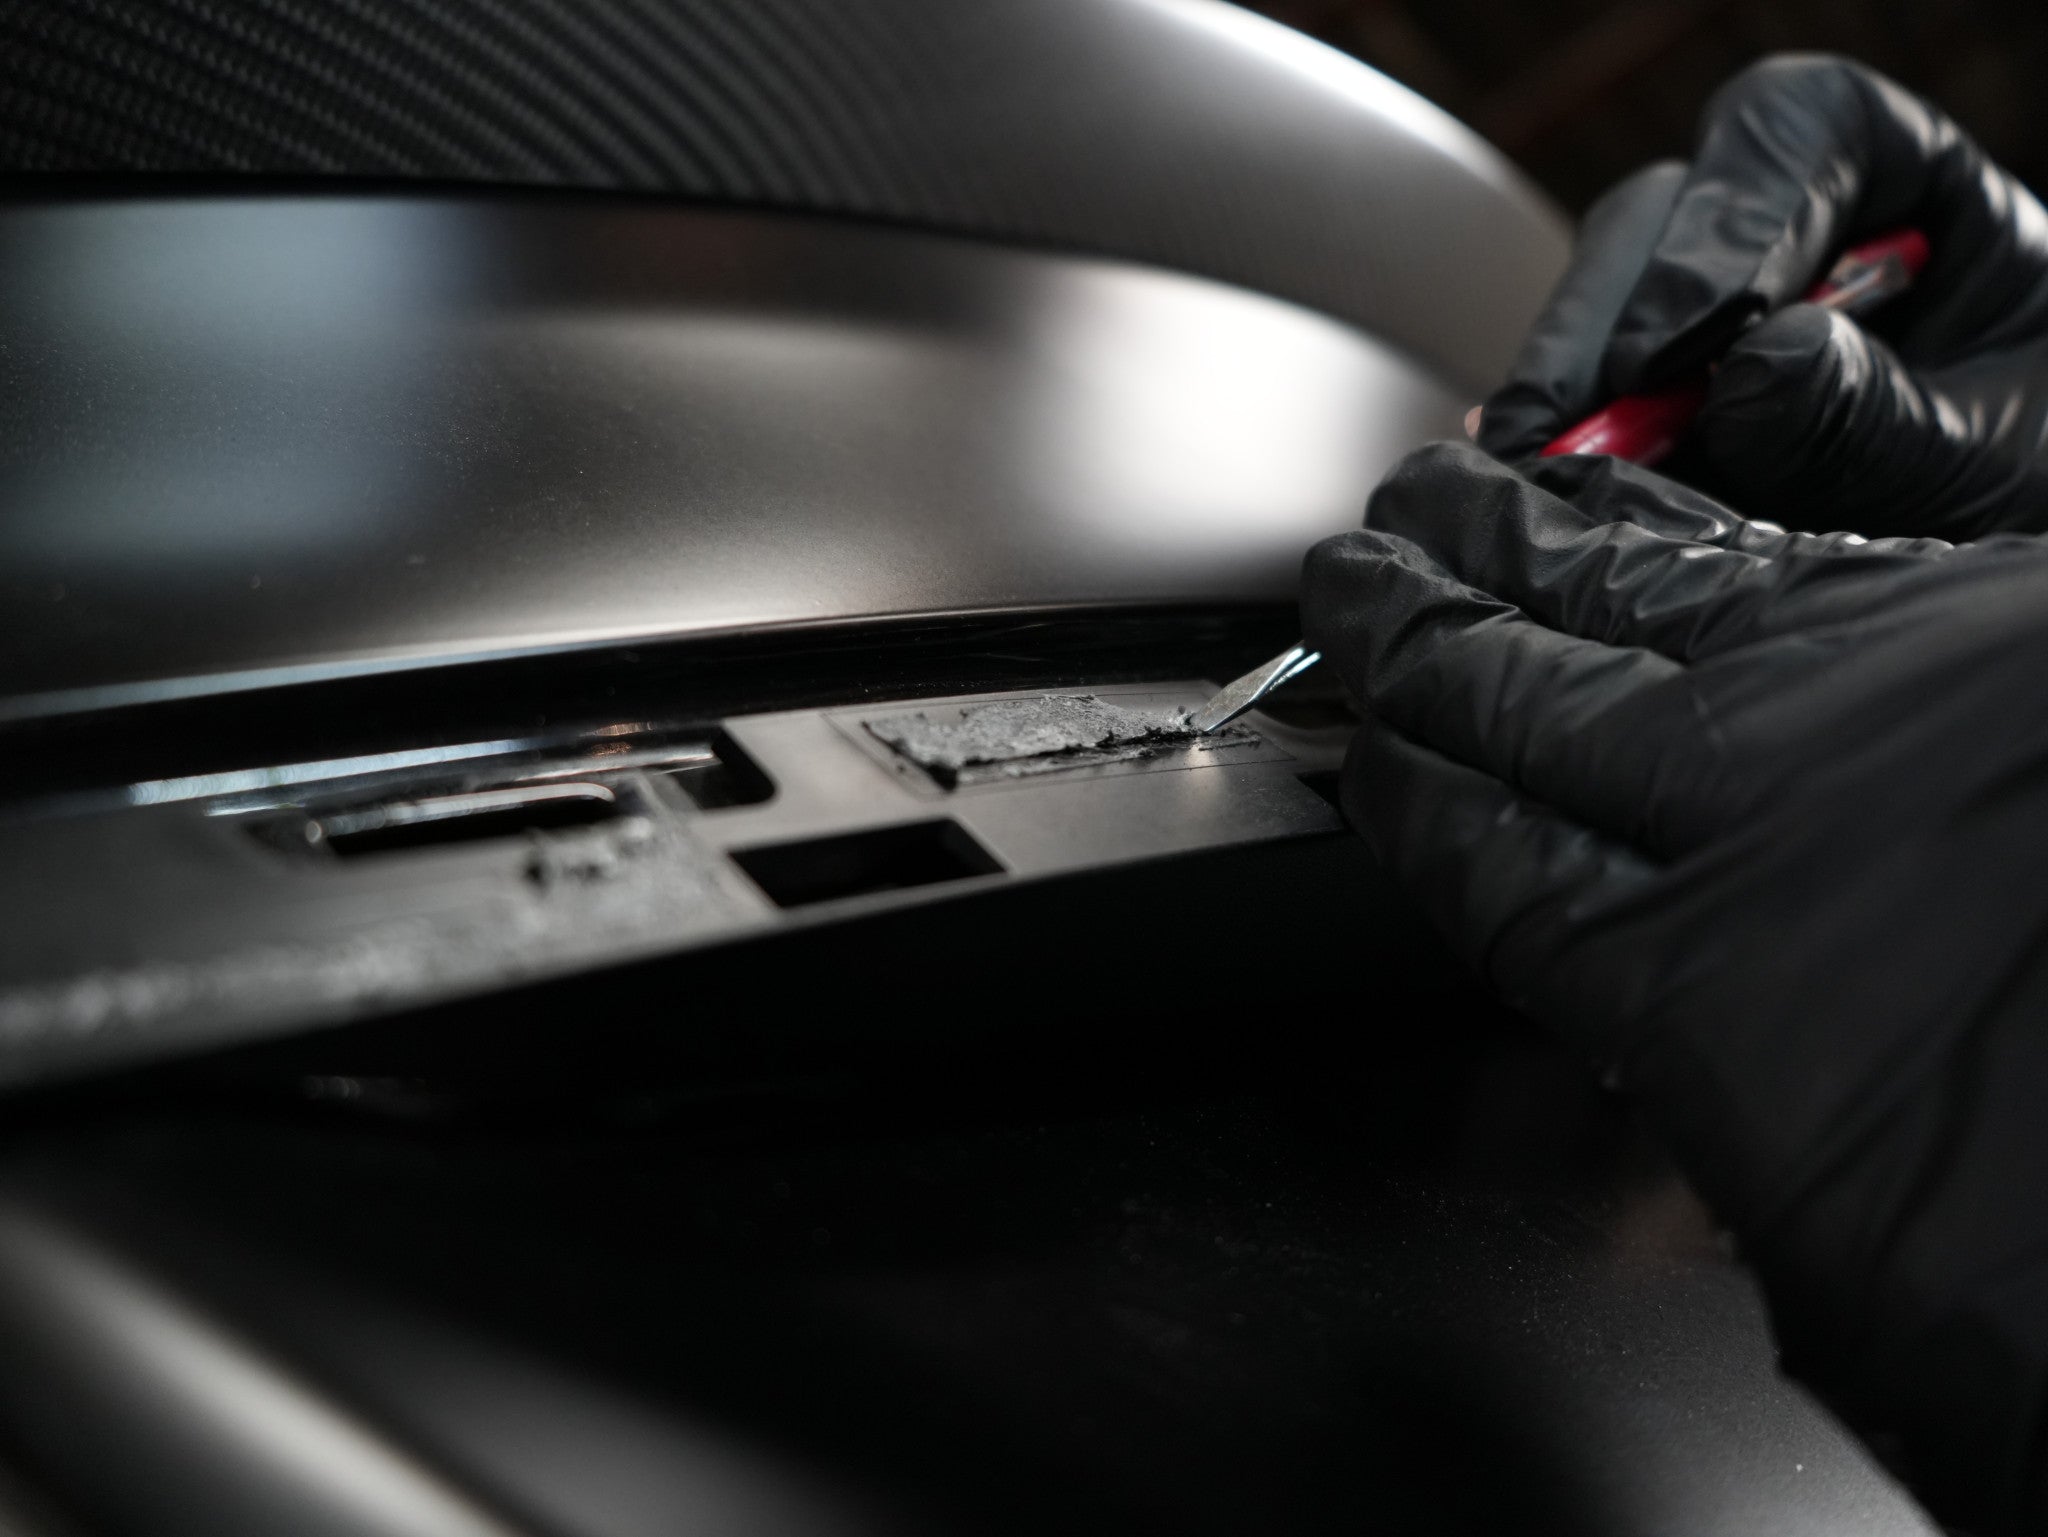
As a result of the removal, you might encounter some of the double-sided tape residue still intact. Try to remove the residue with the help of adhesive remover and gently scratch it off.


Installing the Center Piece Trim
From the ALPHAREX package, you should find the included center piece trim for installation. Align the center piece trim into position and install it onto the vehicle.


Installing the Inner Tail Lights
Align the ALPHAREX tail lights with the corresponding mounting holes and securely install them onto the vehicle.


Plug the connector into each corresponding inner tail light assembly. DO NOT USE DIELECTRIC GREASE!
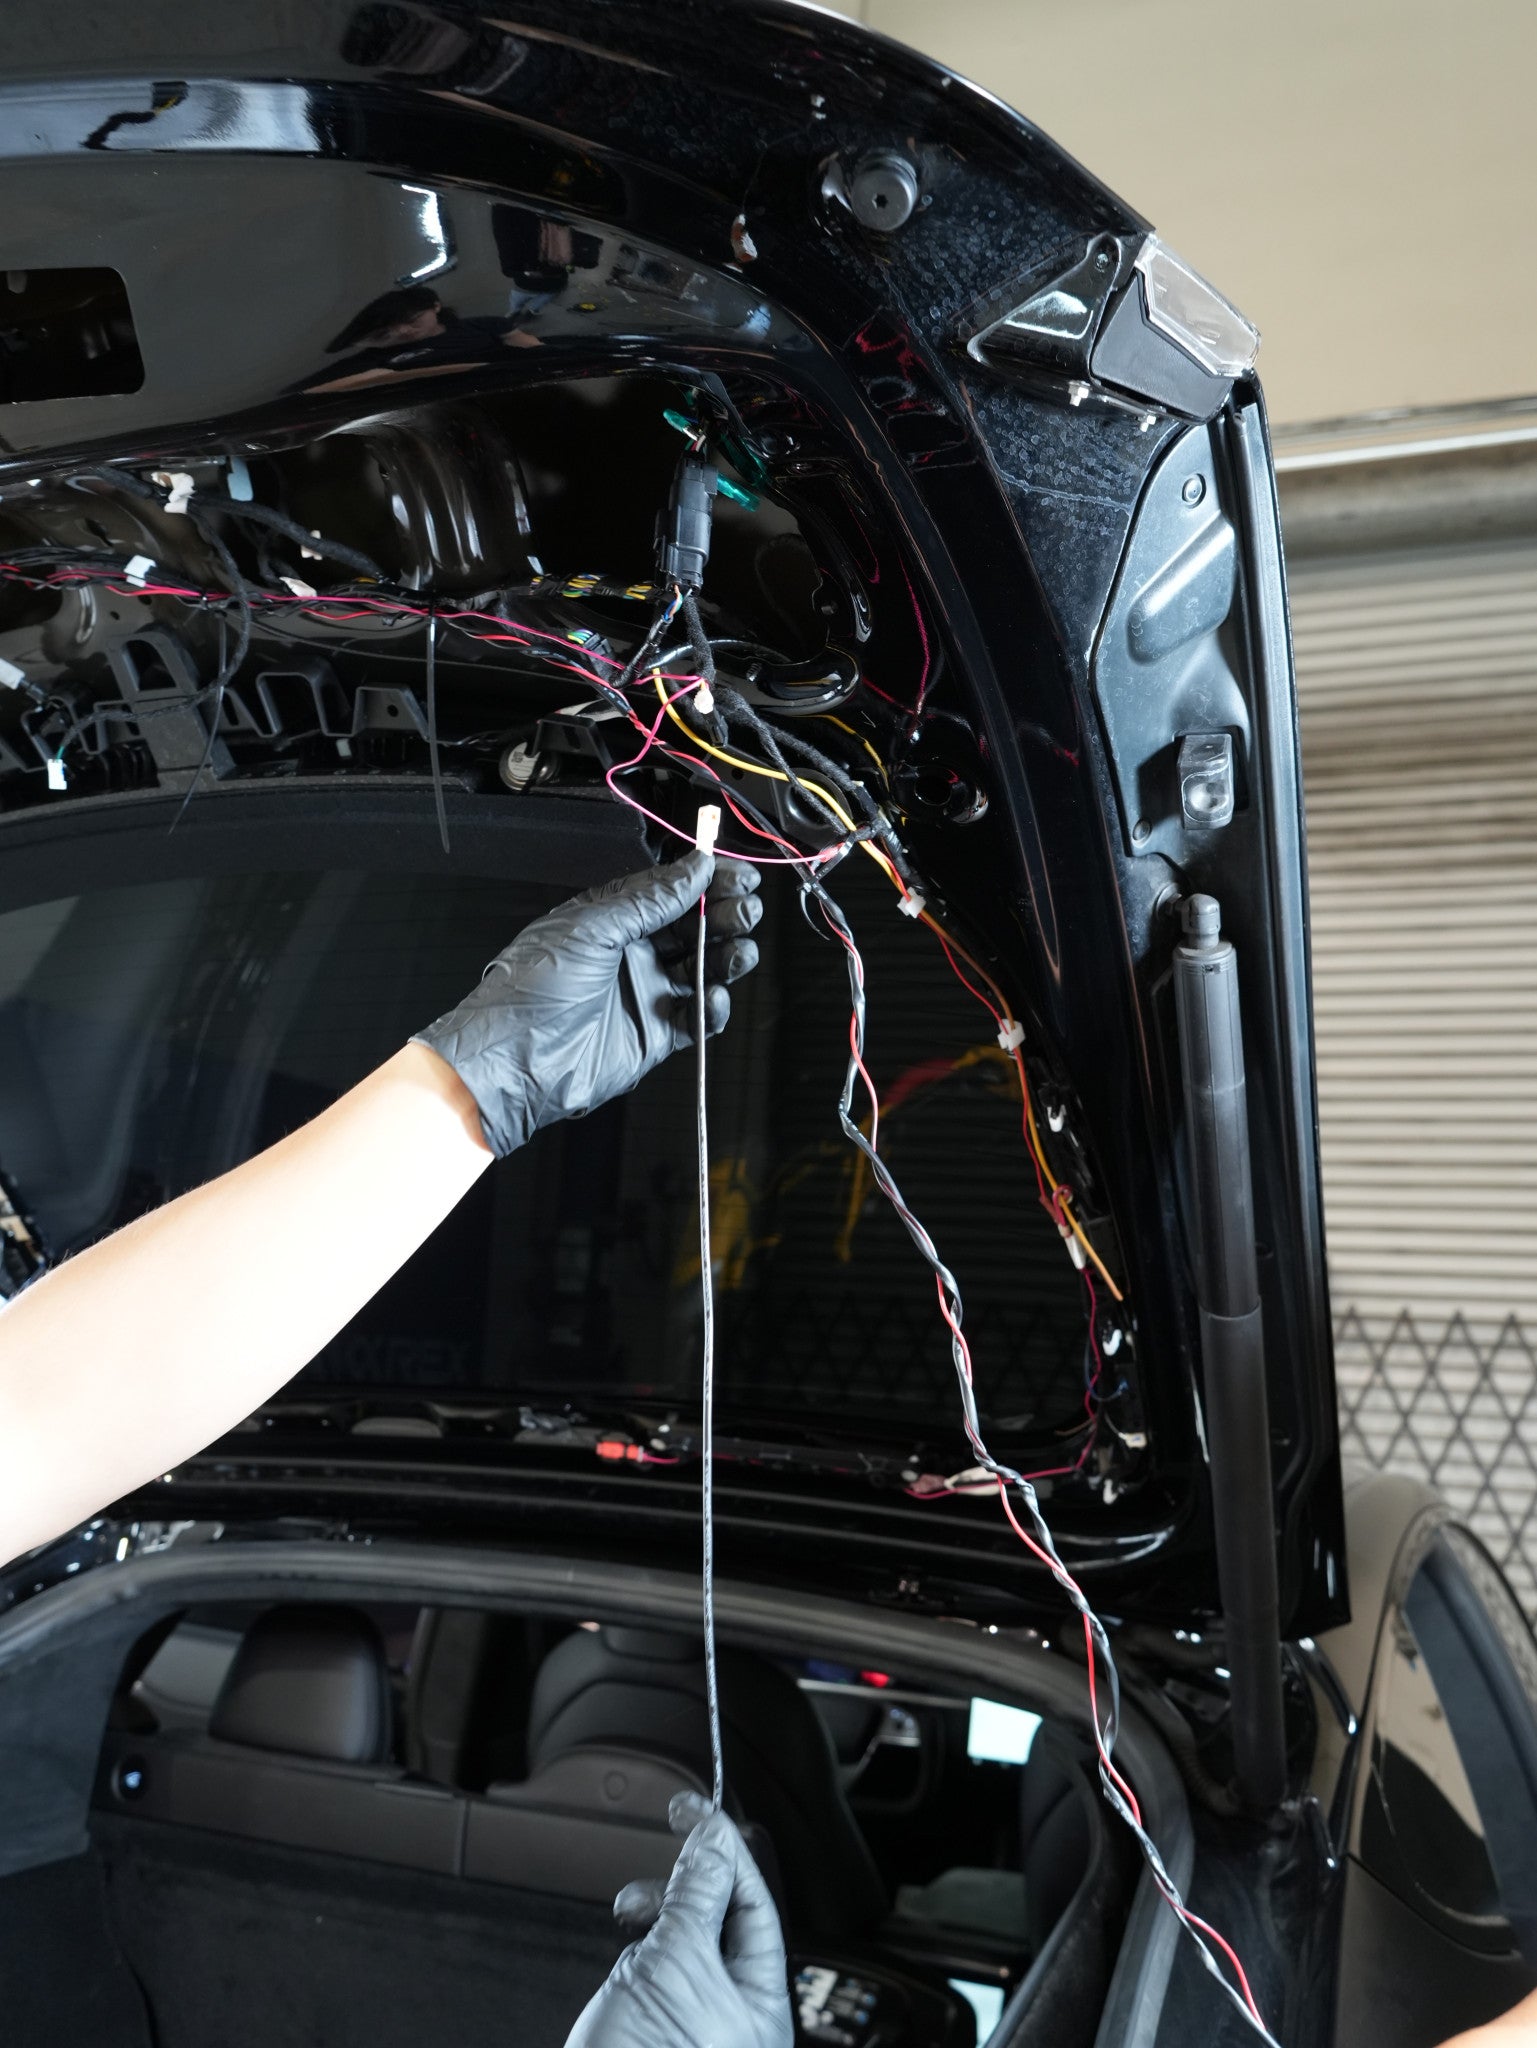
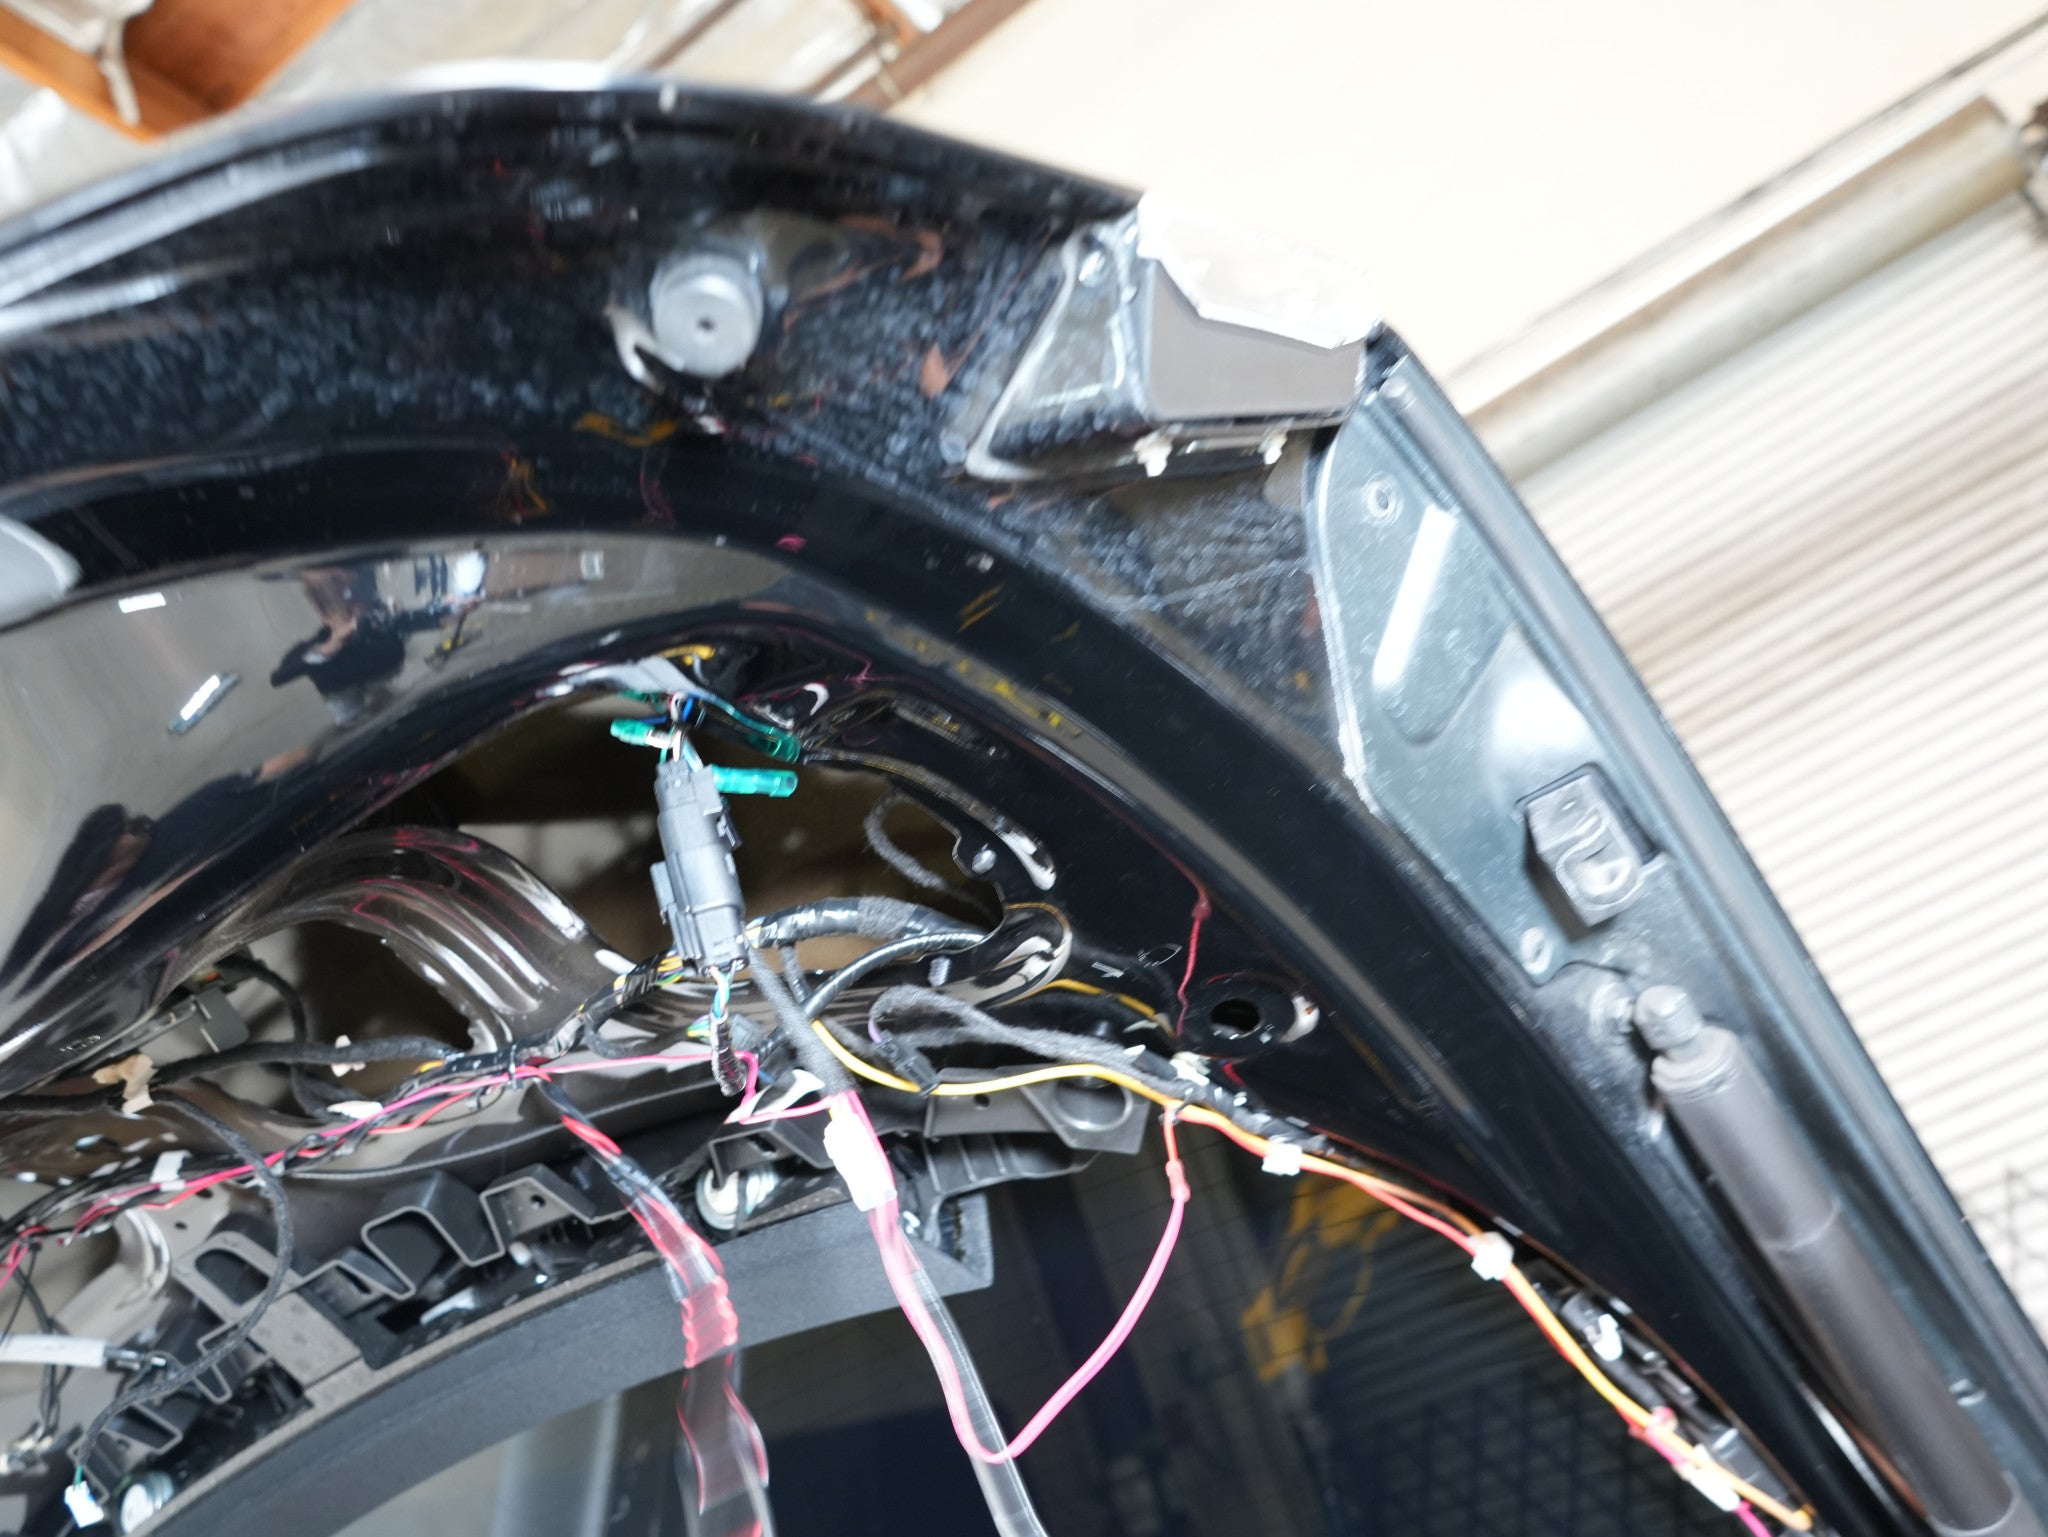
Installing the Brake Wiring Harness
To install the brake wiring harness, first, you need to disconnect the vehicle’s third brake light connection.


The new ALPHAREX tail lights package includes a brake wiring harness. Connect the connectors to the vehicle’s third brake light connection, then route the wire harness to each side of the inner tail light assembly location.


Once you reach the passenger’s side inner tail light assembly, connect the brake light connector from the tail light assembly. Then, continue routing the longer wire harness to the driver’s side inner tail light location and connect it.


Installing the Tail Light Extension Wiring Harnesses
From the new ALPHAREX tail lights package, you should find two tail lights extension wiring harnesses. The longer length harness connects to both the driver’s side inner and outer tail lights, while the shorter length harness connects to both the passenger’s side inner and outer tail lights. DO NOT USE DIELECTRIC GREASE!

Connect the driver’s side inner tail light assembly and route the wiring harness through the rubber gasket, passing the wires into the rear trunk compartment. Continue routing the wires to the driver’s side outer tail light location, securing them in place with zip ties.


Next, using the same procedure, connect the other extension wiring harness to the passenger’s side inner tail light assembly. Route the wiring harness through the rubber gasket, passing the wires into the rear trunk compartment. Continue routing the wires to the passenger’s side outer tail light location, securing them in place with zip ties.


Remove the Outer Tail Lights
First, remove all the trunk cargo liners and covers.


Remove the plastic trim covers from the trunk cargo space.


Remove the screws on both sides of the trunk cargo plastic cover panels.


Right after removing the plastic trim covers, open the liner covers. Then, you should have enough space to reach the nuts securing the outer tail lights.


From the passenger’s side outer tail light, disconnect the tail light connector, and unscrew the four 8mm nuts to remove the whole outer tail light assembly.


Carefully pull the tail light outward toward you with a slight angle to remove the whole assembly.


Installing Passenger Side Outer Tail Lights
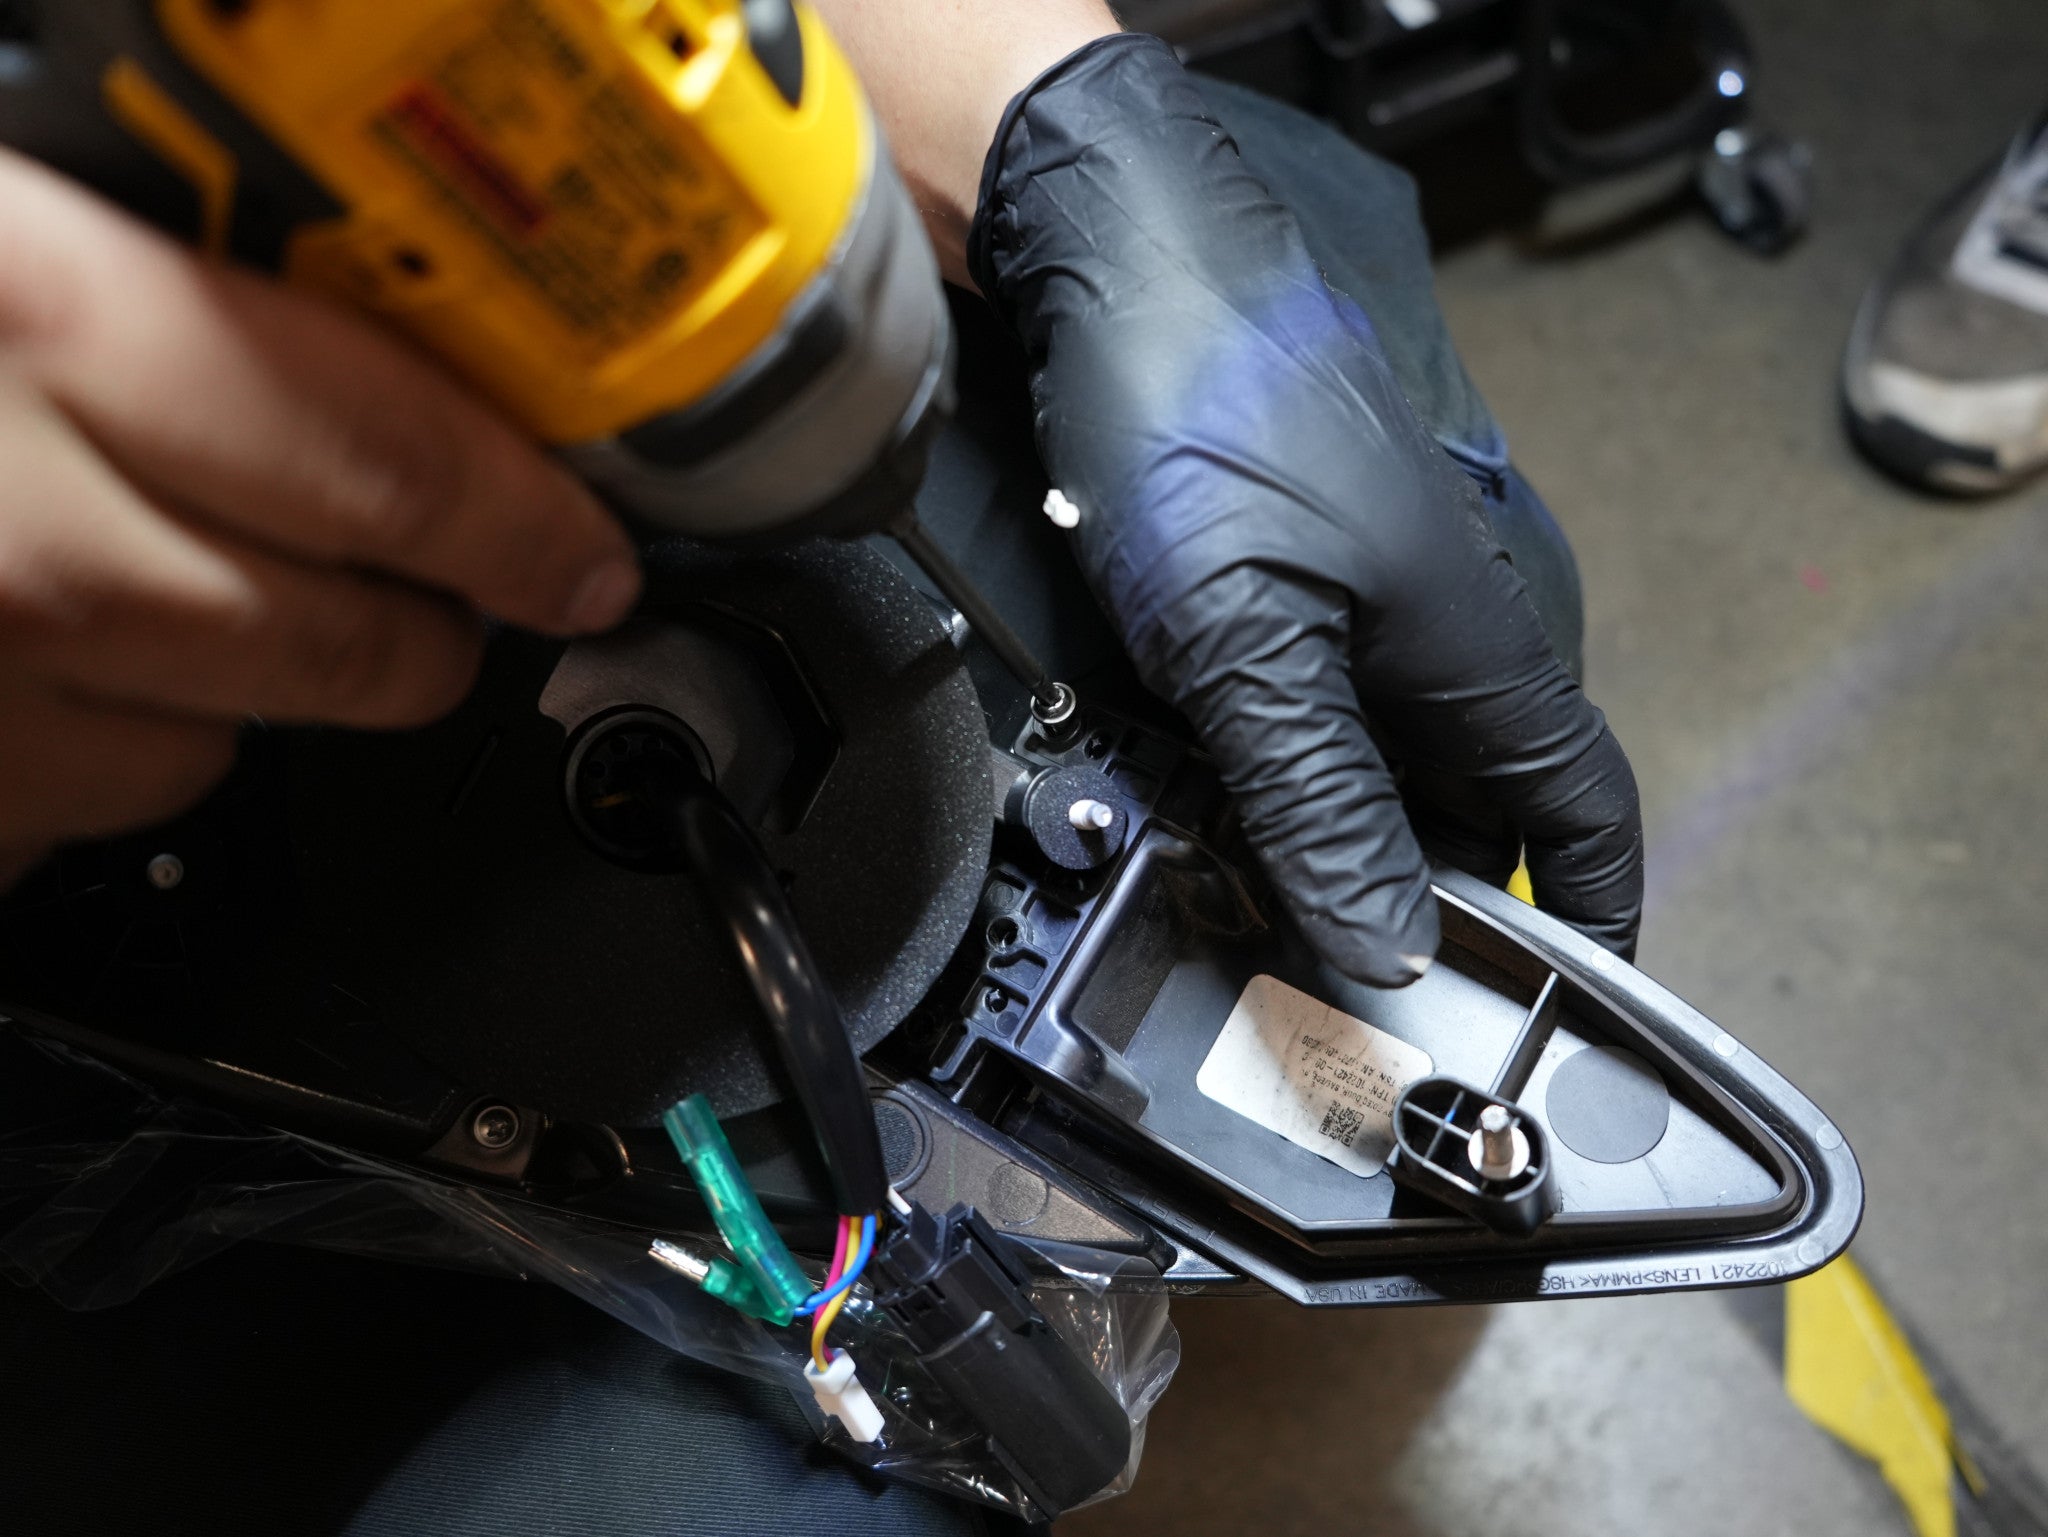
To complete the installation of the new outer tail lights, it is required to transfer the OE reflector to the new ALPHAREX outer tail light assembly.
First, unscrew the three T20 screws securing the OE reflector from the tail light assembly.

Remove the reflector from the original tail light assembly and transfer it to the new ALPHAREX tail light assembly. Then, secure the three T20 screws to ensure the reflector is properly attached.


Now that you have transferred the OE reflector to the new ALPHAREX outer tail light assembly, you are ready to install it onto the vehicle. Connect the vehicle’s tail light connector, and make sure to connect the inner tail light connector as well from the extension wiring harness.


Installing Driver Side Outer Tail Lights
IMPORTANT: Since the driver’s side outer tail lights are installed next to the charge port, it is essential for safety to shut off the vehicle’s power before proceeding with the installation.
First things first, open the charge port cover before shutting down the power!


Follow the following instructions to shut down the vehicle’s power from the driver’s control display panel:
- Navigate to the driver’s control display panel.
- Locate and press “Safety” from the left menu.
- Scrow down the options and select “Power Off”.
- Follow the Power Off prompt to complete the shutdown process.
- Once the vehicle’s power is successfully shut off, proceed with the installation of the driver’s side outer tail lights.


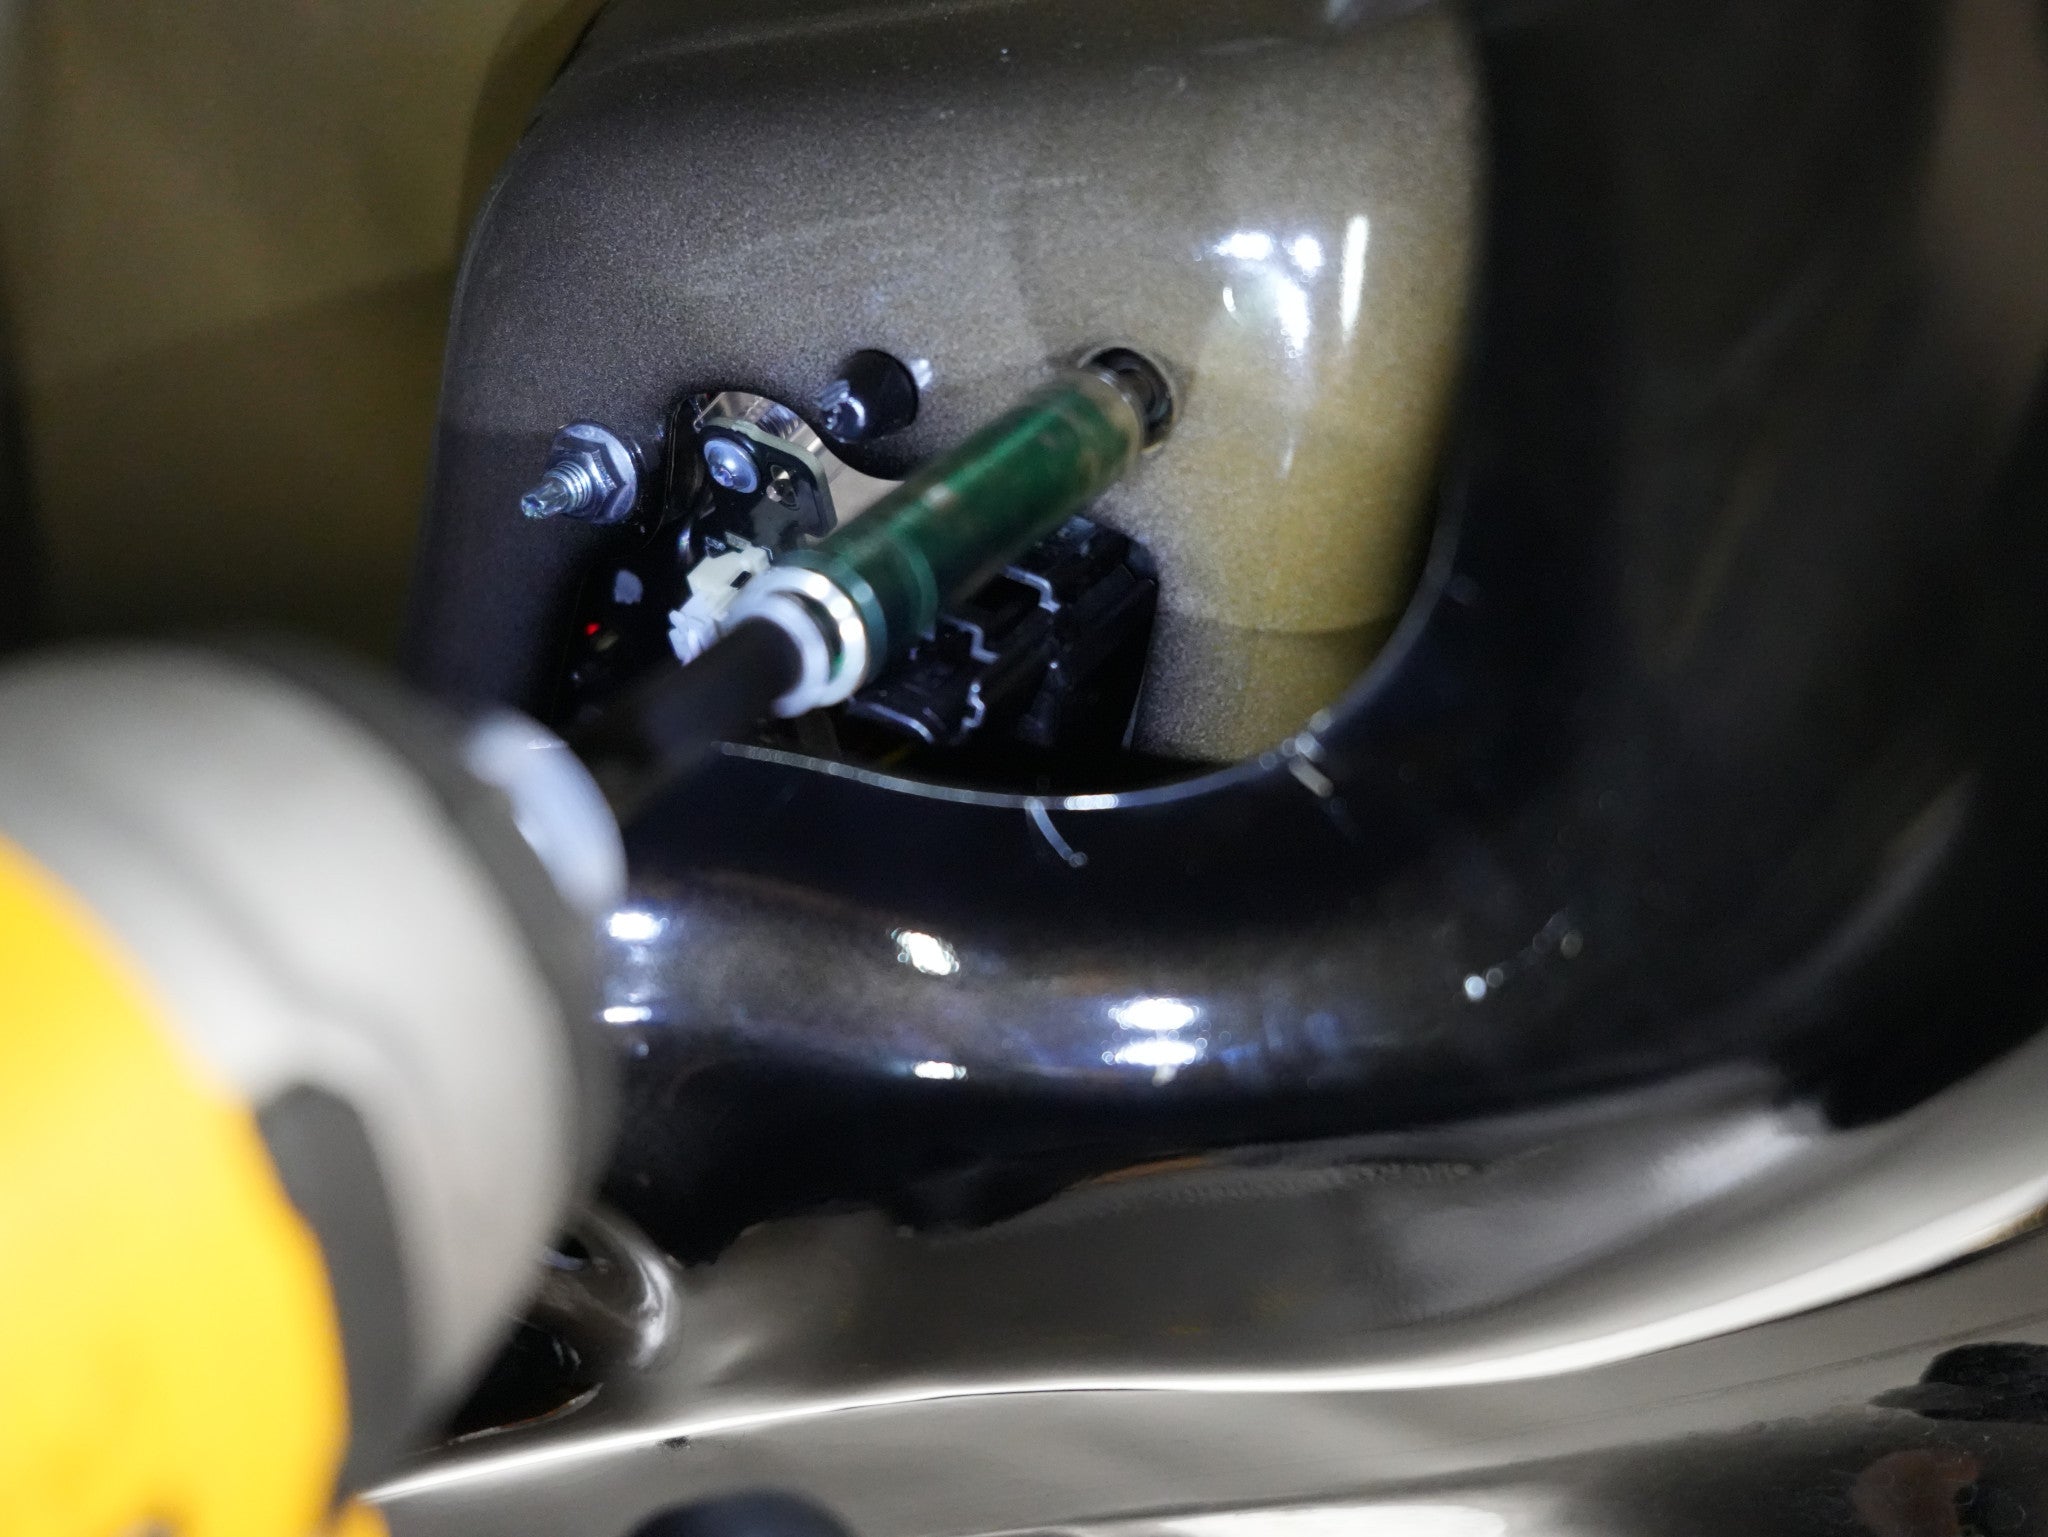
Open the liner cover from the driver’s side, and you should see the orange charge port module. Unscrew the four T30 bolts that secure it from the mounting.


Remove the 13mm bolt to release it from the bracket.


Unplug the outer tail light connector. Next, gently push the charge port from the outside to create space, allowing easier access to the outer tail light nuts.


Unscrew the three 8mm nuts and carefully pull the tail light outward toward you with a slight angle to remove the whole assembly.


Follow the same steps as before to transfer the OE reflector to the new ALPHAREX outer tail light assembly.


Install the outer tail light onto the vehicle. Connect the tail light connector and the extension wiring harness connector to the assembly.


Follow the reverse of the removal steps to install the driver’s side outer tail lights onto the vehicle. Ensure the tail lights are securely fastened and re-secure the charge port module from inside the trunk. Reinstall all plastic trim covers to complete the installation of the new ALPHAREX tail lights.


Complete Installation
Congratulations! You have completed the installation for Alpharex LED Tesla Tail Lights for Tesla Model S (2012-2020)

