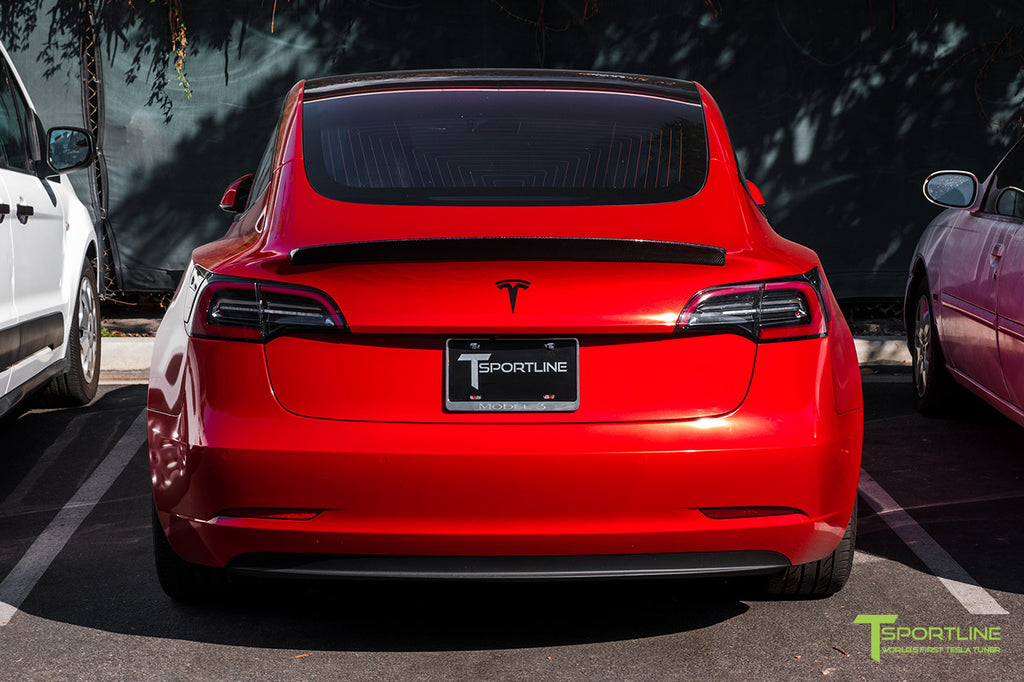
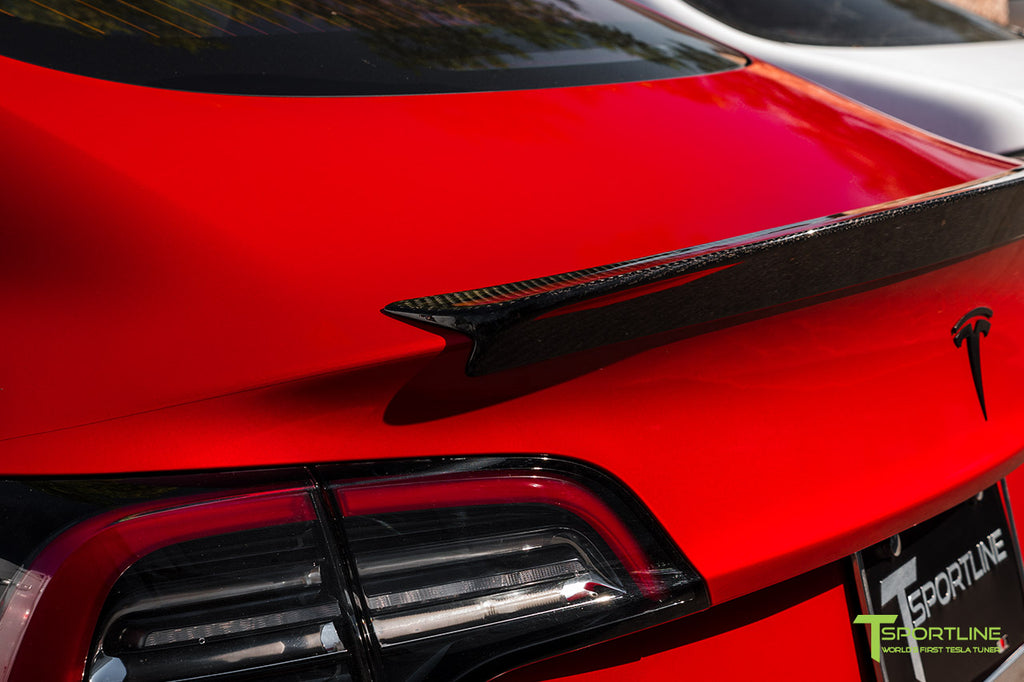
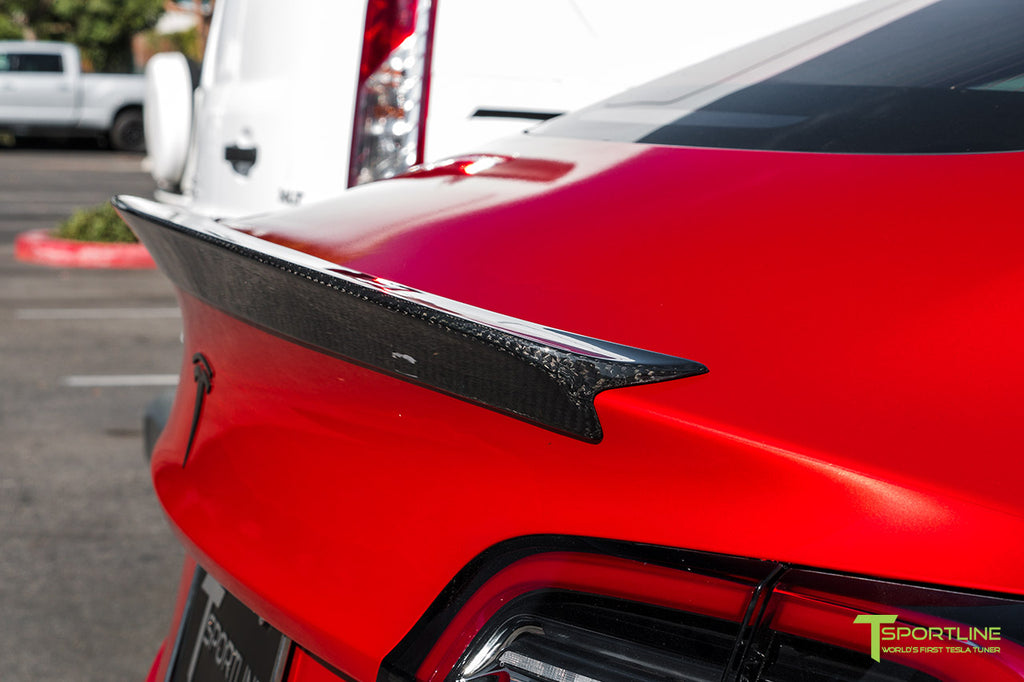
How to Install:
1. Clean your Model 3 Trunk Hatch (remove all dirt and debris). A cleaner trunk will allow for better adhesion and prevent your wing from detaching from the trunk hatch. As a precaution, remove all jewelry or any objects from your hands and wrists that may scratch your vehicle or trunk wing.
2. Print the Installation Template provided below in Landscape Mode. Print at 100% or "Actual Size." Cut out each Template.
Download Sport Wing Template Here!
Download Executive Wing Template Here!
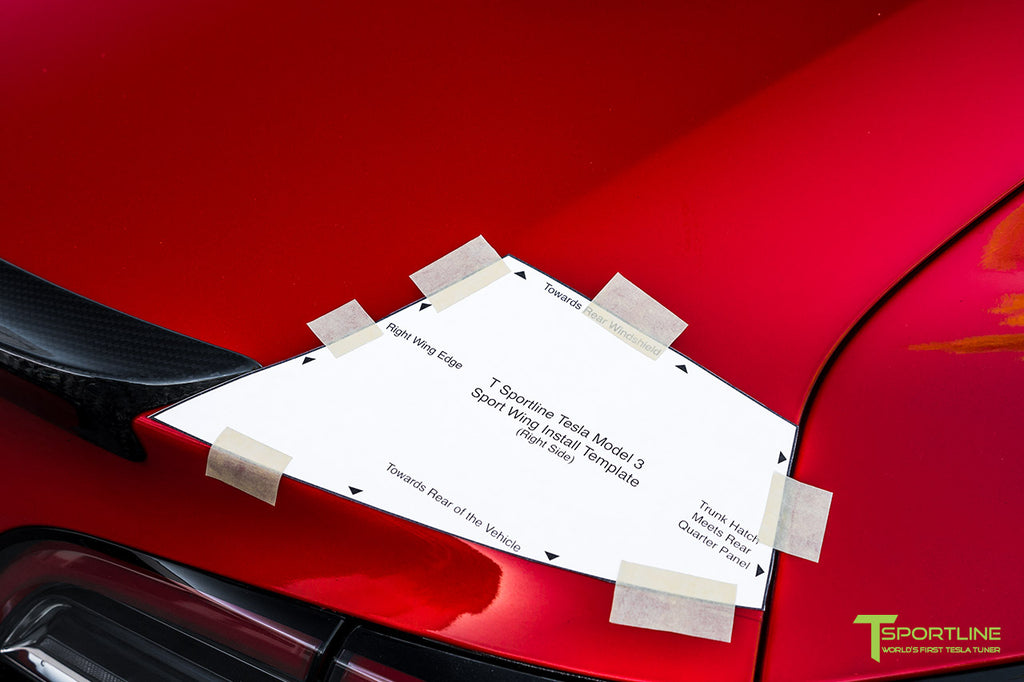
3. Place the Templates on your Model 3 Trunk as shown below:
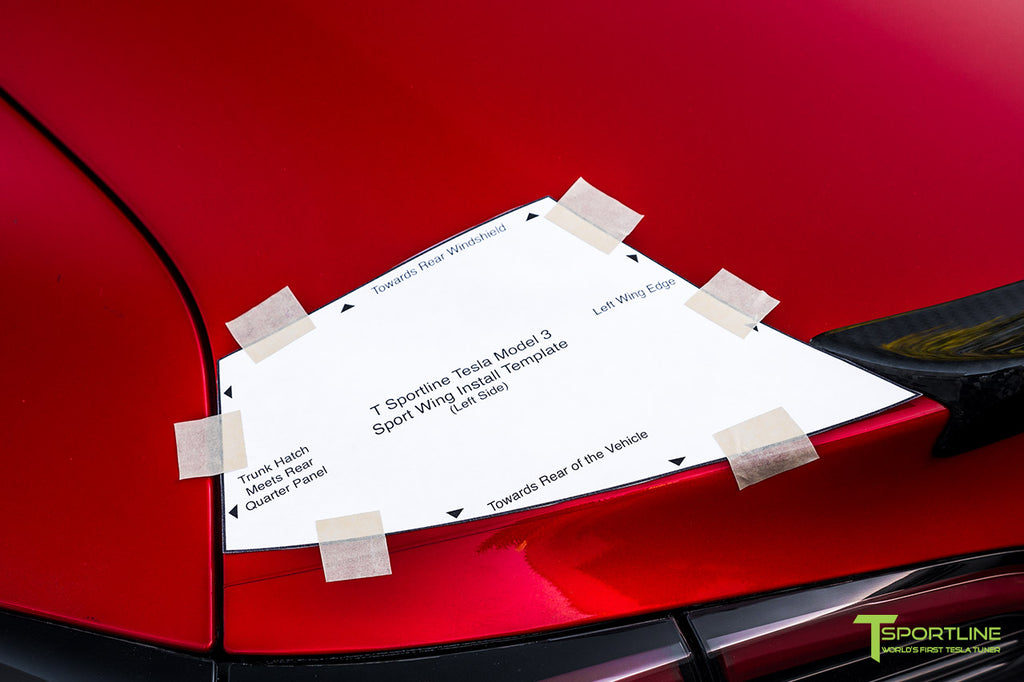
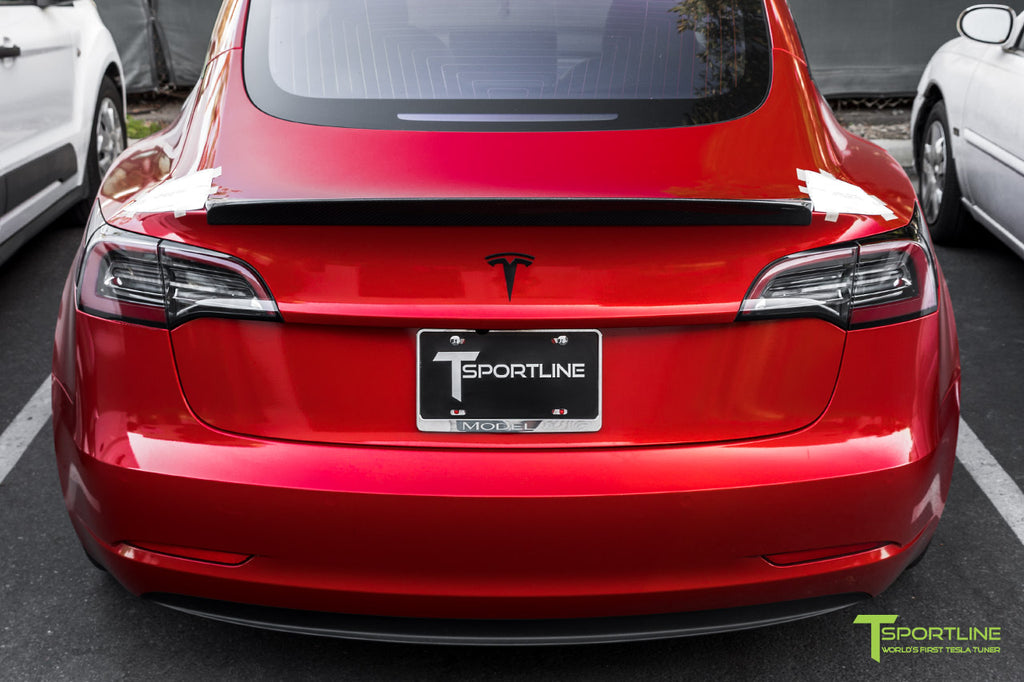
4. Test Fit your Model 3 Carbon Fiber Trunk Wing by placing between the Templates. When properly installed, the wing should not be able to move left or right easily.
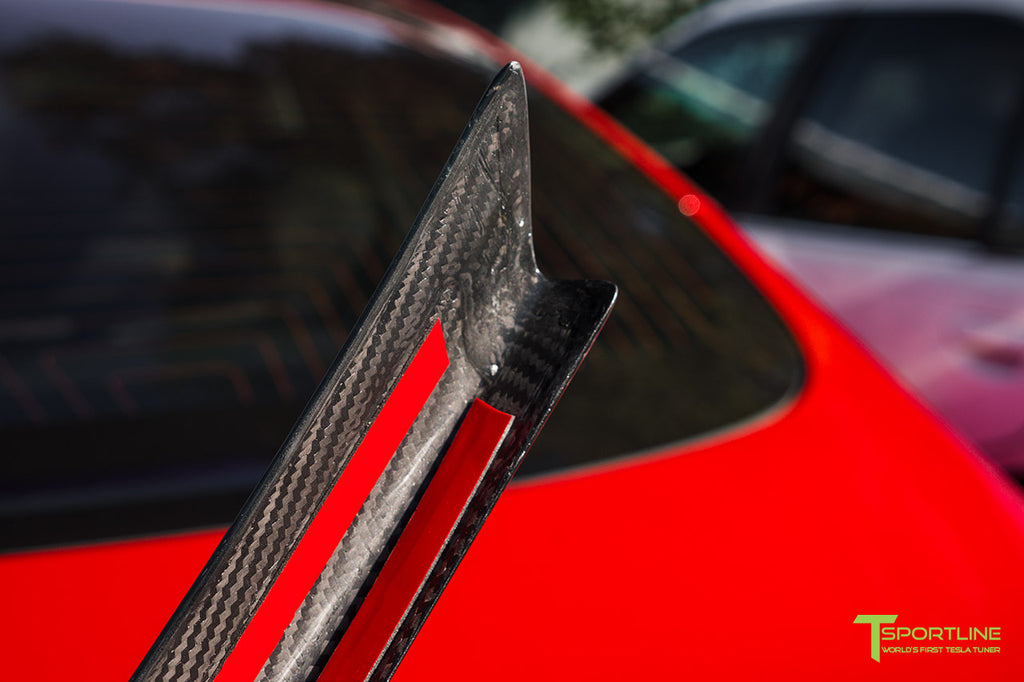
5. Remove the red 3M tape film.
6. Place your Model 3 Carbon Fiber Trunk Wing on your trunk between the templates. After pressing firmly and securely installing your wing, remove the Installation Templates. Enjoy your sportier and more aggressive Model 3!
