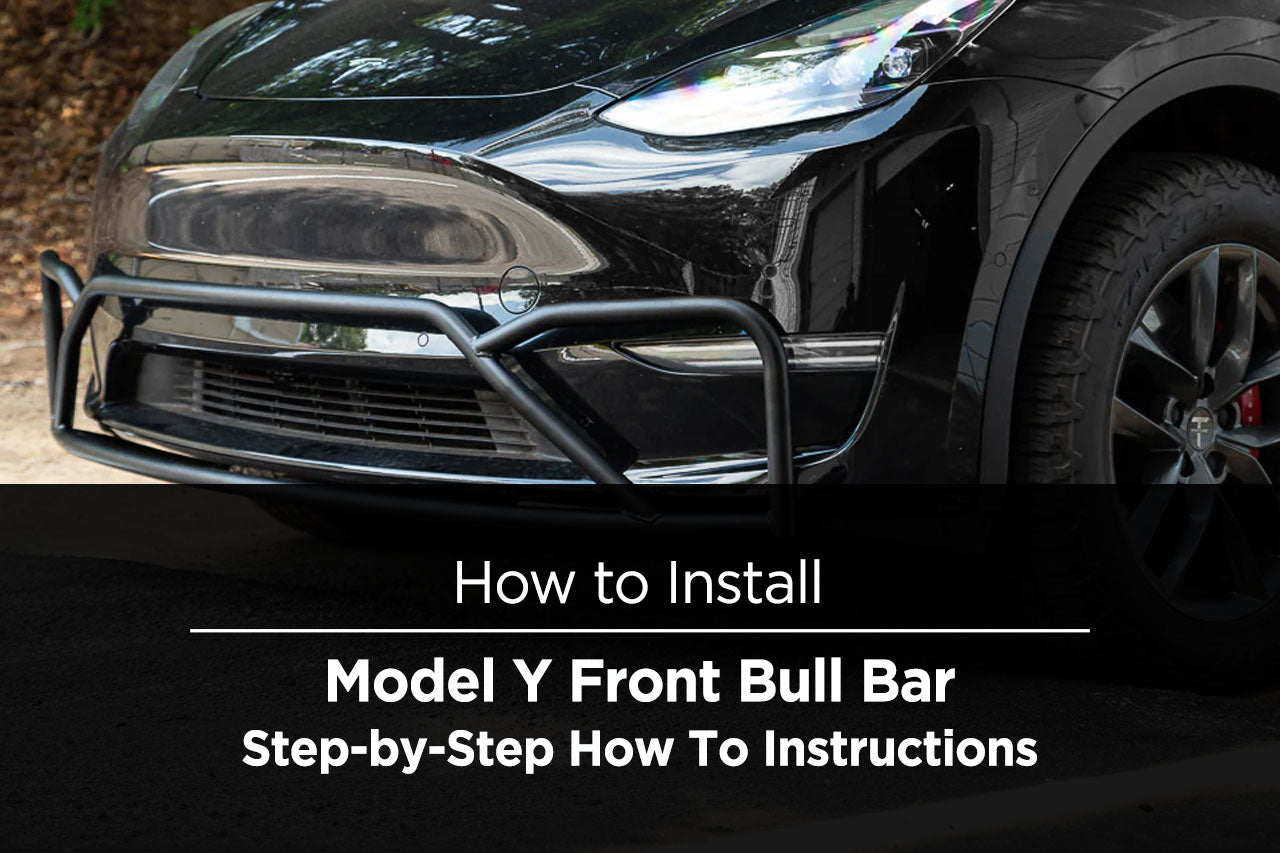
The T Sportline Model Y Bull bar was designed to install easily with just a few basic hand tools. Unbox and make sure contents match the photo below:

Contents:
- Bull Bar (1)
- Brackets (2)
- U-bolts (4)
- Nuts & Washers (4)
- Bull bar bolts (2)
You will need the following tools (not included):
- Required: 14mm/ 9/16in wrench or socket
- Required: 10mm wrench or socket
- Required: 9mm/ 3/8in hex (allen) wrench or bit with driver
1. Remove the plastic fender liner trim hardware along the front section of the wheel-well to be able to access behind the fender liner. There should be three plastic trim fasteners per side.

2a. On each side of the vehicle, there is a 10mm bolt holding the lower valence to the corner of the bumper. Pull the fender liner back enough to reach in and remove the nut. It’s a tight squeeze so a small ratchet wrench helps or a 10mm socket on the end of a screwdriver handle makes it a little easier. Location is shown below with valence removed.

2b. Remove 10mm fasteners along the trailing edge of the valence (along the front edge of the mid-center belly pan.

3a. Depending on your VIN, the attachment method along the bottom leading edge of the bumper may vary. Unclip and pull off to give yourself access to the front lower crash bars. These are aluminum, rectangular bars roughly 3in wide that extend from the subframe to the inner support structure of the bumper.

3b. Depending on your VIN, you may need to disconnect the front speaker that will be on the passenger side of the vehicle. This will allow you to move the lower valence out of the way while you work on getting the bull bar mounting brackets installed.
4a. With access to the front crash bars, install mounting bracket by hanging the (2) U-bolts over the top of the crash bar so that the threaded portion of the bolts hang down to the ground.

4b. Take a bracket and with the flat side facing up and the threaded boss to the front of the vehicle, rest it flat against the bottom of the crash bar and install washers and nuts.
4c. Hand-tighten nuts at all locations. You will need to verify the fitment of the bull bar to the body as well as verify that the bull bar mates up to the mounts before final tightening.

4d. Repeat for other side
5a. With both brackets installed but not fully tightened, check that the bull bar mates to the brackets. Lift bull bar into position so that the threaded boss of the body brackets mates to the bolt mount of the bull bar. Insert bolt and hand tighten to ensure proper alignment of brackets.
5b. Tighten both socket head bolts, securing bumper to the body brackets. With the body brackets still loose, adjust the bumper so that the parking sensors do not give a false STOP warning while in DRIVE. In our experience, it’s best to position the bull bar as close to the body as possible. However, If you prefer the look of the bull bar spaced out further from the bumper, you may get a false warning under ~5mph.
6. Once the bull bar fitment is verified, torque all (8) bracket mounting nuts to 10 ft-lb and remove the bull bar.
7. Now it’s time to cut the pass-thru holes in the front valence which will allow the bull bar and mounting bolts to pass through the valence and into the threaded boss of the body brackets on either side.
8. Using the template below, mark the center of the access hole. Once marked, cut a hole in each side of the lower valence. A variety of tools work well for this, ranging from a step drill, rotary tool, hole saw or even a utility knife. Hole size or even shape is not critical, it should allow the mount of the bull bar to pass through. The larger the hole, the more room for error you give yourself. We went with a 3” hole to allow plenty of room for the bumper to pass through.


9. With the clearance holes created in the lower valence, attach the lower valence by reversing steps 2a, 2b, 3a and 3b. Don’t forget to plug in the speaker! We’d hate for your fart sounds to not be heard.
10. Install the fender-liner hardware from Step 1.
11. Now it’s time to mount the bull bar to the brackets. Torque mounting bolts to 25 ft-lb.

12. Double check that the lower valence and fender liners are secure and fully clipped into place.
ENJOY YOUR NEW TSPORTLINE BULL BAR!


