
Click to see the T Sportline Model Y Rear Hatch Mega-Bright 8x LED Light
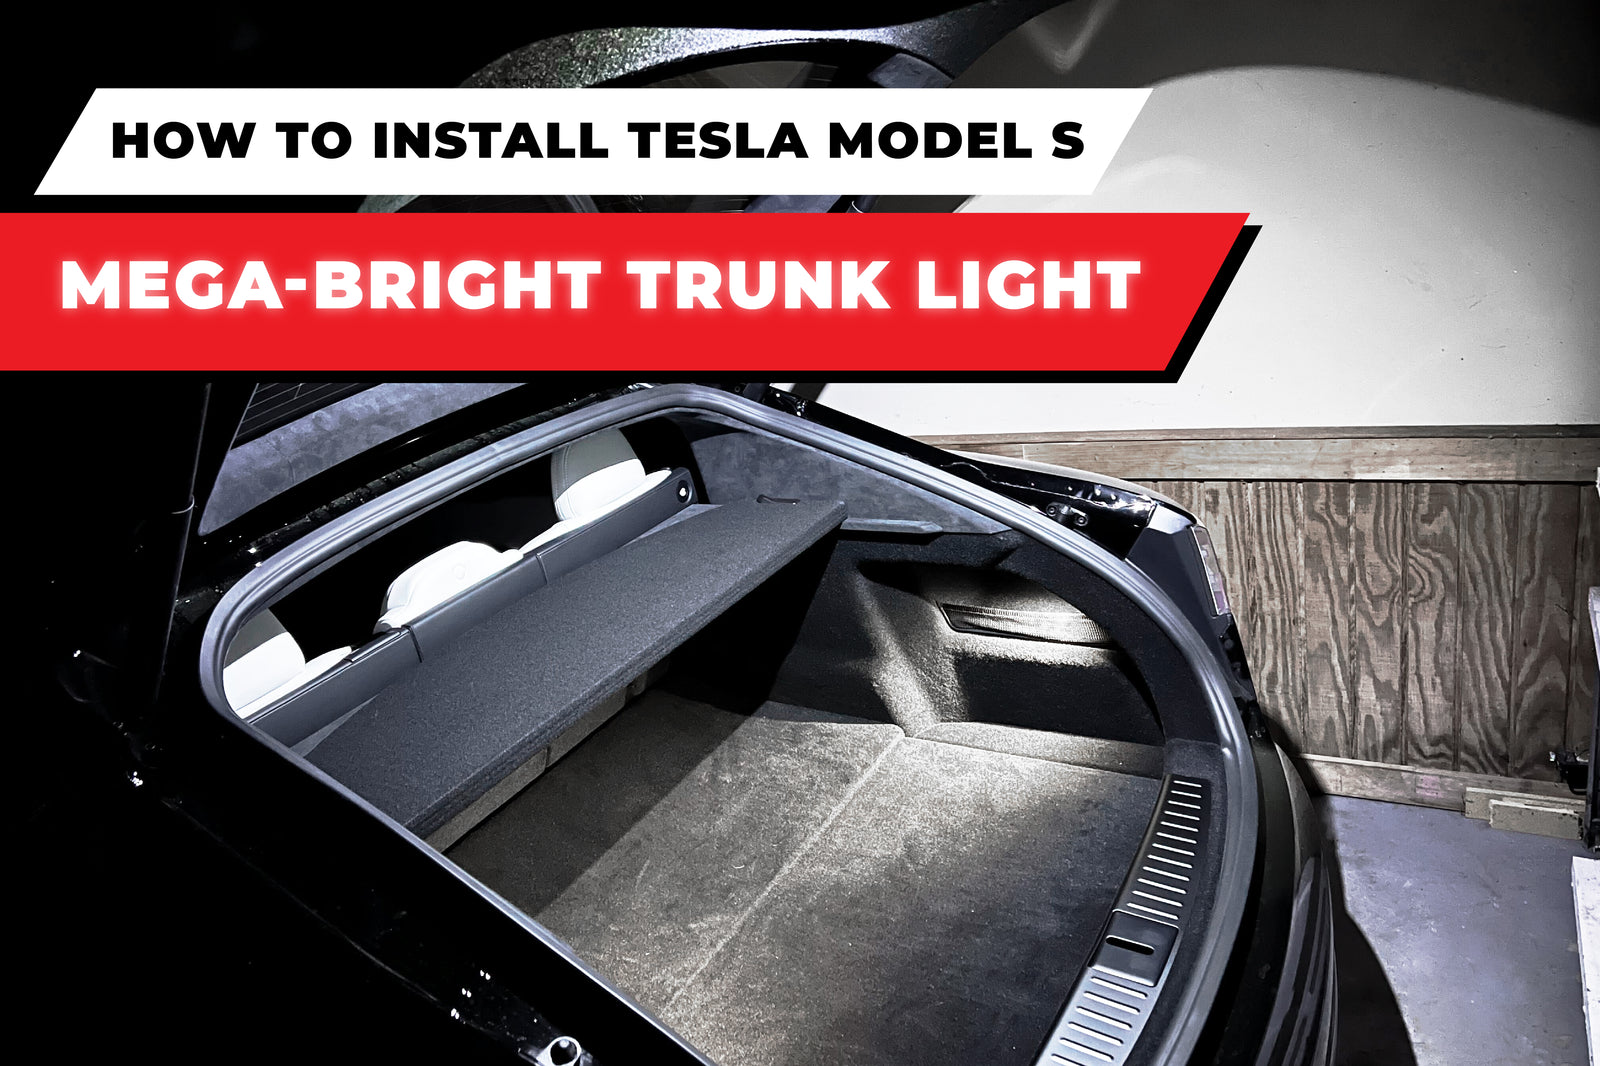
Click to see the T Sportline Model S Rear Hatch Mega-Bright 8x LED Light
The Mega-Bright 8x LED light for Tesla Model Y trunk is what we call it, MEGA-BRIGHT! The easy to install LED upgrade is the perfect way to make it easy to see your cargo, in the day or night. The high-efficiency 8 LED circuit does a great job of increasing the light output to a level that will delight.
The installation may seem a bit daunting at first, but after reading these instructions and watching the installation video, you’ll find it really simple and easy to assemble.
How to Install:
Optional Tools Needed:
- Plastic Trim Tool
- Flat-head Screw driver
Step 1 – Remove the two rubber bumpers on the bottom edge of the rear hatch door.
Unscrew the bumpers.
IMPORTANT: Before removing, note how far out (the height) each bumper is currently adjusted to. To adjust the height, the bumpers are tightened (shorter) or loosened (taller). A good way to confirm their original height is to tighten them all the way in (shortest), and count how many turns it took to tighten them all the way in. Then when re-installing, tighten them all the way in first, next loose them the same number of turns you originally counted.

When the bumpers are re-installed after installing the T Sportline LED trunk light, they should be adjusted to the same height they started at. The final height of the bumpers is used to adjust the panel gap of the hatch door to the bumper; bumpers can be adjusted to fine tune that gap as desired.
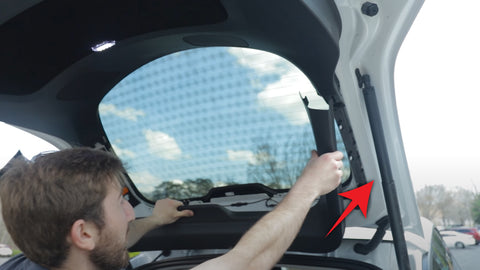
Step 2 – Pull down the plastic interior hatch door trim.
Have the rear hatch door in the open position. Pull the large plastic interior hatch door trim down from the rear edge. The latch mechanism in the middle has a plastic cover, which can be pulled off at the same time. IMPORTANT: Take note if the latch cover plastic is installed over or under the door panel (when re-assembling, the latch cover plastic should be installed the same way).
To pull the covering down, start at the corner of the cover and grab the edge with your fingers and pry the cover down. You can use a plastic trim tool if you have access to one. The cover uses push pins to secure itself to the hatch, so a gentle pull should easily release the push pins. Start on one corner, then the opposite corner, and be careful to guide the cover down around the center latch.
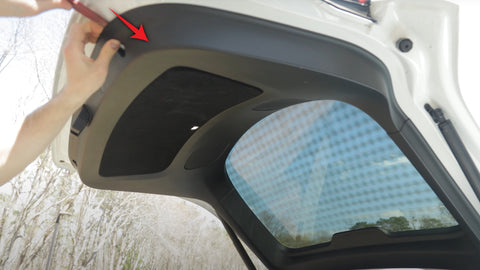
The rear section of cover is held to the door with 6 push pins, 3 on each side. Pry down the cover until all 6 push pins are released. The cover will be held up with a wire that attaches to the cover on the driver side.
There is no need to totally remove the cover, just drop the cover enough to reach the factory light in the middle of the cover, but the whole cover may pull off during the process, which is okay.

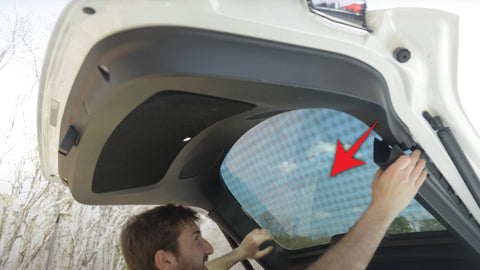
Step 3 – Detach the factory light housing
From the backside of the panel cover (same side as the white insulation), pull the factory light housing (the black rectangular box with a wire connected to it, located where the factory light is) off the panel cover. It will pop off the panel, secured only by plastic edge clips.

Step 4 – Disconnect the light wire connector from the factory light housing
A small detent on the wire connector holds it in place. Press down on the detent using a small micro screwdriver, and while depressed, pull the wire connector off the factory light housing.

Step 5 – Fully Removing Factory Light
Remove the factory light assembly from the backside of the panel cover. Remove the light lens from the inside surface of the interior panel cover. It pulls off the panel or can be pressed out from the backside (press from the white insulation side of the cover).

Step 6 - Remove the factory light circuit board
Open the factory light assembly housing by gently prying open the plastic housing on the edges with a flat-head screwdriver. Remove the factory light circuit board from the housing. Leaving the assembly housing open, re-attach the housing to the backside of the panel cover in the original position.

Step 7 – Connect the T Sportline LED light to factory wire
Feed the wire from the new T Sportline LED light through the panel cover and the open factory light assembly housing by holding the new light on the inside surface, extending the wire through the panel light lens hole. Push the new LED assembly into a position where it clicks into the original factory light assembly housing. Hold the new LED wire to the side and close the factory light assembly housing.


Connect the factory wire to the T Sportline LED light (they fit together, press the connectors together firmly – the light will turn on).
Step 8 – Mount the T Sportline LED light on the panel
Line up the plastic barbs on the light with the hole in the panel. The light presses into place, and the barbs slide through the panel to secure the light. Make sure the light is on and secured to the panel properly before proceeding. The light can be rotated once installed, to align it properly.

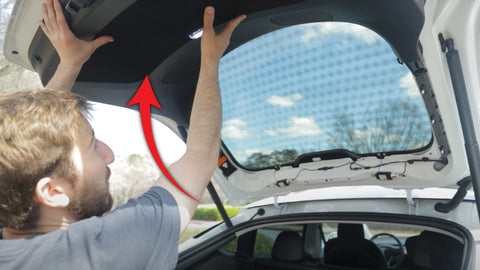
Step 9 – Re-attach the panel cover to the rear hatch door and latch cover plastic.
Each of the push pins must be carefully lined up with their target attachment holds on the hatch door. At the time, the rear of the cover must be lined up and slid over the door latch and the latch cover plastic should be installed relative to the cover, the same as it was removed.
Starting near the roof edge side of the panel, carefully press the panel back into place, lining up the push pins, and apply pressure to the panel near the push pins to seat the push pins to the door. When the pins are secured properly, the panel cover will be secure and edges will be flush with the hatch door. It is normal to take some finesse to line-up the cover and work all the push pins into place.
Step 10 – Reinstall the two rear bumpers removed in step 1.
Be sure the bumpers are re-installed to the same height they were before removal.

Click to see the T Sportline Model Y Rear Hatch Mega-Bright 8x LED Light
Click to see the T Sportline Model S Rear Hatch Mega-Bright 8x LED Light