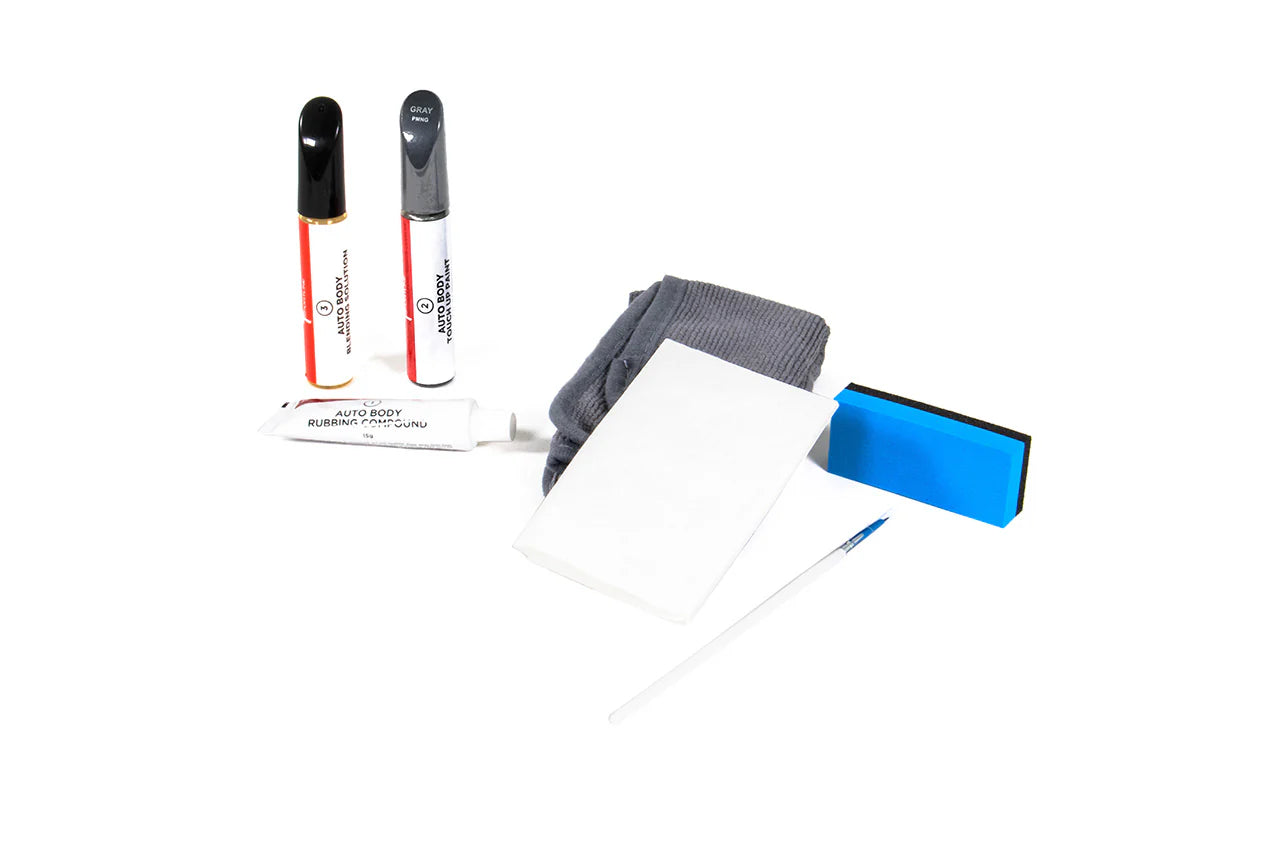

A step-by-step instructional guide for touching-up Tesla paint chips and scratches. This DIY friendly kit includes everything needed to repair stone chips, scratches, and other surface blemishes on Tesla Model 3, Y, S, X. This kit uses proper OEM factory Tesla matching paint colors.
1. Wash vehicle thoroughly, especially the area to be touched up. Do not use ‘wax’ or ‘polish’ infused car was soap. It is recommended to use a basic dish soap, which will not usually have wax and polish infused.
2. Move the vehicle out of direct sunlight and make sure the surface to touch-up is not excessively hot or cold. It should not be hot to touch, meaning less than 85F. The paint itself should also be kept at room temperature for at least two hours before use. Always store the paint in a dry cool area, inside your house.
3. Shake the paint bottle (labeled #2) vigorously for 5 minutes. Look at the clear bottom of the paint bottle and be sure the paint is uniform and properly mixed. Keep shaking as needed until the paint is uniform color and consistency.
4. Dab a paint in the paint chip or apply to the scratch, covering or filling the blemish. This can be done using the paint bottle brush for moderate and larger chips or using the included micro brush for smaller chips and scratches. Optionally, glide the blue side of the squeegee across the dap to smooth the touch-up paint flush with the surrounding surface. The squeegee can be used to carefully smooth paint over the blemish in any direction. Wipe excess paint off squeegee using a small amount of blending solution (labeled #3) on the microfiber towel corner.
5. Let the paint dry for a few minutes or until it is just dry to the soft touch. The time will vary depending on temperature and how deep the paint work is. Next, optionally, dampen the white blending cloth with blending solution. The moderately saturated blending cloth can be used to lightly wipe / buff away excess paint around the edges of the repair area.
6. Allow the paint to dry overnight. Optionally, use a clean and dry section of the microfiber towel and a small bit of the auto body rubbing compound (labeled #1) to softly hand buff the repair area and remove any residual blending solution.
7. Repeat from step 3 as necessary to achieve the desired coverage.
