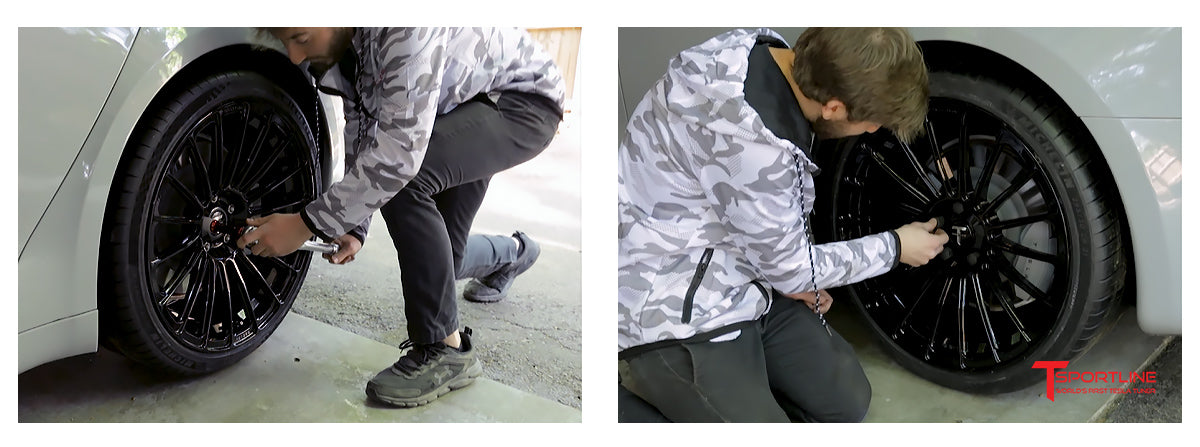
REQUIRED TOOLS TO INSTALL TESLA WHEELS AT HOME
- Tesla Wheel & Tire DIY Home Install Tool Kit
- Jack
- Jack stand
- Gloves
INSTRUCTIONS
Before you begin, make sure to put car in jack mode.
Go to the 'Service' tab, then click on 'Jack Mode'.

1 – Park the car in a safe area and on level ground with room to work around wheels so you can slide the jack in and out.

2 – Remove the aero covers or lug covers and break lug nuts lose using the torque wrench while the car is on the ground. Just loosen each lug 1 turn. Do not fully remove lugs yet. (If you are using an impact wrench you can skip this step.)

3 – Find jack location under the car and install jack pad so you can safely jack up the Tesla with a low profile three-ton jack.

4 – Once you have jacked up your car you can install the jack stand under the a-arm as shown in the picture. You do not need to lower the vehicle onto the jack stand, it is a precautionary step. (You can also throw one of the new wheels and tires underneath as an extra safety measure.)

5 – Now that the car is up, you may begin removing the lug nuts by loosening them enough, using the breaker bar, that you can spin the lug nuts by hand. At this point you can just take your socket off and loosen the lug nuts by hand the rest of the way. (This step can be done entirely using the impact wrench if you have one available.)

6 – Remove old wheel and tire and put the new wheel and tire in place. Take the lug nuts and socket and tighten by hand making sure you do not cross thread anything.

7 – Next you are going to take the breaker bar and get the lug nuts snugged up in a star pattern. You can remove jack stand and tire, if you had one under the car for extra safety. Lower the vehicle onto the ground.

8 – Take the torque wrench, set to 129 foot-pounds, to torque the lug nuts in a star pattern. Make sure to go slow and steady with this and just push it until the torque wrench clicks. Take this time to place the lug nut covers as well.
9 – Check tire pressure. Refer to the Tire and Loading Information label located on the driver’s center door pillar for the target tire pressure.
10 – Repeat steps 5 through 9 on the rest of the wheels.
11 – Once you are done with all four wheels makes sure to turn off jack mode and drive your vehicle for a couple miles to allow TPMS to connect and sync with new wheels.


